Once you’ve added a table in Microsoft Excel, you might later realize that your spreadsheet would be cleaner and more organized without it. Fortunately, it’s a straightforward task to remove tables in Excel. In this guide, we’ll walk you through different methods to delete a table in Excel, whether you want to keep or discard the data it contains. This will help you maintain a well-structured and visually appealing spreadsheet.
Table of Contents
- Removing a Table Along with its Data in Excel
- Speedy Table Deletion with Keyboard Shortcuts in Excel
- Deleting a Table Using Excel’s Ribbon Menu
- Effortless Table Deletion with Ribbon Keyboard Shortcuts in Excel
- Keeping Your Data While Removing the Excel Table Structure
- Getting Rid of a Table While Keeping the Data Intact
- Turning Your Excel Table into Regular Data
- Removing a Table in the Excel Mobile App
- Erasing a Table and Its Contents
- Removing a Table but Preserving the Data
- Wrap-Up: Cleaning Up Your Excel Sheets with Confidence
Removing a Table Along with its Data in Excel
When you need to say goodbye to not only the table but also all the data it holds in Excel, you’ve got a couple of methods at your disposal to achieve this. Let’s explore how to clear both the table structure and its contents from your spreadsheet.
Speedy Table Deletion with Keyboard Shortcuts in Excel
If you’re all about efficiency, you’ll love this quick method to delete a table and its contents in Excel using just your keyboard. Here’s how to do it:
Step 1: Begin by selecting the entire table. You can do this by clicking and dragging your cursor across the table.

Step 2: Once the table is selected, press the “Delete” key on your keyboard. Poof! The table and all its data magically vanish, leaving your spreadsheet clean and tidy.

Deleting a Table Using Excel’s Ribbon Menu
If you prefer a more visual approach to removing a table and all its data in Excel, the Ribbon menu is your friend. Here’s how to do it:
Step 1: Start by selecting the whole table you want to delete. Just click and drag your cursor to cover it.
Step 2: Now, look for the “Home” tab in Excel. It’s usually at the top. Click on it.
Step 3: Inside the “Home” tab, find the “Editing” group. Inside this group, there’s a menu called “Clear.” Click on it.
Step 4: From the options that appear, choose “Clear All” at the top of the list.

And just like that, your table and all its data are gone, leaving your Excel sheet looking spick and span.
Effortless Table Deletion with Ribbon Keyboard Shortcuts in Excel
If you’re using the Excel desktop application on a Windows computer, there’s an even faster way to delete a table and its data using ribbon keyboard shortcuts, which Microsoft calls Key Tips. These shortcuts display letter indicators over the tabs and ribbon buttons, allowing you to perform actions quickly with a simple key press.
Here’s how to do it:
Step 1: To activate Key Tips, press and release your “Alt” key. Once you do this, you’ll see letter indicators appearing as shown below, guiding you through the process.
Step 2: After activating Key Tips, press “H” to select the “Home” tab on the Ribbon.

Step 3: Next, press “E” to select the “Clear” menu, and then press “A” to choose the first item, “Clear All,” from the menu.

Now, here’s the real time-saver: If you plan to use this method frequently, you can simplify the process even further. Just hold down the “Alt” key and press “H,” “E,” and “A” in succession. This will swiftly delete your table along with all its data.
By mastering these keyboard shortcuts, you can efficiently manage your Excel tables with ease and speed.
Keeping Your Data While Removing the Excel Table Structure
In some cases, you might want to keep all the valuable data in your Excel sheet while ditching the table structure that’s holding it. Luckily, there are two straightforward ways to do this. Let’s explore both options, allowing you to maintain your data without the confines of an Excel table.
Getting Rid of a Table While Keeping the Data Intact
Tables in Excel are mostly about formatting, but sometimes you want to ditch that formatting while preserving the data. It’s quite simple, really, and here’s how you can do it:
Step 1: Begin by selecting the table that you want to remove. Just click anywhere inside the table.
Step 2: Now, look for the “Table Design” tab. It’s usually at the top. Click on it.
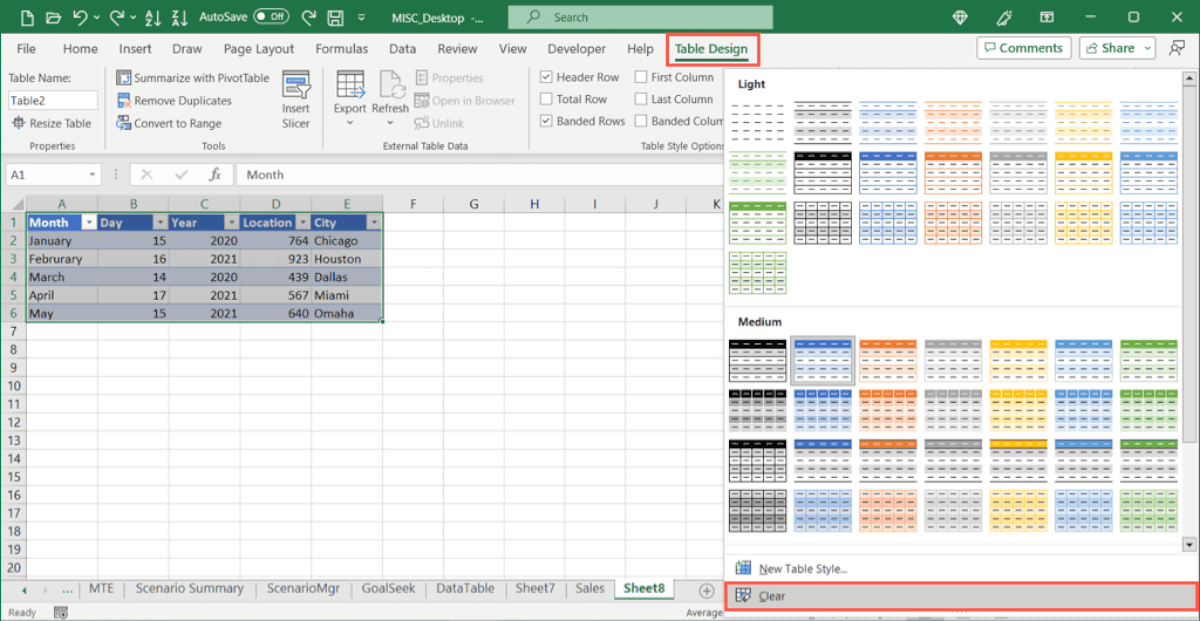
Step 3: Inside the “Table Design” tab, find the “Table Styles” box. At the bottom right of this box, there’s a little arrow called “More.” Click on it and choose “Clear.”

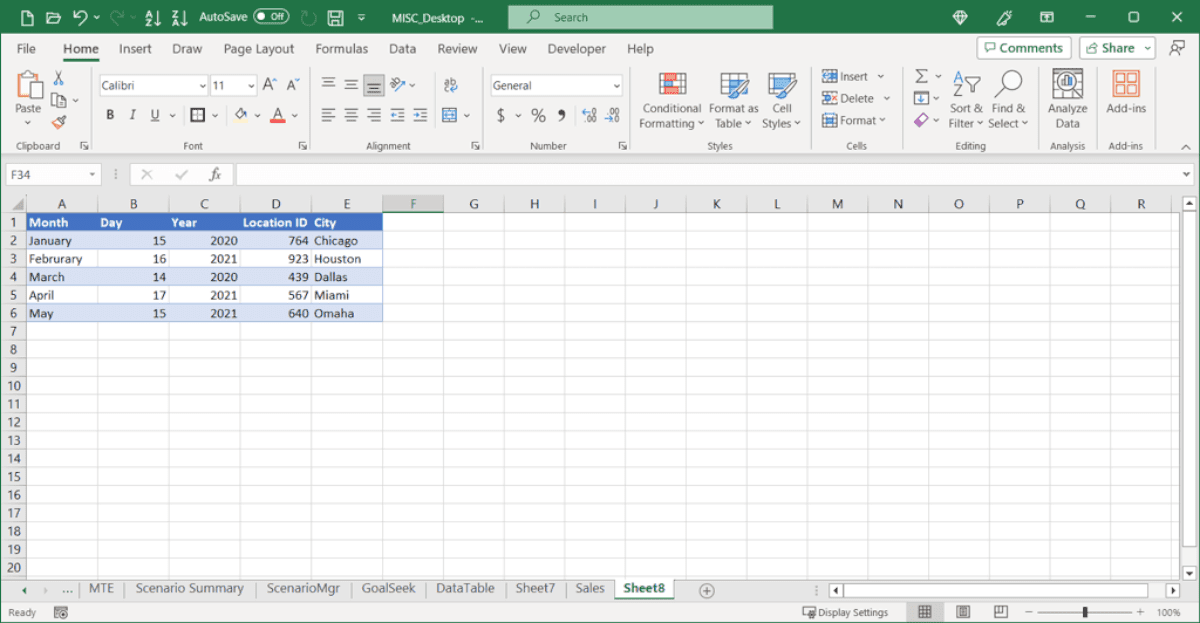
Step 4: Watch as your table disappears, leaving the data behind. If your table had headers, those will still be there with their handy filter buttons (those little arrows you use for sorting). To get rid of these headers and their filters, go to the “Home” tab, open the “Sort & Filter” drop-down menu, and simply deselect the “Filter” button.

By following these steps, you’ll have successfully removed the table structure but kept all the valuable data, leaving you with a clean and organized spreadsheet.
Turning Your Excel Table into Regular Data
There’s another way to get rid of that Excel table structure while keeping all your precious data intact. It’s as simple as converting your table into a regular range of cells. Here’s how to do it:
Step 1: First, select the table you want to transform. You can either go to the “Table Design” tab (if it’s visible) or right-click anywhere inside the table and move your cursor to the “Table” option.
Step 2: Next, you’ll see an option that says “Convert to Range.” Click on it.

Step 3: A pop-up window will appear asking if you’re sure about this. Confirm by selecting “Yes.”

Step 4: Now, you’ll have only your data left without the table structure. However, some formatting, like banded rows or columns, might still be there, depending on how you initially set up your table.
Step 5: To completely get rid of any remaining table formatting, go to the “Home” tab, open the “Clear” menu, and choose “Clear Formats.”

By following these steps, you’ll have effectively turned your Excel table into plain, unadorned data, giving you full control over how it looks and behaves without losing any valuable information.
Removing a Table in the Excel Mobile App
Good news for those of you using the Excel app on your Android or iOS devices—you can delete tables here too! What’s even better is that you can decide whether to keep or remove the data within the table, just like you can in the desktop and web versions of Excel. The best part? The steps are pretty much the same for both Android and iOS, making it a consistent experience across platforms. So, if you’re on the go and need to tidy up your spreadsheet, keep reading to learn how.
Erasing a Table and Its Contents
If you’ve got a table in your Excel worksheet that you want to bid farewell to along with its data, it’s as easy as 1-2:
Step 1: Begin by selecting the entire table. You can do this by picking any cell within the table, then dragging those little circles on the table’s border until the entire thing is highlighted.
Step 2: Once you’ve got the table selected, a handy toolbar will appear near it. Look for the arrow on this toolbar, which usually points to the right. Click on it, and among the options that appear, choose “Delete Table.”

And just like that, the table and everything it held will vanish from your worksheet, leaving your Excel file looking clean and tidy.
Removing a Table but Preserving the Data
If you’re looking to keep the data in your Excel table but lose the table structure, follow these steps:
Step 1: Start by selecting the whole table, just like we discussed before. Click on any cell within the table and then drag the little circles on the table’s border until the whole thing is highlighted.
Step 2: Now, here’s where it gets a bit different depending on whether you’re using Android or an iPhone:
- For Android: Look for an arrow, usually at the bottom right. Tap it to open editing options.
- For iPhone: Locate three dots, typically at the bottom right. Tap them to open editing options.
Step 3: In the editing options, you’ll find a “Table” tab. Go ahead and select it, and then choose “Convert to Range.”
Step 4: If there’s any remaining formatting that you want to get rid of, head over to the “Home” tab and click on “Clear,” then choose “Clear Formats.”

Following these steps will let you keep all your valuable data while shedding the Excel table structure. It’s like taking off a fancy jacket but still keeping the stylish shirt underneath.
Wrap-Up: Cleaning Up Your Excel Sheets with Confidence
In Excel, tables are handy for sorting, formatting, and crunching numbers, but they don’t always fit every situation. If you find yourself with a table you’d like to part with, no worries! You now have the knowledge to remove it while choosing whether to keep or toss the data within. So go ahead and clean up your worksheets with confidence, knowing you can always make your data look just the way you want it to. Happy Excel-ing!