Problem Symptom
Table of Contents
PlayOnMac is free application software for macOS that allows you to install and play PC games through wine, software compatibility layer which consume less power. This article will show you how to install and configure PlayOnMac in order to play PC games on Mac.

Does PlayOnMac need wine?
PlayOnMac is application software based on Wine to runs executable Windows programs on macOS.
Is wine safe for Mac?
Wine is an open source program that can run Windows software directly on a macOS without requiring a licensed copy of Windows to be installed or needing Windows to run in the background.
Is PlayOnMac an emulator?
PlayOnMac is a free compatibility layer and emulator for macOS that allows installation and playing of video games and other application software designed to run on Windows.
Solution: How to install and configure PlayOnMac to play PC game on Mac
Step 1: Enter the following command in the Terminal program to disable the software gatekeeping function:
sudo spctl --master-disable
Step 2: Close the Terminal program.
Step 3: Go to the System Preferences > Security & Privacy.
Step 4: Switch to the General tab.
Step 5: Click on the lock located at the bottom left corner, enter the login credential for System Preferences to unlock the Security & Privacy preferences.
Step 6: Select the Anywhere option for the Allow apps downloaded from section.

Step 7: Close the Security & Privacy box.
Step 8: Enter the following command in the Terminal program to install Homebrew on macOS:
/bin/bash -c "$(curl -fsSL https://raw.githubusercontent.com/Homebrew/install/HEAD/install.sh)"
Step 9: Enter the following command in the Terminal program to install Wine on macOS:
brew tap homebrew/cask-versions

brew install --cask --no-quarantine wine-stable
Step 10: Enter the following command in the Terminal program to install XQuartz on macOS:
brew install --cask xquartz
Step 11: Browse to PlayOnMac official site to download the PlayOnMac application. If you’re running macOS before 10.15 or earlier, download PlayOnMac 4.3.3; If you’re running macOS 10.15 or macOS 11+, download PlayOnMac 4.4.3.
Step 12: Mount the downloaded .dmg file to copy the PlayOnMac application to applications folder.
Step 13: Start the PlayOnMac application.
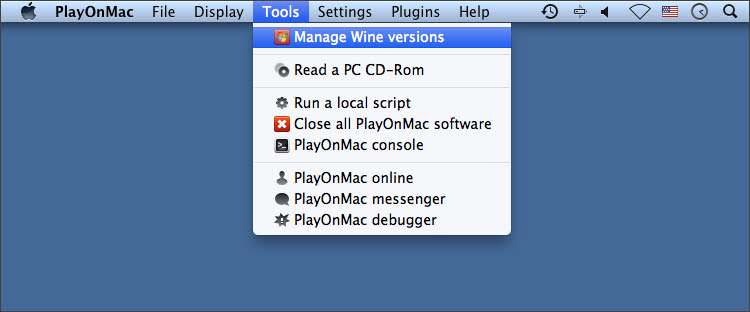
Step 14: Click the Tools > Manage Wine versions option.
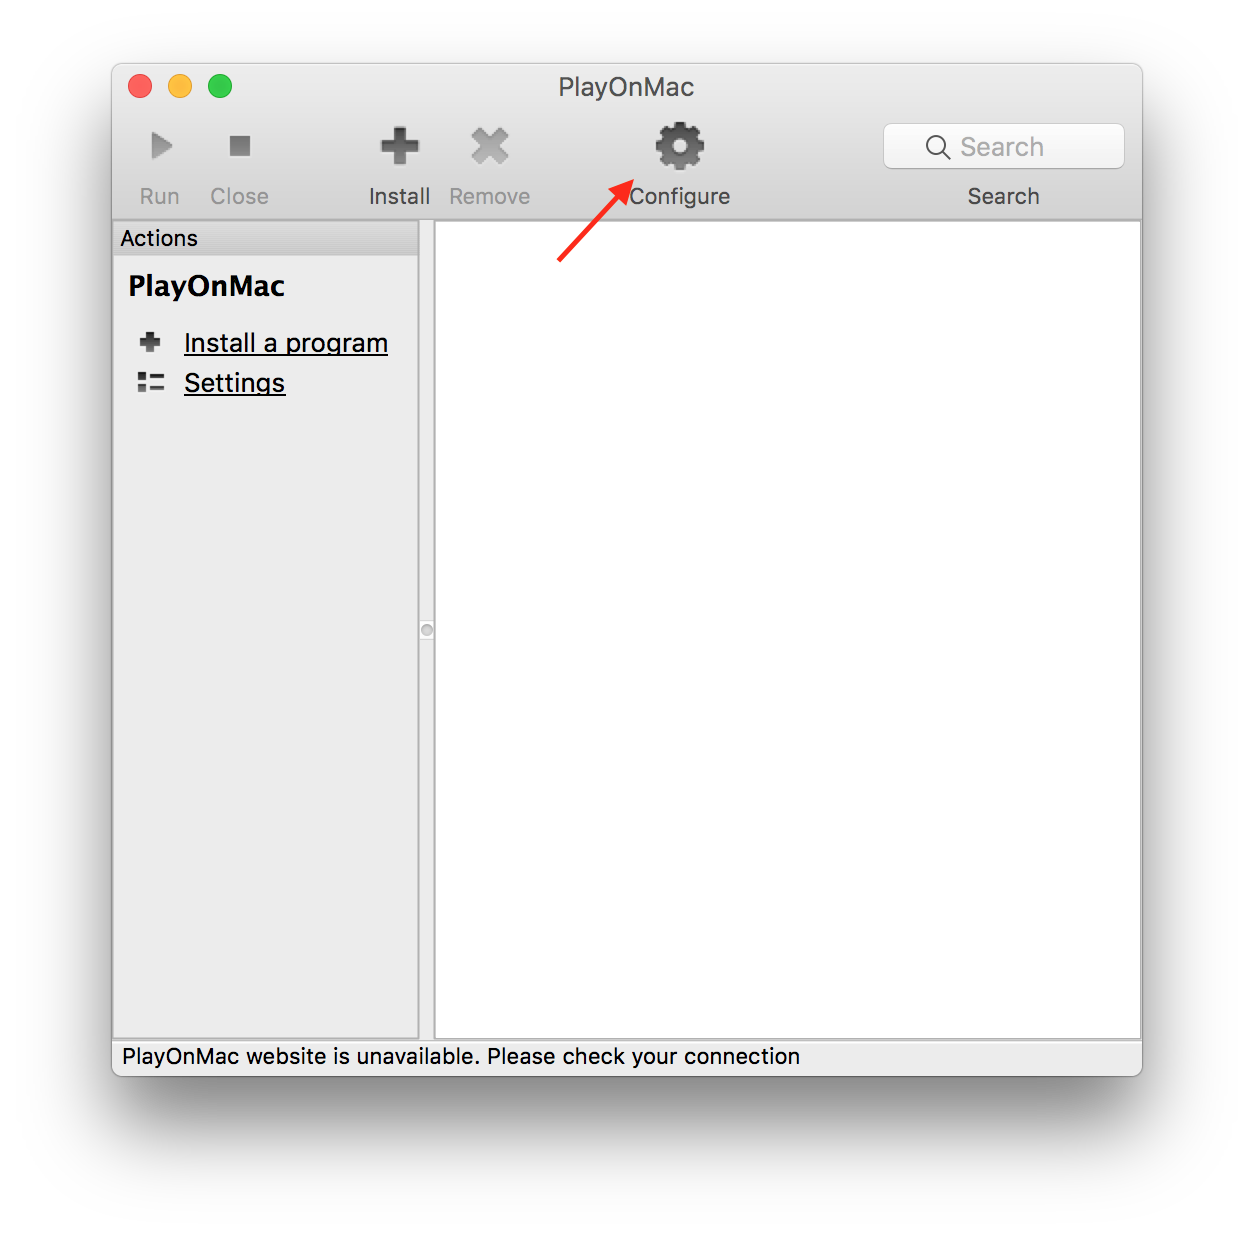
Step 16: Select Configure > New on the bottom right of screen.