How to move apps to external storage on Windows 11 when the internal drive is almost full? Here is detailed guidance to transfer the installed program to another drive without losing data.

After the official release of Windows 11, many Windows users upgraded their operating system to Windows 11. But because the Windows 11 operating system takes up a lot of disk space, over time, the computer will receive a low disk space warning.
“The internal hard drive is almost full, but you’re reluctant to uninstall apps to free up space because repeated downloads would be cumbersome.” I believe such troubles have been bothering you all the time. Fortunately, we can move apps to external storage on Windows 11. The benefits of moving installed programs from the internal hard drive to external storage are as follows:
- You can keep the apps and free up space on the internal hard drive.
- External storage is easy to carry.
This article will show you the detailed steps of how to move apps to external storage on Windows 11.
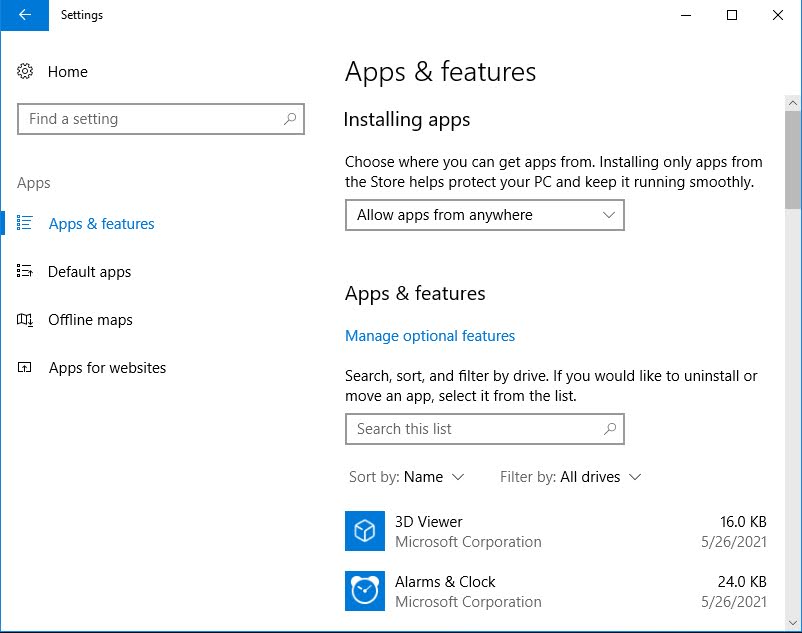
Step 1: Press the Window + I key together to open the Settings app.
Step 2: Click the Apps on the left sidebar.
Step 3: Click the Apps & features option in the list.
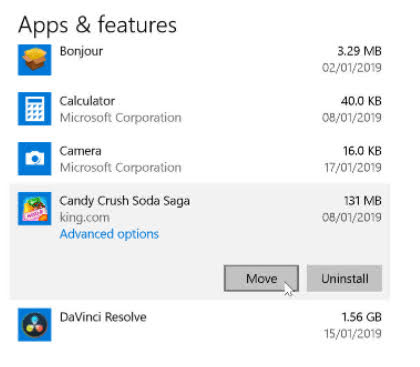
Step 4: Scroll down to locate the target app.
Step 5: Click on the three-dot icon at the end of the entry.
Step 6: Click on the Move option from the context menu.
Step 7: Select the external storage you like to move to.
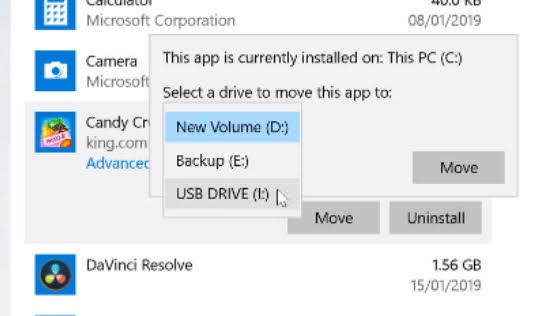
Note: This method only works for apps which installed from the Microsoft Store, otherwise the Move option will be grayed out.