Question
We are using Microsoft 365 Exchange Online. Can I create a company-wide signature template which is something Exclaimer?
Answer
You can create a disclaimer in Exchange Online as it was in Exchange on-premises which can include some variables indicate properties from the particular users. You can make a rule in Exchange Online to tack on a signature and even make custom ones based on users. The format can be HTML with external links to images as well. But, the quality of the result is far to have the same quality than Exclaimer, or equivalent products.
Although you can do this in Microsoft 365 natively but there are a few issues. For example, people cannot see it, so if they add their name or anything to the bottom of an email, you get a duplicate. We looked at Code42’s software, which provides more options, but in the end the company decided not to enforce a template for everyone.
Follow below steps to set up company-wide email signature natively in Microsoft 365 Exchange Online.
Step 1: Login to the Office 365 Admin portal.
Step 2: Click on the Exchange to open the Exchange admin center.

Step 3: Select the mail flow category from the left pane.
Step 4: At the rules tab, click the plus + sign and select the Apply disclaimers option.

Step 5: On the New rule page, type a name for the rule (e.g. “Company Signature”).
Step 6: Select The sender is located… option from the Apply this rule if drop-down list.

Step 7: Select Inside the organization option for the select sender location and click on the OK button.

Step 8: Select the Append the disclaimer option for the Do the following drop-down list
Step 9: Click the Enter text link to customize your signature.

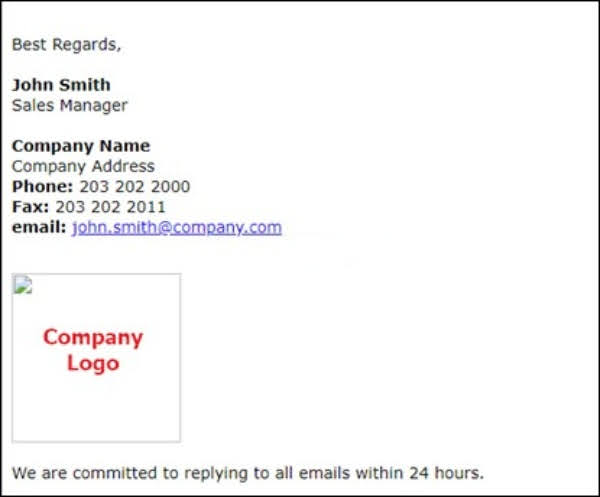
Step 10: At the specify disclaimer text box, you can either input your company details in plain text or HTML format, and you can use some special attributes to automatically acquire information for each user from the predefined list of Active Directory attributes such as Display Name, Tittle, Phone Number, Company Name, etc.).
Step 11: Click on the OK button when done.

Note:
- To add your own logo or image in the signature, you’ll need the image available on the Internet. In order to insert the public URL of that logo image on your signature, browse to the image on the web, right-click on it, and select Copy image address. After that paste the image’s URL address into the Specify disclaimer text box.
- You can use the following attributes for the signature if surrounded by %% (as in %%DisplayName%% in the above example).
- City
- Company
- Country
- CustomAttribute1 – CustomAttribute15
- Department
- DisplayName
- FaxNumber
- FirstName
- HomePhoneNumber
- Initials
- LastName
- Manager
- MobileNumber
- Notes
- Office
- OtherFaxNumber
- OtherHomePhoneNumber
- OtherPhoneNumber
- PagerNumber
- PhoneNumber
- POBox
- State
- Street
- Title
- UserLogonName
- ZipCode
Step 12: After customizing the signature, click the Select one link, and select what to do if the disclaimer can’t be inserted.

Step 13: Specify one of the available failback actions and click on the OK button:
- wrap: To forward the original message as attachment and stamp the forward.
- ignore: To send the message without a signature.
- reject: Don’t send the message.

Step 14: Scroll down choose the Enforce mode.
Step 15: Click on the Save button to save the new rule.
Note: Click the More options link to make changes if you want to activate or deactivate the rule at a specific time, or to add additional actions and exceptions to the signature rule.

Step 16: Select the Yes option to apply the rule to all the future messages.
Step 17: Wait for 15 to 20 minutes for the rule to apply.
Step 18: Proceed to test the signature.