Problem: Xbox Console Companion app displays a warning message “The sample rate for your microphone isn’t supported” when users try to set up a party using Xbox App although the microphone or the headset working fine with other application.

Follow below solution steps to fix Xbox app’s microphone isn’t supported warning.
Table of Contents
- Potential Causes
- Solution 1: Check Xbox Live Core Services status
- Solution 2: Check microphone permissions for the Xbox Console Companion app
- Solution 3: Fix NAT type in Xbox Networking
- Solution 4: Execute the Recording Audio Troubleshooter
- Solution 5: Update the microphone drivers
- Solution 6: Reinstall the microphone generic drivers
- Solution 7: Reset the Xbox Console Companion App
- Solution 8: Execute Windows 10 update
Potential Causes
- Common audio recording device inconsistency due to multiple conflicting apps or user mistake
- Corrupted Windows update
- Corrupted Xbox App
- Incompatible driver with Windows
- Xbox Live Core service is down
- NAT Type set as closed
Solution 1: Check Xbox Live Core Services status
Step 1: Open the browser and visit the official Xbox Live Status page.
Step 2: Verify whether any of the services are currently unavailable especially Xbox Live Core Services.

Step 3: If an exclamation point show next to certain services, then wait a while before trying to sign in again or use Xbox One Offline mode to access the game media library.
Solution 2: Check microphone permissions for the Xbox Console Companion app
Step 1: Press Windows + I key together to open the Settings app.
Step 2: Click on the Privacy option.
Step 3: Go to the left panel and click on the Microphone option.
Step 4: In the right pane, scroll down to find the Xbox Console Companion option.
Step 5: Make sure the toggle switch to On.

Solution 3: Fix NAT type in Xbox Networking
Step 1: Press Windows + R key to open the Run dialogue box.
Step 2: Type ms-settings: and press Enter to open up the Settings app.
Step 3: Scroll down to the bottom o list and click on Gaming.
Step 4: Select the Xbox Networking option from the left menu.
Step 5: Wait till the status of the NAT Type and Server connectivity appear under the Xbox Live multiplayer section. If the Server connectivity status shows as Blocked, then click on the Fix it button.

Step 6: Restart your computer.
Solution 4: Execute the Recording Audio Troubleshooter
Step 1: Press Windows + R key to open the Run dialogue box.
Step 2: Type ms-settings:troubleshoot and press Enter to open up the Troubleshooting tab of the Settings app.
Step 3: Move down to the right-hand menu and click on Recording Audio.
Step 4: Press the Run the troubleshooter button.

Step 5: Select the microphone you need to fix the issue for.

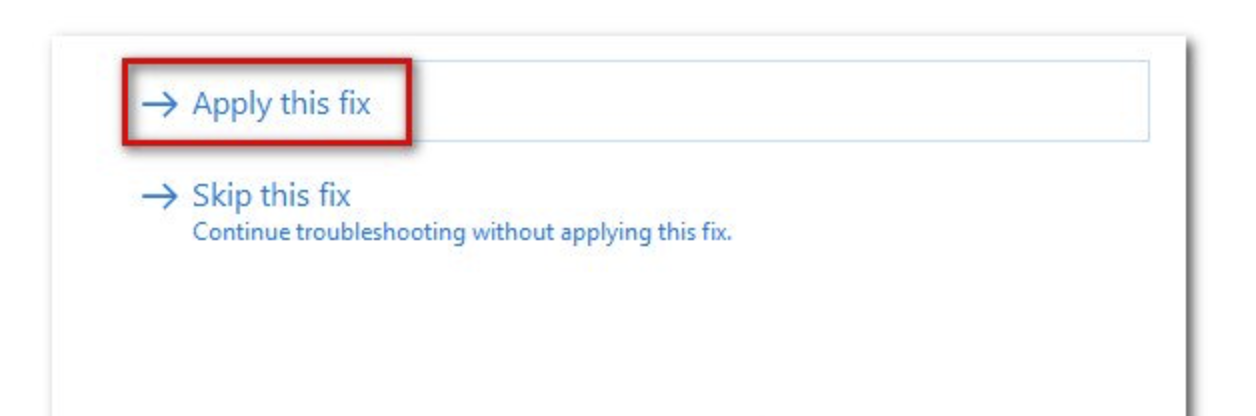
Step 6: Wait until the analysis is complete, then click on Apply this fix if a viable repair strategy is recommended.
Step 7: Restart your computer.
Solution 5: Update the microphone drivers
Step 1: Press Windows + X keys together then click on the Device Manager option.
Step 2: Click on the Audio inputs and outputs option to expand the driver list.
Step 3: Locate the microphone drivers or headset drivers.
Step 4: Right-click on the driver and select the Update driver or Update Driver Software option from the context menu.

Step 5: Click on the Search automatically for the drivers or Search automatically for updated driver software option.

Step 6: Windows will start to look for a newer version of the driver from the Internet. If available, you will be prompted about the same.
Step 7: If the newer version of the driver found, proceed with the installation.
Step 8: Restart your PC.
Solution 6: Reinstall the microphone generic drivers
Step 1: Press Windows + R key to open a Run dialogue box.
Step 2: Type mmsys.cpl and press Enter to open up the Sound window.
Step 3: Go to the Recording tab.
Step 4: Select the Microphone that you’re having issues with.
Step 5: Click the Properties button.

Step 6: In the General tab, click on the Properties button under Controller information section.

Step 7: Go to the Driver tab.
Step 8: Click on the Uninstall Device button.

Step 9: Click on the Uninstall button again to confirm the uninstallation to proceed.
Step 10: Restart your computer.
Step 11: Windows will start to install the generic drivers automatically.
Step 12: Restart again once the generic driver installation completed.
Solution 7: Reset the Xbox Console Companion App
Step 1: Press the Windows + I to open Settings.
Step 2: Go to Apps > Apps and Features > Xbox Console companion.
Step 3: Click on the app entry.
Step 4: Click the Advanced options link.
Step 5: Click the Reset button.

Step 6: Click the Reset button at the confirmation prompt to start the reset process.
Step 7: Restart the Windows after reset the Xbox Console Companion app.
Solution 8: Execute Windows 10 update
Step 1: Press Windows + R key to open a Run dialogue box.
Step 2: Type ms-settings:windowsupdate and press Enter to open the Windows Update tab of the Settings app.
Step 3: Click on the Check for updates button for Windows to initiate the scan.
Step 4: If there is an update available, you will see a Download and install now option, click on it and follow the on-screen prompts to download and install the pending Windows update.

Step 5: Restart your computer.