Problem Symptom
Table of Contents
- Problem Symptom
- What is Antimalware Service Executable: Microsoft Defender Antivirus Service?
- Potential Causes
- Pre-check
- Solution 1: Turn Off Real-Time Protection from Windows Security
- Solution 2: Enable turn off Real-Time Protection group policy
- Solution 3: Modify Task Scheduler Trigger for Windows Defender
- Solution 4: Disable Windows Defender via Registry Editor
- Solution 5: Stop Windows Defender Antivirus Service
- Solution 6: Enable turn off Windows Defender group policy
- Solution 7: Exclude MsMpEng.exe process
- Solution 8: Cleanup Security intelligence updates
- Solution 9: Disable the Exploit Protection Service using PowerShell
- Solution 10: Disable Dell’s True Color app
Many Windows users reported facing high CPU, Disk, and memory usage on their Windows 11 PC. After checking in the Task Manager, noticed that a process called Antimalware Service Executable: Microsoft Defender Antivirus Service takes up most of the computer resources.

Follow the below solution steps to resolve Antimalware Service Executable high resource usage in Windows 11.
What is Antimalware Service Executable: Microsoft Defender Antivirus Service?
Antimalware Service Executable is an essential Windows Defender service to protect your PC from malware threats. Antimalware Service Executable: Microsoft Defender Antivirus Service typically runs in the background constantly to monitor the PC.
Note: We highly recommended DO NOT disable the Antimalware Service Executable: Microsoft Defender Antivirus Service if you do not have a third-party antivirus installed.
Potential Causes
- Real-Time Protection Scan: If you find the Antimalware Service Executable: Microsoft Defender Antivirus Service takes up a lot of CPU and memory resources, which means the program may be scanning your PC for malicious software in real-time.
- Full Scan: If you have added a lot of files or installed large files, Antimalware Service Executable will take time to do a full scan.
- Outdated or corrupted drivers: Antimalware Service Executable can experience high CPU and memory usage due to the use of out-of-date Windows drivers and files.
- Process Mitigation is in control of the Exploit Protection Service which forces the Windows Defender Antivirus Service to retry disabling the activities of a particular app or folder but isn’t able to do so due to some restrictions being imposed on that content.
- Interlink between Dell’s True Color app and the Antimalware services.
Pre-check
Make sure to check and install the latest Windows update.
Solution 1: Turn Off Real-Time Protection from Windows Security
Real-Time protection constantly monitors your PC to protect it against malware and virus threats. As the process is tightly integrated with the Microsoft Defender Antivirus Service, turning the Real-Time protection off might help.
Step 1: Go to the Start Menu and type Security to perform a search for it.
Step 2: Click on the Windows Security app from the search results.

Step 3: Click on the Virus & threat protection tab from the left sidebar.
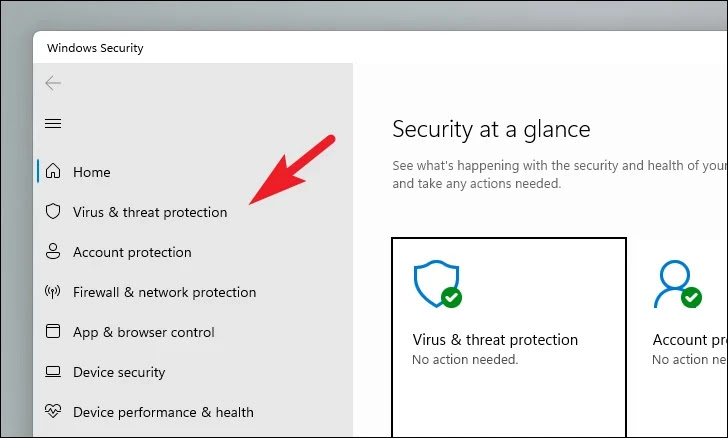
Step 4: Click on the Manage settings link under the Virus & threat protection settings section.

Step 5: Toggle off the Real-time protection function.

Solution 2: Enable turn off Real-Time Protection group policy
Step 1: Go to the Start Menu and type gpedit to perform a search.
Step 2: Click on the Edit group policy to proceed.

Step 3: Go to Computer Configuration > Administrative Templates > Windows Components > Windows Defender Antivirus > Real-Time Protection.
Step 4: Double-click the Turn-off real-time protection settings on the right panel.
Step 5: Choose the Enabled option.

Step 6: Click the OK button to save the change.
Solution 3: Modify Task Scheduler Trigger for Windows Defender
You can change the trigger setting for Windows Defender Scheduled Scan if turning off Windows Defender is not an option so that you won’t lose the protection but reduce its impact on the performance.
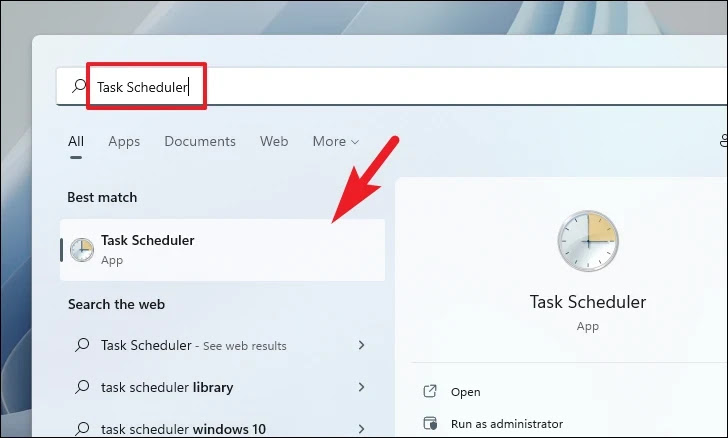
Step 1: Go to the Start Menu and type Task Scheduler to perform a search for it.
Step 2: Click on the Task Scheduler app to proceed.
Step 3: Expand the Task Scheduler Library node from the left section of the window.

Step 4: Expand the Microsoft folder.
Step 5: Expand the Windows folder.

Step 6: Scroll down to locate the Windows Defender folder from the list and click on it.

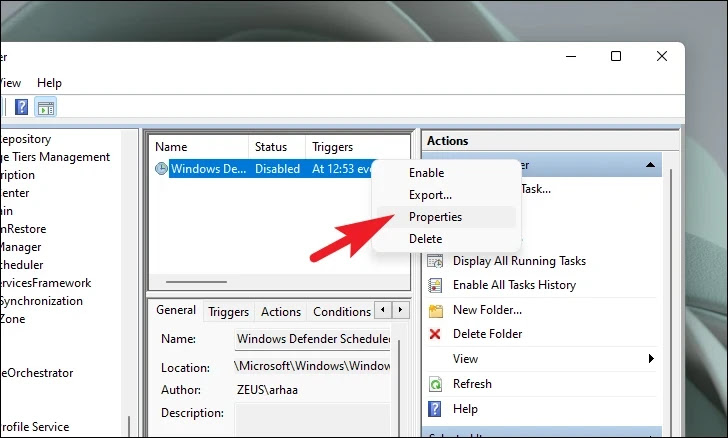
Step 7: Right-click on the Windows Defender Schedule Scans from the right section.
Step 8: Select the Properties option from the context menu to open the Windows Defender Scheduled Scan Properties window.
Step 9: At the General tab, uncheck the Run with highest privileges setting in the Security options.

Step 10: Click on the Conditions tab.
Step 11: Uncheck all checkboxes under Idle, Power, and Network including:
- Start the task only if the computer is idle for
- Start the task only if the computer is on AC power
- Start only if the following network connection is available.

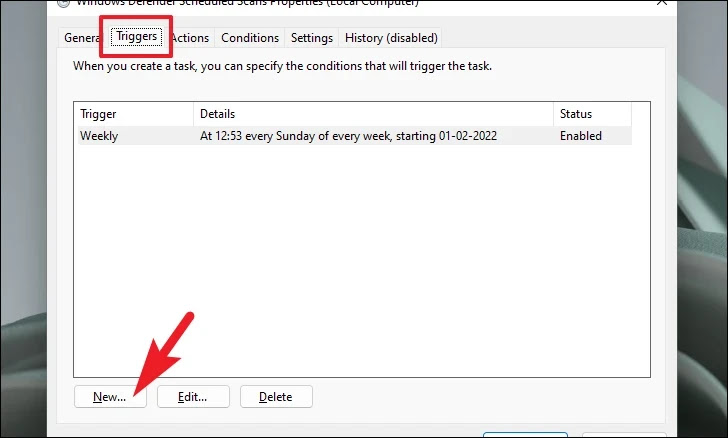
Step 9: Click on the Triggers tab.
Step 10: Click on the New button to open the New Trigger window.
Step 11: Select the On a schedule option from the list of dropdown menu for the Begin the task field.

Step 12: Click on the radio button beside the Weekly option to select the weekly frequency.
Step 13: Set a time for the scan to run from the right section of the window.
Step 14: Select the day you are less likely to use your PC for work.
Step 15: Click on the OK button to save the changes.

Step 16: Select the trigger’s schedule that was not created by you.
Step 17: Click on the Delete button.

Solution 4: Disable Windows Defender via Registry Editor
In the event that you already have third-party antivirus software installed on your PC, you can choose to disable Windows Defender permanently via Registry Editor (regedit).
Step 1: Go to the Start Menu and type Registry Editor to perform a search.
Step 2: Click on the Registry Editor app to proceed.

Step 3: Navigate to the below address:
Computer\HKEY_LOCAL_MACHINE\SOFTWARE\Microsoft\Windows DefenderAlternatively, you can copy and paste the address in the address bar and press Enter key to navigate.

Step 4: Right-click on the Windows Defender option from the left section.
Step 5: Hover over the New option from the menu.
Step 6: Click on the DWORD (32-bit) Value option from the sub-menu.

Step 7: Rename the file to DisableAntiSpyware.
Step 8: Double-click on the DisableAntiSpyware file to open it.
Step 9: Type 1 in the ‘Value data’ field.

Step 10: Click on the OK button to save the change.
Step 11: Restart your PC for the change to take effect.
Solution 5: Stop Windows Defender Antivirus Service
In the event that you already have third-party antivirus software installed on your PC, you can choose to disable Windows Defender permanently via Services.
Step 1: Go to the Start Menu and type Services to perform a search.
Step 2: Click on the Services app to proceed.

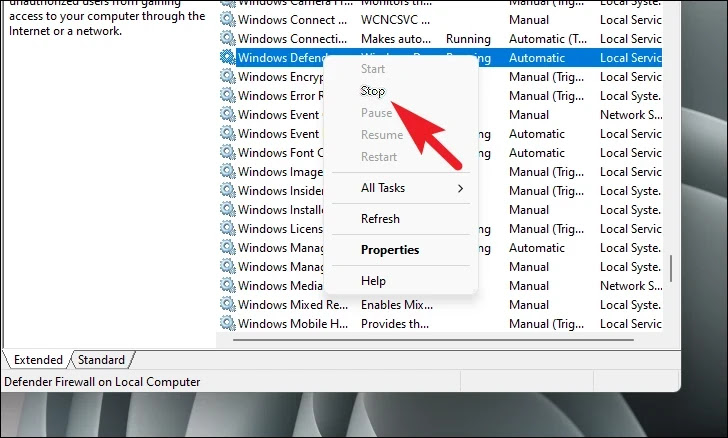
Step 3: Scroll down to locate the Windows Defender Antivirus Service from the list.
Step 4: Right-click on the Windows Defender Antivirus Service.
Step 5: Click on the Stop option to stop the service.
Solution 6: Enable turn off Windows Defender group policy
Step 1: Go to the Start Menu and type gpedit to perform a search.
Step 2: Click on the Edit group policy to proceed.
Step 3: Go to Computer Configuration > Administrative Templates > Windows Components > Windows Defender or Windows Defender Antivirus.
Step 4: Switch to the Extended tab in the right area.
Step 5: Double-click the Turn off Windows Defender Antivirus settings on the right panel.

Step 6: Choose the Enabled option.
Step 7: Click the OK button to save the change.

Solution 7: Exclude MsMpEng.exe process
Step 1: Go to the Start Menu and type Security to perform a search for it.
Step 2: Click on the Windows Security app from the search results.
Step 3: Click on the Virus & threat protection tab from the left sidebar.
Step 4: Click on the Manage settings link under the Virus & threat protection settings section.
Step 5: Scroll down to locate the Exclusions section, and click on the Add or remove exclusions link.

Step 6: Scroll down to choose the Exclude a .exe, .com or .scr process option.

Step 7: Type MsMpEng.exe. then click the OK button.

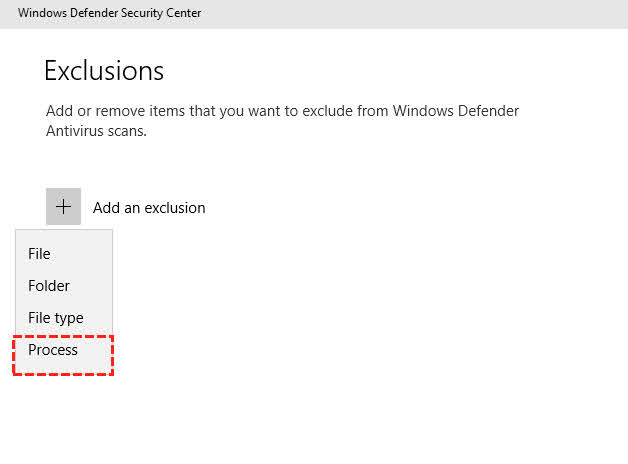
Step 8: If you can’t find the Exclude a .exe, .com or .scr process option, click the plus sign (+) to add an exclusion.
Step 9: Choose the Process option.
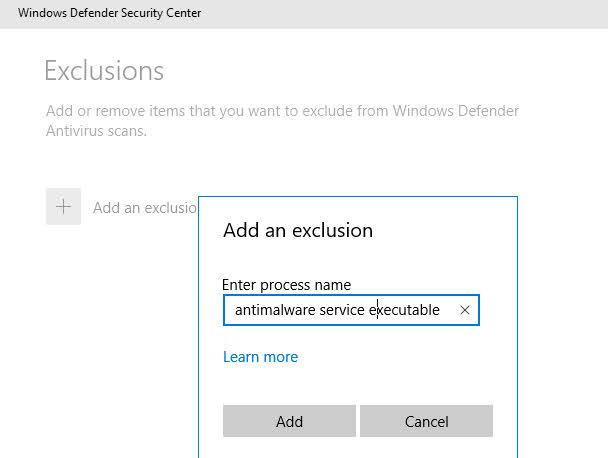
Step 10: Type antimalware service executable.
Step 11: Click on the Add button.
Note: Alternatively, you can select the Folder or File option and choose the Windows Defender folder with the Antimalware Service Executable MsMpEng.exe. In most cases, it is found under this path: C:\ProgramData\Microsoft\Windows Defender\Platform.
Solution 8: Cleanup Security intelligence updates
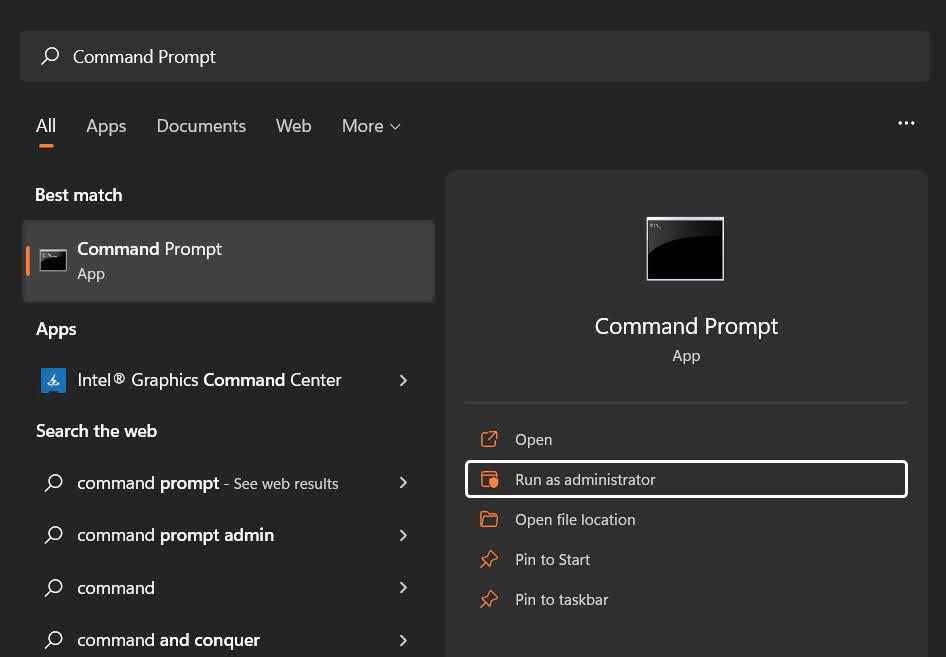
Step 1: Go to the Start Menu and type Command Prompt to perform a search for it.
Step 2: Click on the Run as administrator option from the search results.
Step 3: Type the following command and press the Enter key to restores the installed Security intelligence to a previous backup copy or to the original default set:
“%PROGRAMFILES%\Windows Defender\MPCMDRUN.exe” -RemoveDefinitions -AllStep 4: Run the following command and press the Enter key to check for new Security intelligence updates:
“%PROGRAMFILES%\Windows Defender\MPCMDRUN.exe” -SignatureUpdate
Step 5: Wait for the process to complete.
Solution 9: Disable the Exploit Protection Service using PowerShell
Step 1: Go to the Start Menu and type Command Prompt to perform a search for it.
Step 2: Click on the Run as administrator option from the search results.
Step 3: Type the following command and press the Enter key to disable the Exploit Protection Service:
powershell “ForEach($v in (Get-Command -Name \”Set-ProcessMitigation\”).Parameters[\”Disable\”].Attributes.ValidValues){Set-ProcessMitigation -System -Disable $v.ToString().Replace(\” \”, \”\”).Replace(\”`n\”, \”\”) -ErrorAction SilentlyContinue}”![Type the following command and press the Enter key to disable the Exploit Protection Service: powershell “ForEach($v in (Get-Command -Name \”Set-ProcessMitigation\”).Parameters[\”Disable\”].Attributes.ValidValues){Set-ProcessMitigation -System -Disable $v.ToString().Replace(\” \”, \”\”).Replace(\”`n\”, \”\”) -ErrorAction SilentlyContinue}”](https://lh3.googleusercontent.com/pw/AM-JKLUVO6ZN9JvWH9aFiUtdRvQfxrkvJUE2Ffqv-uapJuORwVj-Z2sW55AB-oKEZiNXSxk3ehfCPS3HY1l3G-SuMDV2XiGAMEBu13KRmKsA5BqH22xc6EDfaEJFoLlgUPxSRYpkDLLYwgsW17-YNBDJyHM70A=w1057-h371-no?authuser=0)
Step 4: Restart your PC for the change to take effect.
Solution 10: Disable Dell’s True Color app
Step 1: Press the Ctrl + Shift + Esc shortcut key combinations to open the Task Manager.
Step 2: At the Processes tab, select the TrueColorALS.exe under the Background Processes section.
Step 3: Click on the End Task button located at the bottom right.
