Table of Contents
- Problem Symptom
- Potential Causes
- Solution 1: Check domain authentication
- Solution 2: Check public and private network settings
- Solution 3: Turn on sharing option
- Solution 4: Enable Network discovery option
- Solution 5: Enable File and printer sharing option
- Solution 6: Download and install KB5006674 or KB5007253 Update
- Solution 7: Enable Insecure guest logons in group policy
- Solution 8: Allow insecure guest authentication in registry
Problem Symptom
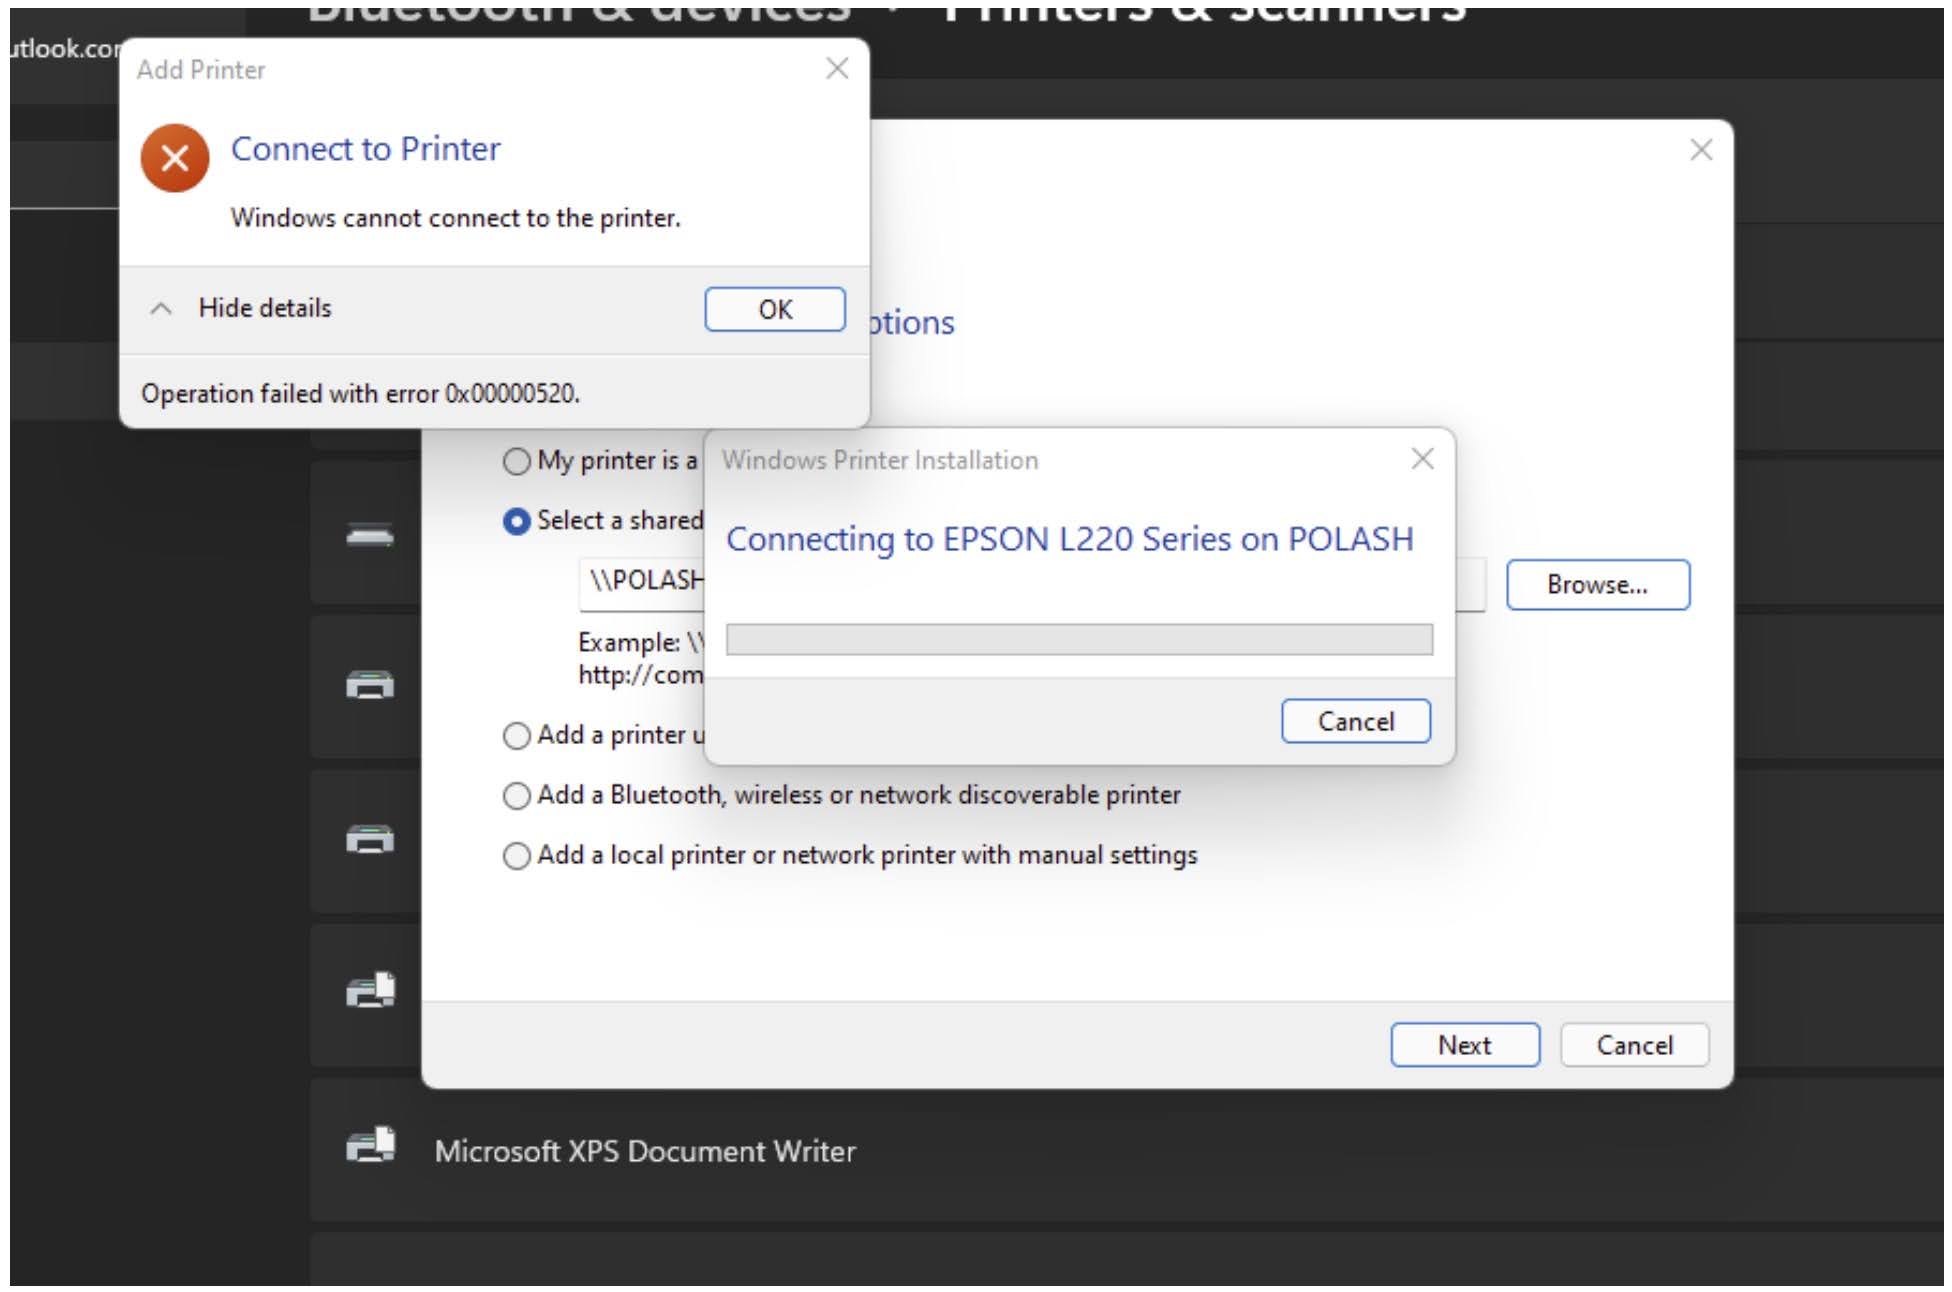
Windows user reported failed to add or connect to printer with error code 0x00000520 prompt when trying to connect a printer to their local network especially happen after Windows updates installed.
The detailed error message is as below:
Add Printer
Connect to Printer
Windows cannot connect to the printer.
Operation failed with error 0x00000520.
Follow the below solution steps to resolve Add Printer Operation failed error 0x00000520 issue.
Potential Causes
- A specified login session was not found, or it was terminated.
- Network settings are not updated.
- Not allowed to be discoverable by other devices on your network.
- The sharing setting is off
- Security vulnerabilities caused by Windows updates.
Solution 1: Check domain authentication
Check the authentication of the domain that you are trying to connect to and make sure that everything is good.
Solution 2: Check public and private network settings
Step 1: Press Windows key + I on keyboard to open the Windows Settings app.
Step 2: Click on Network and Internet link located on the left side panel if you are on Windows 11.

Step 3: Click on either Wi-Fi or Ethernet in the left panel.
Step 4: Check the Public and Private network settings.

Solution 3: Turn on sharing option
Step 1: Click on the Network icon in the notification area to display the available Networks. Alternatively, you can use this shortcut link to open the available network list.
Step 2: Right-click on the Network you are currently connected.

Step 3: Click on the Turn sharing on or off option from the context menu.

Step 4: Click on Yes turn on sharing and connect to devices option.

Note: If the Turn sharing on or off option is not showing, rename the NewNetworkWindowOff to NewNetworkWindowNotOff in the following registry entry: HKLM\System\CurrentControlSet\Control\Network\
Solution 4: Enable Network discovery option
Step 1: Press Windows key + I on keyboard to open the Windows Settings app.
Step 2: Click on Network and Internet link located on the left side panel if you are on Windows 11.
Step 3: Click on either Wi-Fi or Ethernet in the left panel.
Step 4: Look for the Related setting section on the right, then click on the Change advanced sharing settings. Alternatively, you can click on this shortcut link to open the Change advanced sharing settings windows.

Step 5: Expand the network profile currently assigned to your network connection.
Step 6: Select Turn on network discovery option in the Network discover section.
Step 7: Check the Turn on automatic setup of network connected devices option as well.

Step 8: Click on the Save Changes button.
Note: Refer to this Microsoft Troubleshooting Docs if you are unable to turn on Network Discovery in Network and Sharing Center.
Solution 5: Enable File and printer sharing option
Step 1: Press Windows key + I on keyboard to open the Windows Settings app.
Step 2: Click on Network and Internet link located on the left side panel if you are on Windows 11.
Step 3: Click on either Wi-Fi or Ethernet in the left panel.
Step 4: Look for the Related setting section on the right, then click on the Change advanced sharing settings. Alternatively, you can click on this shortcut link to open the Change advanced sharing settings windows.
Step 5: Expand the network profile currently assigned to your network connection.
Step 6: Select Turn On File and Printer Sharing option in the File and Printer Sharing section.

Step 7: Click on the Save Changes button.
Solution 6: Download and install KB5006674 or KB5007253 Update
There is a update fix released by Microsoft which you can download and install on your Windows to resolve this network printer issues in case it was being triggered by an update.
Step 1: Open your browser and visit Microsoft Update Catalog website.
Step 2: Search for the below update via the Search field:
Step 3: Download the update for by clicking the Download button.

Step 4: Install the download executable file on your Windows.
Step 5: Restart your Windows for the changes to take effect.
Solution 7: Enable Insecure guest logons in group policy
The Guest access in SMB2 is disabled by default within the latest Windows 10 Fall Creators Update. Follow the below steps to enable the insecure guest logon in group policy.
Step 1: Press on the Windows key + R to open the Run box.
Step 2: Type gpedit.msc in the Run box and press Enter to open the local Group Policy Editor.
Step 3: Select the Administrative Templates > Network > Lanman Workstation.
Step 4: Double click on the Enable Insecure guest logons option.
Step 5: Check the Enable option.

Step 6: Click on the OK button.
Alternatively, you can execute below command using administrator elevated command prompt:
sc.exe config lanmanworkstation depend= bowser/mrxsmb10/nsisc.exe config mrxsmb20 start= disabled
Solution 8: Allow insecure guest authentication in registry
Step 1: Press Windows key + R to open a Run box.
Step 2: Type regedit and press Enter to open up the Registry Editor. Click Yes to grant administrative privileges when prompted by the UAC (User Account Control). If you are installing as a new OS, you need to press the Shift + F10 key to open the command prompt and type regedit.exe to open the Registry Editor.
Step 3: Navigate to the following location: HKEY_LOCAL_MACHINE\SYSTEM\CurrentControlSet\Services\LanmanWorkstation\Parameters
Step 4: Double-click on AllowInsecureGuestAuth and change its value to 1 to allow insecure guest authentication.
