What’s the goal? To enable Google Search Console tools for website
Why does it matter? Google Search Console will allow you to monitor, maintain, and troubleshoot site’s presence in Google Search results. It will help you understand and improve how Google sees site.
What’s the result? Google Search Console enabled and ownership of website verified.
When do you do this? As soon as possible once you launch website. But you will need to do it every time you create a subdomain, or add a new protocol (eg. migrate from http:// to https://)
Any special requirements? Ideally, you need to have installed Google Tag Manager on site. If you haven’t added Google Tag Manager to site, you can check out our SOP-002 “Install Google Tag Manager on WordPress”. But we also cover other verification methods in this guide.
️Who should do it? The owner of the website or the person in charge of analytics.
Where this is done? In the Google Search Console tool website.
How long will this take? about 15 minutes.
Let’s get started, in 15-min you’ll start to get SEO recommendations directly from Google and receive future alerts from them.
Environment setup
Table of Contents
- Environment setup
- Enabling Google Search Console tool with Google Tag Manager
- Verifying property with Google Analytics
- Verifying property with Domain name provider
- Verifying property with an HTML tag on a WordPress
- Verifying property with an HTML tag on a WordPress Website with Yoast SEO Plugin
- Verifying property with HTML file (Optional)
- Verify “Domain Property” (IMPORTANT)
- Verifying with domain provider
- We recommend that you use Google Chrome browser to navigate the web,
- Administrator access to website,
- A Google Account (Gmail, G-Suite).
Enabling Google Search Console tool with Google Tag Manager
Step 1: Go to the Google Search Console website.
Step 2: Click on Start now.

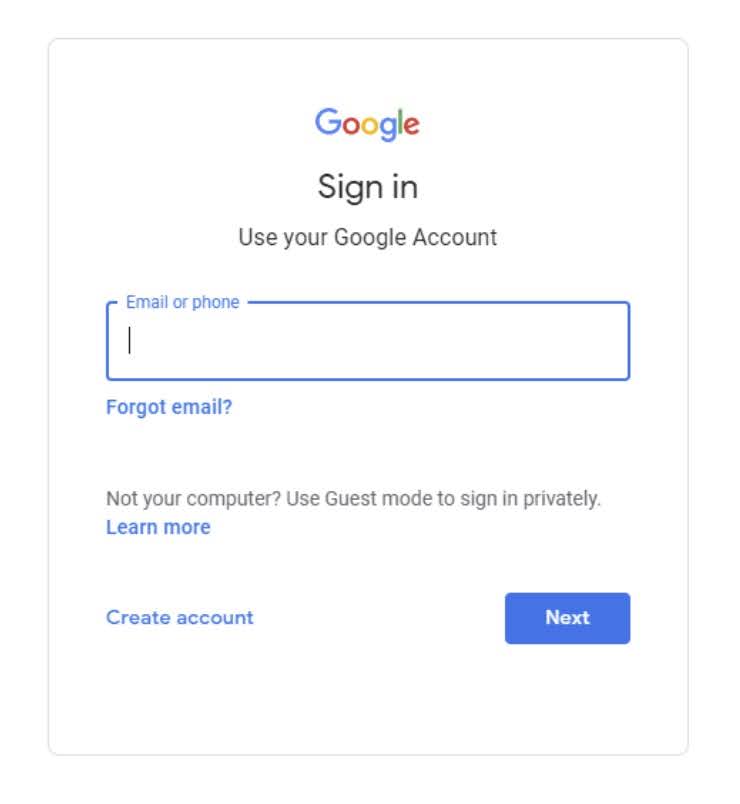
Step 3: Log in with Google Account.
Step 4: On the next page, start with the URL prefix method.

Step 5: Enter website URL as it appears in the web browser search bar (including HTTP).

Step 6: Press CONTINUE.

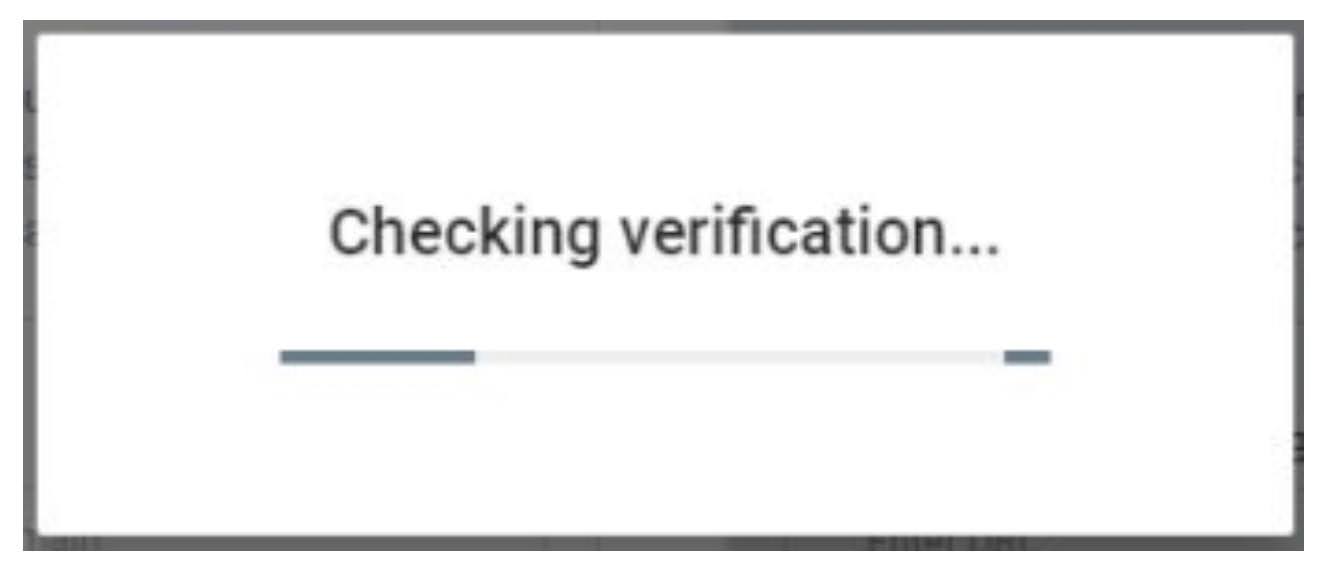
Step 7: Google Search Console tool automatically will try to verify if you are the owner of the website via Google Tag Manager so Checking verification… message will appear.
Step 8: After checking you will be presented with confirmation that ownership is verified via Google Tag Manager. This process should be fully automated due to the recent Google Services Expansion.

Step 9: Press on GO TO PROPERTY.

And that’s it. Google Search Console is properly enabled for website. Don’t close Google Search Console yet. Now you should add more verification methods to property in case you ever change one of them. Also at the button of this SOP, we’ll explain how to verify the Domain property.
Verifying property with Google Analytics
Verification Requirements: You need to have Google Analytics set up on website. If you haven’t done it yet, you can refer to article How to setup Google Analytics using WordPress Plugin and How to setup Google Analytics using Google Tag Manager.
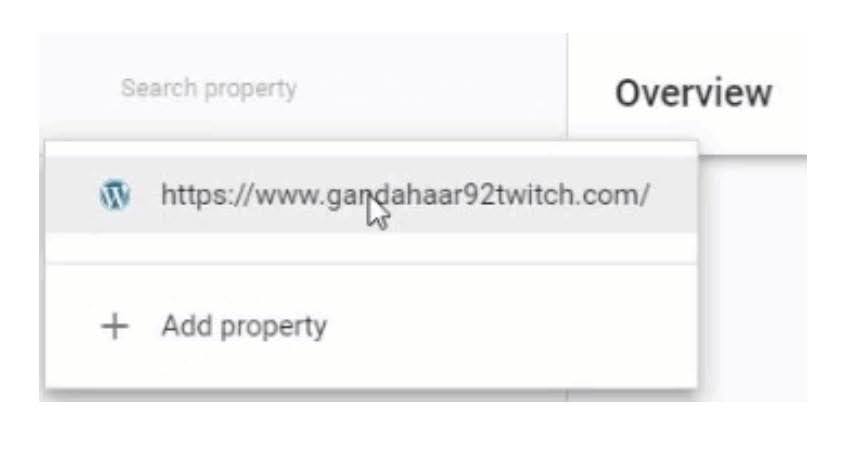
Step 1: In the Google Search Console tool, in the upper left corner, select Property.
Step 2: Click on Settings on the left side menu.

Step 3: Property settings window will appear.

Step 4: Click on the arrow in the Ownership verification line.

Step 5: You will see a list of available Additional verification methods.

Step 6: Click on the arrow in the Google Analytics line to expand it.

Step 7: Press VERIFY.

Step 8: Verification process pop-up will appear and should end with Verification successful.

Step 9: Website is now successfully verified with the Google Analytics method.

Verifying property with Domain name provider
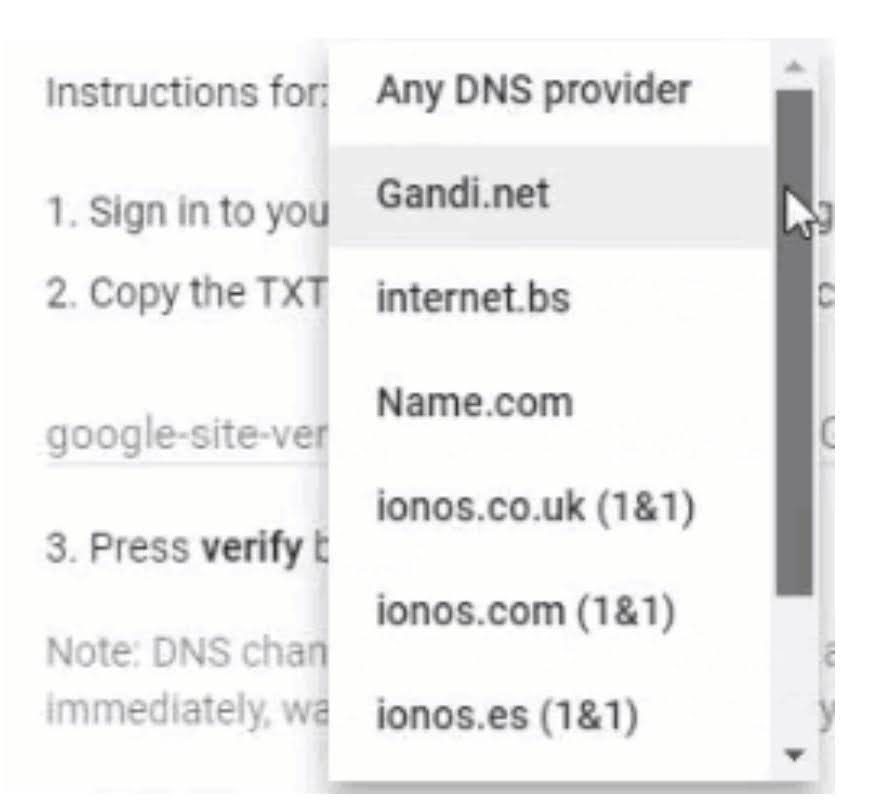
Step 1: Click on the arrow in the Domain name provider line.

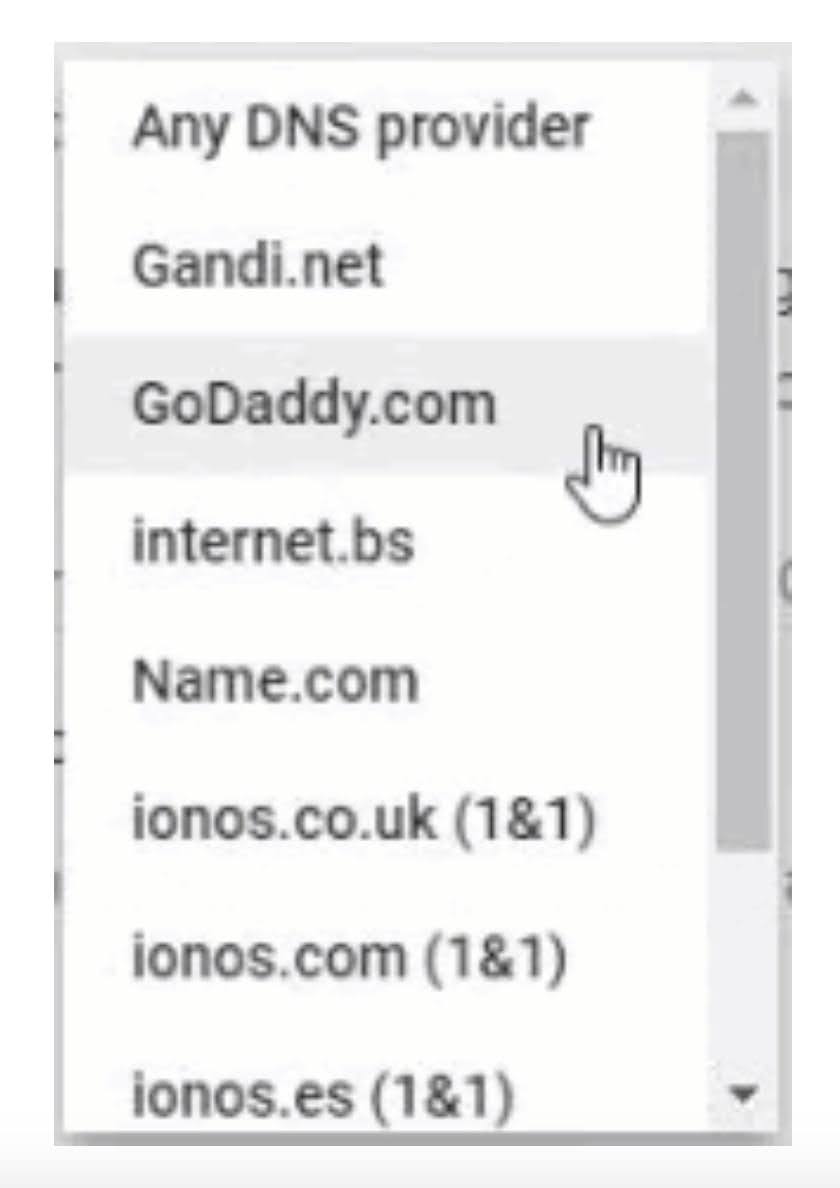
Step 2: Choose Domain provider (Registrar) from the dropdown list.
Step 3: After choosing Domain provider, click on START VERIFICATION.

Step 4: You’ll be redirected to domain name provider/registrar and be asked to verify ownership of domain by sign-in and authorizing Google to access account.
Verifying property with an HTML tag on a WordPress
Verification Requirements: You need to have administrator access to website to edit website code. For this guide we will be editing code on a WordPress website.
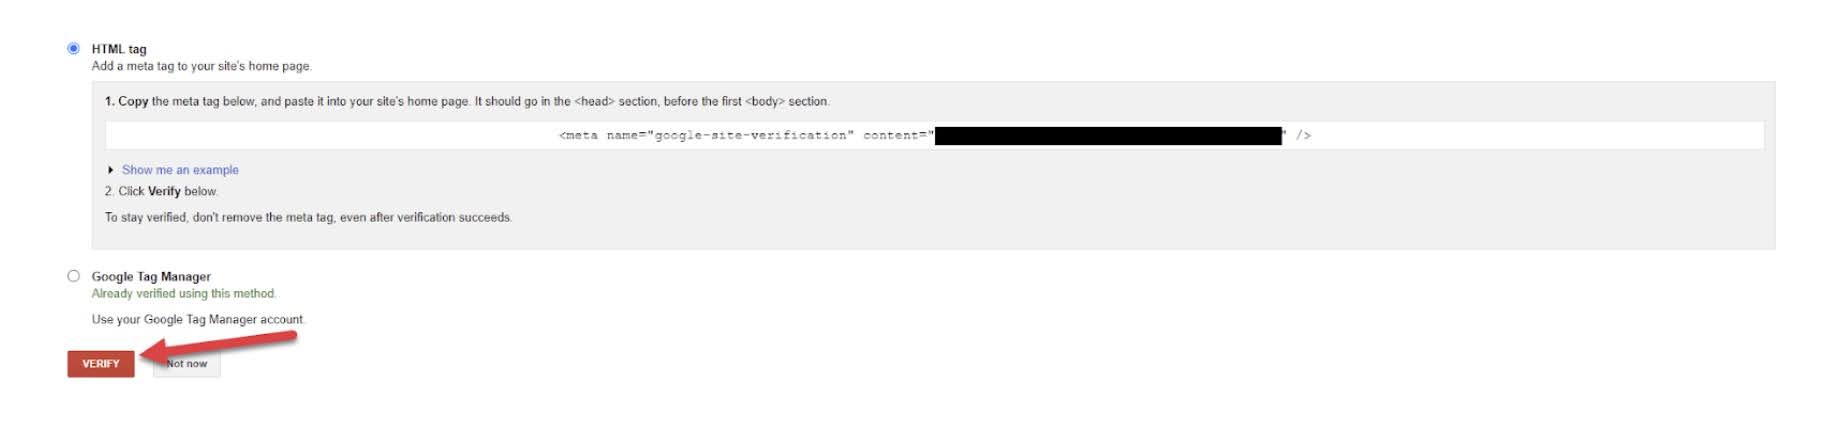
Step 1: Click on the arrow in the HTML tag line.

Step 2: Copy the meta tag by clicking on COPY next to it. (Note that there are directions where you should paste the code). Leave the Google Search Console tool opened within web browser tabs.

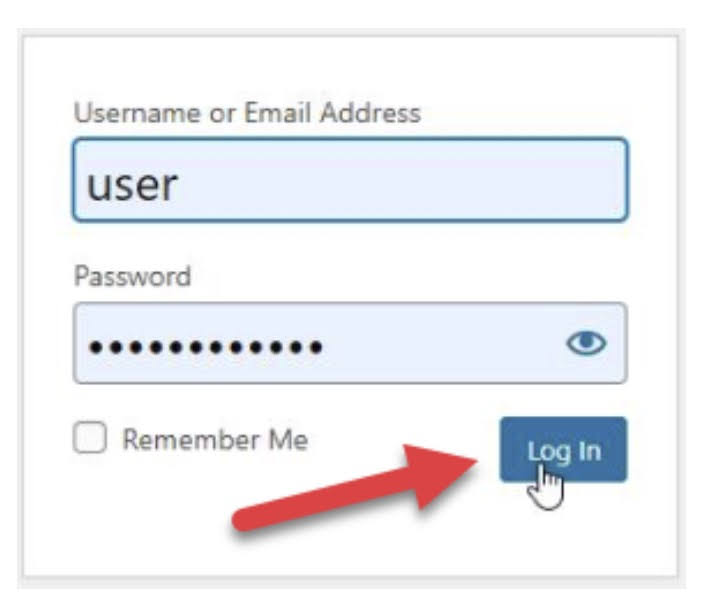
Step 3: Log in to WordPress Admin Panel (yourdomainname.com/wp-admin).
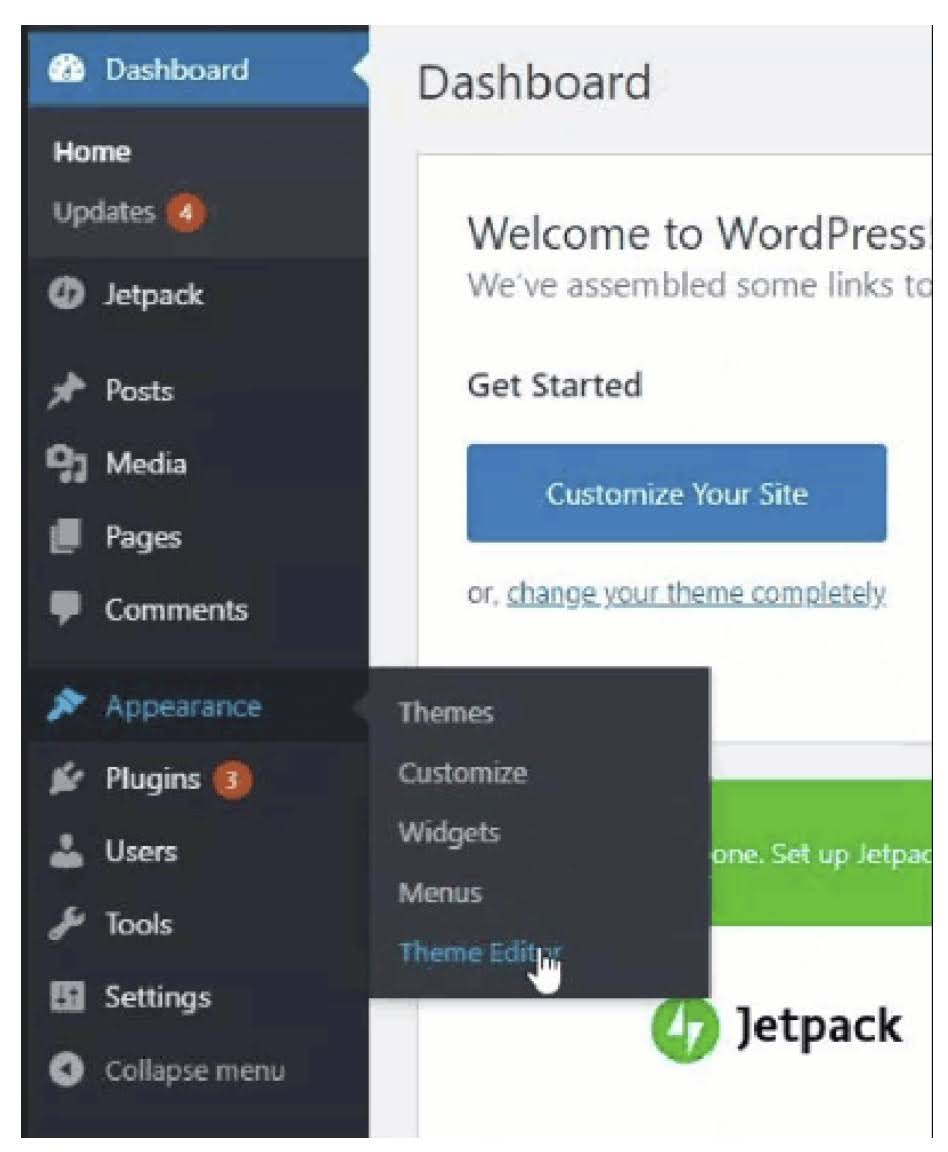
Step 4: On the left-side menu choose Appearance.
Step 5: click on Theme Editor.
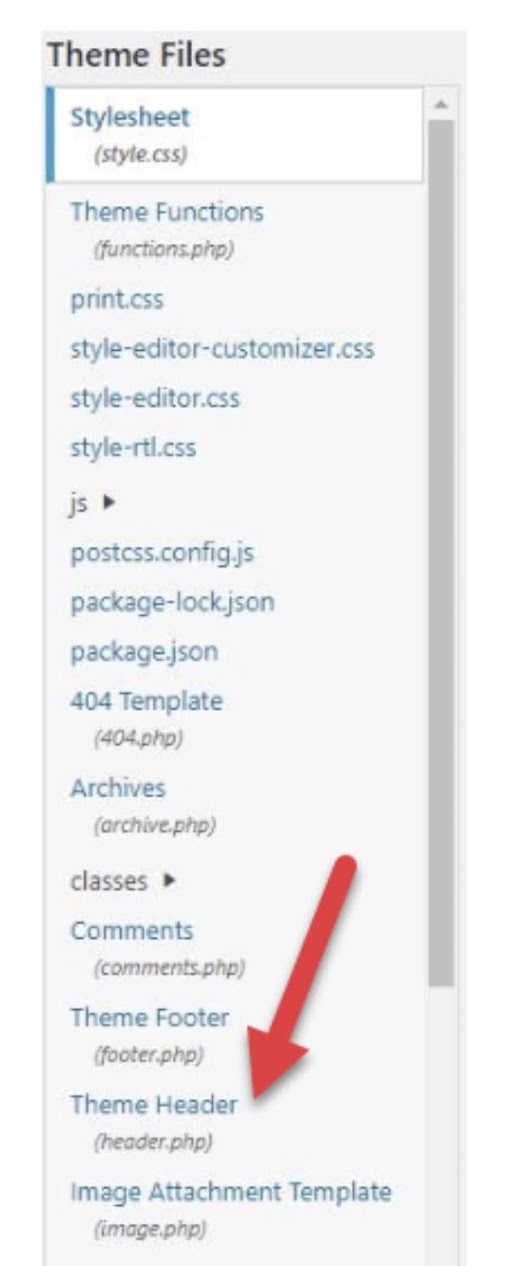
Step 6: From the list on the right side choose Theme Header.
Step 7: Paste (Ctrl + V) meta tag just below <head> line.

Step 8: Click on Update File.

Step 9: Go back to Google Search Console tool and press on VERIFY.

Step 10: Verification successful message will pop-up.

Verifying property with an HTML tag on a WordPress Website with Yoast SEO Plugin
For this method, you need to have Yoast SEO Plugin installed on WordPress site.
Step 1: Go to WordPress Admin panel (eg: “yourwebdomain.com/wp-admin”).
Step 2: Log in to WordPress Admin Panel.
Step 3: On the left-side menu click on SEO.

Step 4: Choose General.

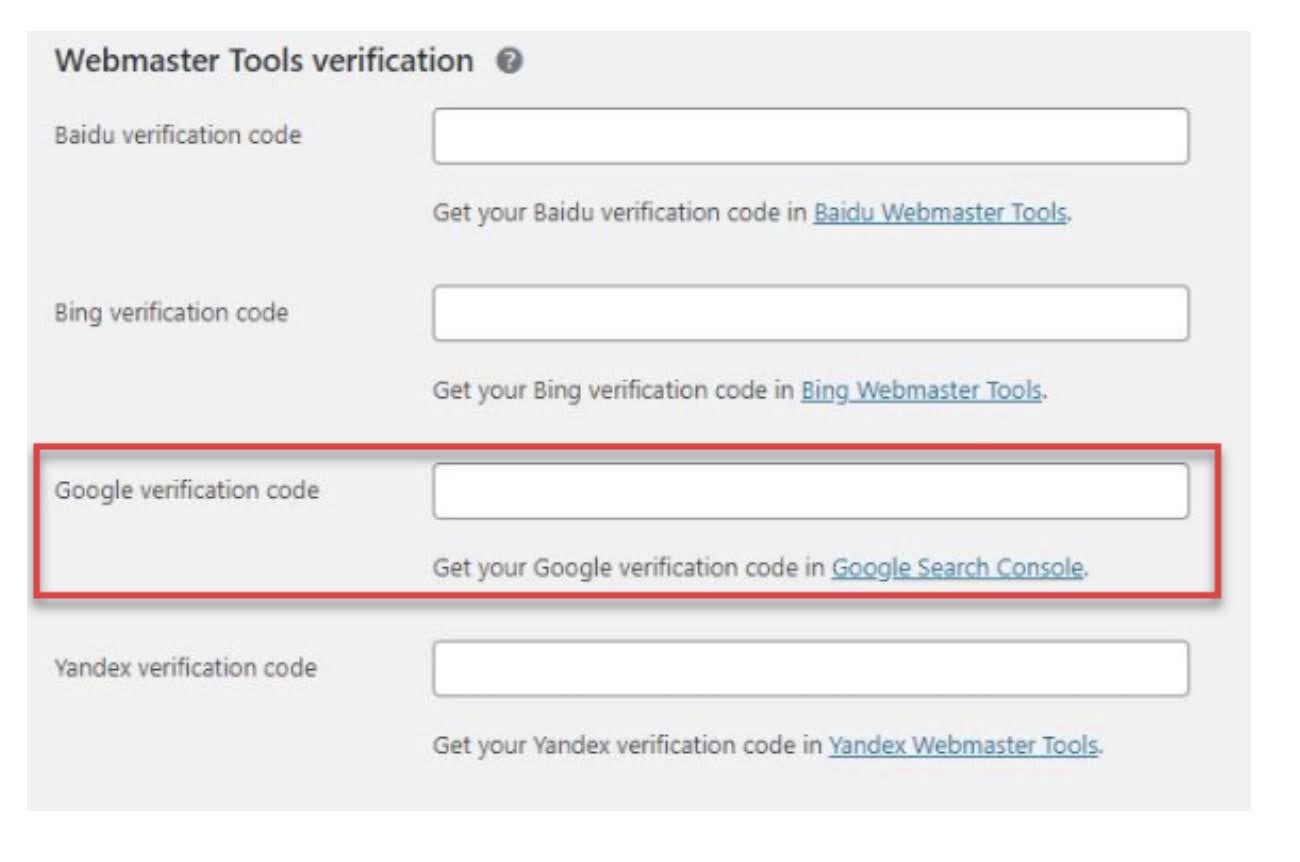
Step 5: Choose the Webmaster Tools tab.

Step 6: All you have to do is entering the Google verification code into the highlighted box. Leave that page opened in web browser.
Step 7: Click on the Google Search Console highlight.

Step 8: On the next page choose HTML tag.

Step 9: Copy Verification Code. This is the part of the code between quotation marks.

Step 10: Go back to WordPress website and paste the code.

Step 11: Click on Save changes.
Step 12: Click on Google Search Console again.

Step 13: Choose HTML tag again.
Step 14: Press on Verify.
Step 15: You should be presented with a Great job message.

Verifying property with HTML file (Optional)
Verification Requirements: You need to have FTP access to server. This is an advanced verification method for system administrator/webmaster. Hopefully, if you have already verified property with the other backup method above, you can skip this method.
Step 1: Click on the arrow in the HTML file line.

Step 2: Download provided HTML file by simply clicking on it.

Step 3: Now you have to upload this file you just downloaded at the root level of domain.
Step 4: After uploading the file press on VERIFY.

Step 5: Verification successful message will pop-up.

Verify “Domain Property” (IMPORTANT)
Step 1: Go to the Google Search Console website.
Step 2: Click on Start now.
Step 3: Log in with Google Account.
Step 4: In the Select property type window choose Domain.

Step 5: Fill in with domain name and click CONTINUE.

Step 6: A verification window will pop-up.

Verifying with domain provider
Step 1: Click on a drop-down list and find domain provider.
Step 2: After choosing Domain provider, click on START VERIFICATION.

Step 3: You’ll be redirected to domain name provider/registrar and be asked to verify ownership of domain by sign-in and authorizing Google to access account.
Verifying by manually updating DNS record
If you don’t find domain provider on the list, then you’ll need to add new DNS records to DNS configuration. We recommend using Cloudflare Nameserver to have free CDN and SSL so we’ll explain how to do this using Cloudflare. If you use any other Nameserver (such as GoDaddy) just type on Google “How to edit DNS + Name of Registrar” to find an online guide.
Step 1: Click on COPY.

Step 2: You should see Copied to clipboard message pop-up at the bottom of the page. Leave Google Search Console opened all the time in any tab of browser.

Step 3: Go to cloudflare.com.
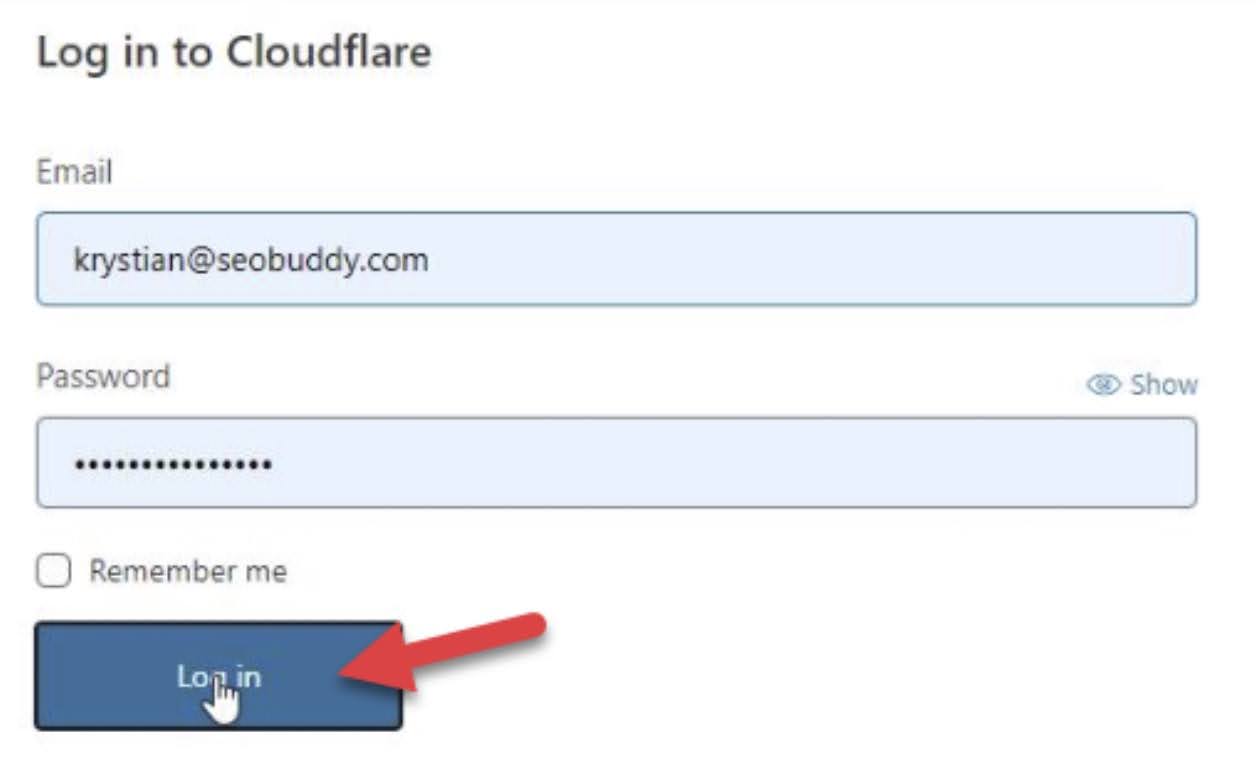
Step 4: Click on Log in.

Step 5: Enter credentials and press Log in.
Step 6: Select the domain name you want to verify.

Step 7: Click on DNS in the upper section of the screen.

Step 8: Click on +Add record.

Step 9: Choose TXT from the dropdown list.

Step 10: In the Name box type: @.

Step 11: Now paste text you copied from Google Search Console.

Step 12: Click on Save.

Step 13: You should see new DNS record.
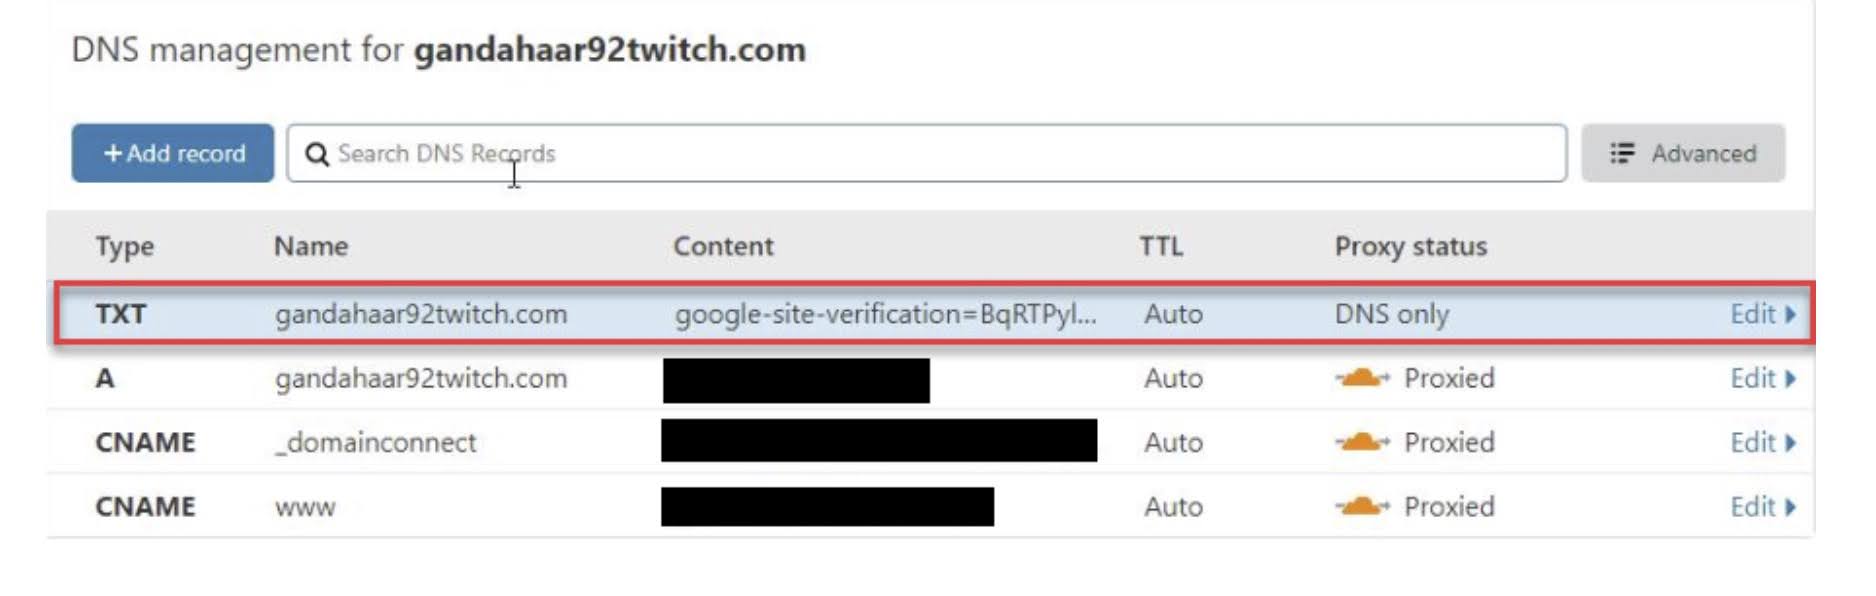
Step 14: Go back to Google Search Console and click on VERIFY.

Step 15: Note that sometimes you have to wait up to 48 hours for changes in DNS record to apply so don’t be alarmed if you can’t verify immediately.

Step 16: After successful verification Ownership verified message will appear.

Google Search Console is now enabled for website and property is properly verified. You only need to have one verification method active but if you have more than one, you don’t have to worry about accidentally changing something within one of them. Data should appear in the Google Search Console tool after a couple of days.