This article describes how to deploy FortiProxy in Azure when encountering the issue ‘InvalidTemplate’ during deployment, the reason for this error is that the template does not include all VM sizes.
Scope
FortiProxy.
Solution
To deploy the desired VM size, follow the instructions below:
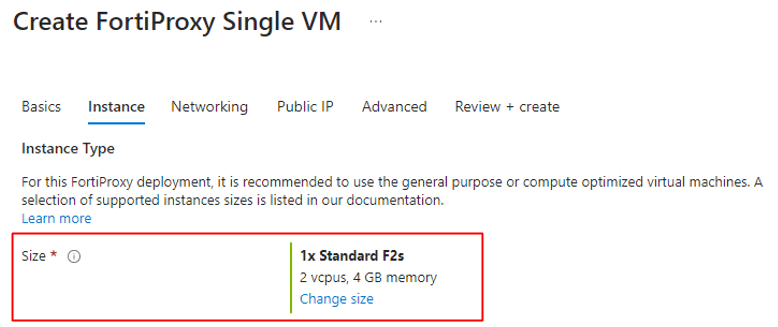
Step 1: Create and deploy FortiProxy using the default VM size, as per the below screenshot is using Standard F2s:
Then complete the remaining steps: Deploying FortiProxy-VM from the Azure marketplace
Step 2: After successfully deploying the VM, return to the resources group and shut down FortiProxy from the console using the below command. This is to prevent the forced shutdown of the system during a change in VM size and cause disk scan during boot-up later. Below is the command to shutdown:
exe shutdown
Press “Y’ to proceed.
As below screenshot, shows that the Size is Standard F2s after completed deployment:

Step 3: Select the Size and select the required VM Size from the available list, then select ‘Resize’ button at the bottom.

Step 4: Check the Notification for the resizing progress status, once done return to Resources Group and select the VM, the Size reflects the changed size.

Once the size is correct, proceed to power back on the VM and log back to the console to verify the FortiProxy is updated as well to the correct vCPU, memory, and disk by using the below command:
get system status <—– To check vCPU and memory.
diag hardware deviceinfo disk <—– To check disk information.