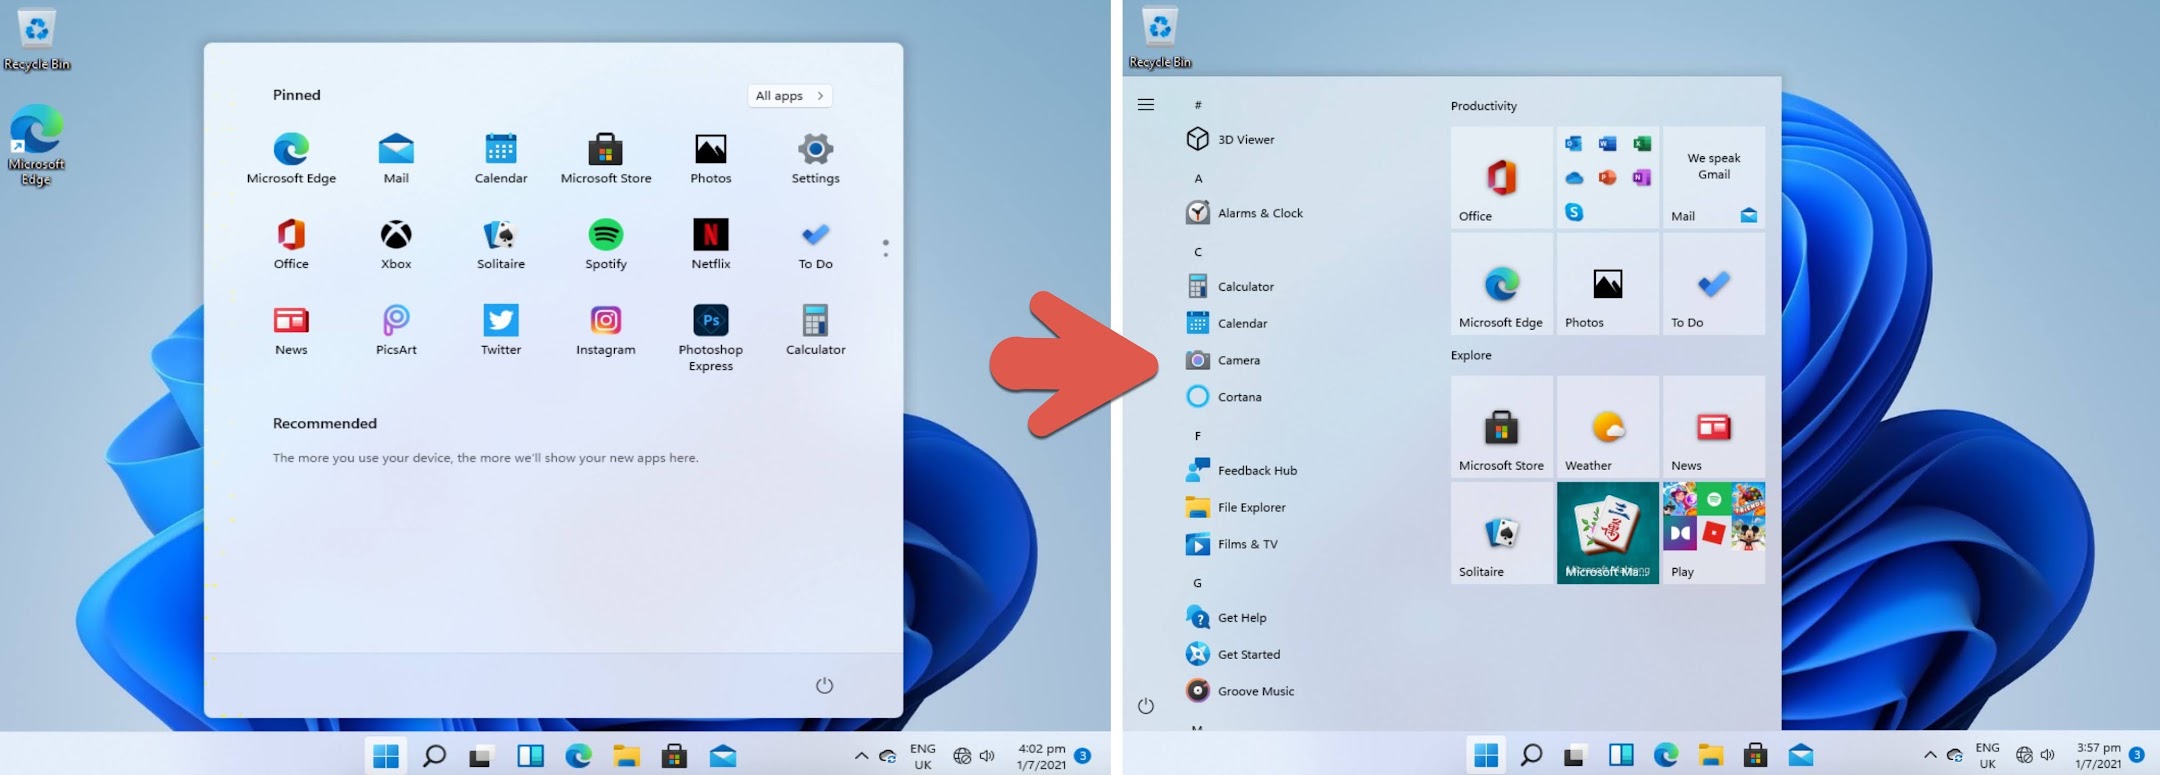
Windows 11 have an option to switch back to the Windows 10 classic Start menu and Live Tiles. Follow the guide below to create a new registry key to get back the classic Start Menu on Windows 11.
Enable the classic Start Menu for all user
Step 1: Press Windows key + R to open a Run box.
Step 2: Type regedit and press Enter to open up the Registry Editor. Click Yes to grant administrative privileges when prompted by the UAC (User Account Control). If you are installing as a new OS, you need to press the Shift + F10 key to open the command prompt and type regedit.exe to open the Registry Editor.
Step 3: Navigate to the following location: Computer > HKEY_LOCAL_MACHINE > Software > Microsoft > Windows > CurrentVersion > Explorer > Advanced
Step 4: Right-click on the right pane then select New > DWORD (32-bit) Value. Name the new DWORD as Start_ShowClassicMode.
Step 5: Double-click on Start_ShowClassicMode and change its value to 1.

Step 6: Click on the OK button and close the registry editor.
Step 7: Sign out and then sign in again with the same user account.
Note:
- If you like to revert back to the original Windows 11 Start Menu, just change the value of
Start_ShowClassicModeregistry key to 0, sign out and then sign in again.
Enable the classic Start Menu current login user
Step 1: Press Windows key + R to open a Run box.
Step 2: Type regedit and press Enter to open up the Registry Editor. Click Yes to grant administrative privileges when prompted by the UAC (User Account Control). If you are installing as a new OS, you need to press the Shift + F10 key to open the command prompt and type regedit.exe to open the Registry Editor.
Step 3: Navigate to the following location: Computer > HKEY_CURRENT_USER > Software > Microsoft > Windows > CurrentVersion > Explorer > Advanced
Step 4: Right-click on the right pane then select New > DWORD (32-bit) Value. Name the new DWORD as Start_ShowClassicMode.
Step 5: Double-click on Start_ShowClassicMode and change its value to 1.

Step 6: Click on the OK button and close the registry editor.
Step 7: Sign out and then sign in again with the same user account.
Note:
- As this registry change takes effect per user, so you need to sign in to Windows 11 using the user account where you added the Start_ShowClassicMode registry key.
- If you like to revert back to the original Windows 11 Start Menu, just change the value of
Start_ShowClassicModeregistry key to 0, sign out and then sign in again.