Table of Contents
- Problem Symptom
- Potential Causes
- Pre-check
- Solution 1: Change default web browser to Microsoft Edge or Internet Explorer
- Solution 2: Add SMS_DP Path in IIS ISAPI and CGI Restrictions Settings
- Solution 3: Change Client connections to use HTTP
- Solution 4: Unblock source files from execution
- Solution 5: Set Deployment options to Download Content from Distribution Point and Run Locally
- Solution 6: Disable the distribution point for prestaged content option
- Solution 7: Enable fallback source location for content option
- Solution 8: Enable Allow clients to use distribution points from the default site boundary group
- Solution 9: Edit Boundary Group settings
- Solution 10: Allow the SCCM required ports in Firewall
Problem Symptom
Software Center returned error code 0x87D00607 (-2016410105) when deploying a package or application through Microsoft System Center Configuration Manager (SCCM) but the content is not found. The detailed error message is as below:
Unable to download the software
There was a problem downloading the software. You can try starting the installation again, or if the problem continues, the information shown in the section below can assist your helpdesk in troubleshooting.
Click OK to return to Software Center.
More information
The software change returned error code 0x87D00607 (-2016410105).

Follow the below solution steps to resolve Software Center returned error code 0x87D00607 (-2016410105) issue.
Potential Causes
- Improper configuration of boundaries or boundary groups
- Pre-staged content
- Blockage from the firewall
Pre-check
- Reboot the primary SCCM server.
- Make sure the date and time are set correctly on the server and client device.
- Make sure all updates or hotfixes for SCCM are applied.
- Check if all the affected users are present in the SourceContentLib directory. Otherwise, add the users to the SourceContentLib library.
- Use the official installer/uninstaller.
- Check if the package or application has any dependencies and make sure those dependencies are included in the source files of the package or application.
- If you are installing an updated version of an application, then check if uninstalling the older version of the application is completed.
- Verify the information entered in Conten location (Content tab), Installation program (Programs tab), and Install start in (Programs tab) in Properties option of the package/application in SCCM are all correct.
Solution 1: Change default web browser to Microsoft Edge or Internet Explorer
Step 1: Type default apps in the search box.
Step 2: Click on the Defualt Apps from the search result.
Step 3: Scroll down to locate default app for Web browser.
Step 4: If the default browser is set to Internet Explorer then change it to Microsoft Edge.

If the default browser is set to Microsoft Edge, then change it to Internet Explorer.

Step 5: Restart the Windows.
Solution 2: Add SMS_DP Path in IIS ISAPI and CGI Restrictions Settings
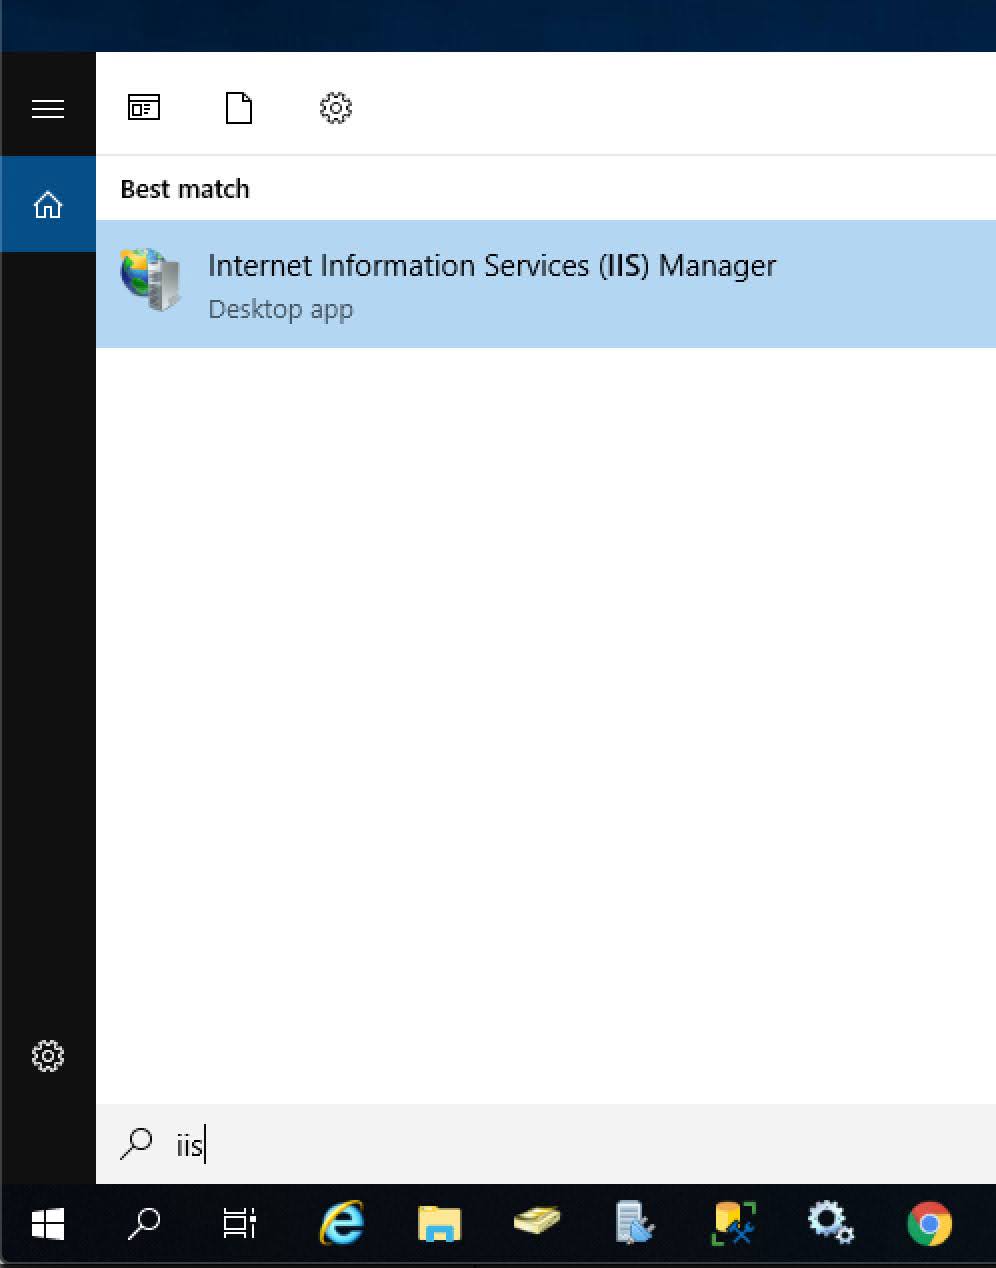
Step 1: Type iis in the search box.
Step 2: Click the Internet Information Services (IIS) Manager in the search result.
Step 3: Click on the server at the Connections pane.
Step 4: Double-click on the ISAPI and CGI Restrictions or select ISAPI and CGI Restrictions then click on the Open Feature option in the Actions pane.

Step 5: Verify if SMS_DP entry is present there. If not, then click on the Add option at the Actions pane to add a new entry with the following path: C:\Windows\system32\inetsrv\smsfileisapi.dll

Solution 3: Change Client connections to use HTTP
Step 1: Open the SCCM.
Step 2: Expand Site Configuration in the left pane.
Step 3: Select Servers and Site System Roles and in the right pane.
Step 4: Open Management point in the Site System Roles section.
Step 5: In General tab, select radio button for HTTP.

Step 6: Click on the OK button.
Step 7: Wait for at least 5 minutes then check again.
Solution 4: Unblock source files from execution
Step 1: Navigate to the directory of the package/application source files.
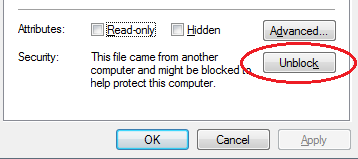
Step 2: Right-click on the files, and select Properties from the context menu.
Step 3: Check for the Unblock button or checkbox beside Security: This file came from another computer and might be blocked to help protect this computer option.

Step 4: Repeat the same steps to unblock all the source files.
Alternatively, you can try to remove the package/application from the SCCM server, create a new directory on the SCCM server, and copy the package/application source files to that directory.
Solution 5: Set Deployment options to Download Content from Distribution Point and Run Locally
Step 1: Open the Properties option of the package/application in SCCM.
Step 2: Go to the Content tab.
Step 3: Expand the dropdown of the Deployment options and select Download content from distribution point and run locally option.

Step 4: Click on the OK button.
Step 5: Wait for at least 5 minutes then check again.
Solution 6: Disable the distribution point for prestaged content option
Step 1: Open the SCCM.
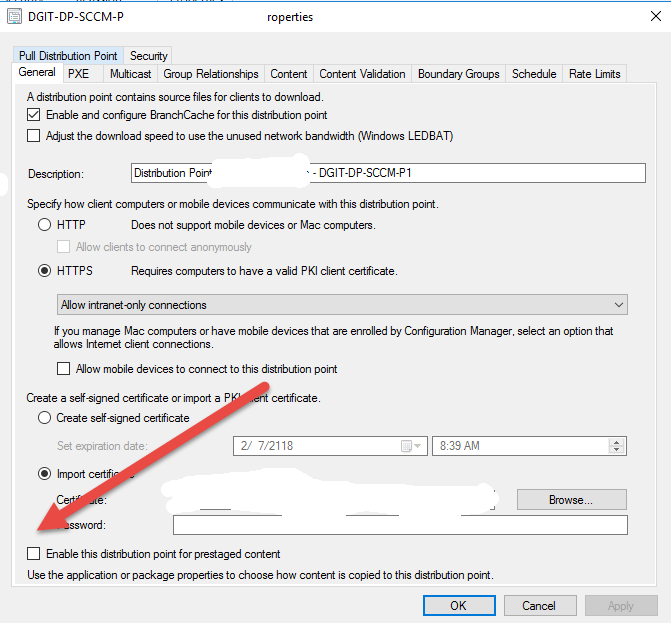
Step 2: Open the Properties option of the Distribution Point.
Step 3: Uncheck the checkbox for Enable this distribution point for prestaged content option.
Step 4: Click on the OK button.
Step 5: Wait for at least 5 minutes then check again.
Solution 7: Enable fallback source location for content option
Step 1: Open the Properties option of the package/application in SCCM.
Step 2: Go to the Content tab.
Step 3: Check the option of Allow clients to use a fallback source location for content.

Step 4: Click on the OK button.
Step 5: Wait for at least 5 minutes then check again.
Solution 8: Enable Allow clients to use distribution points from the default site boundary group
Step 1: Open the Properties option of the package/application in SCCM.
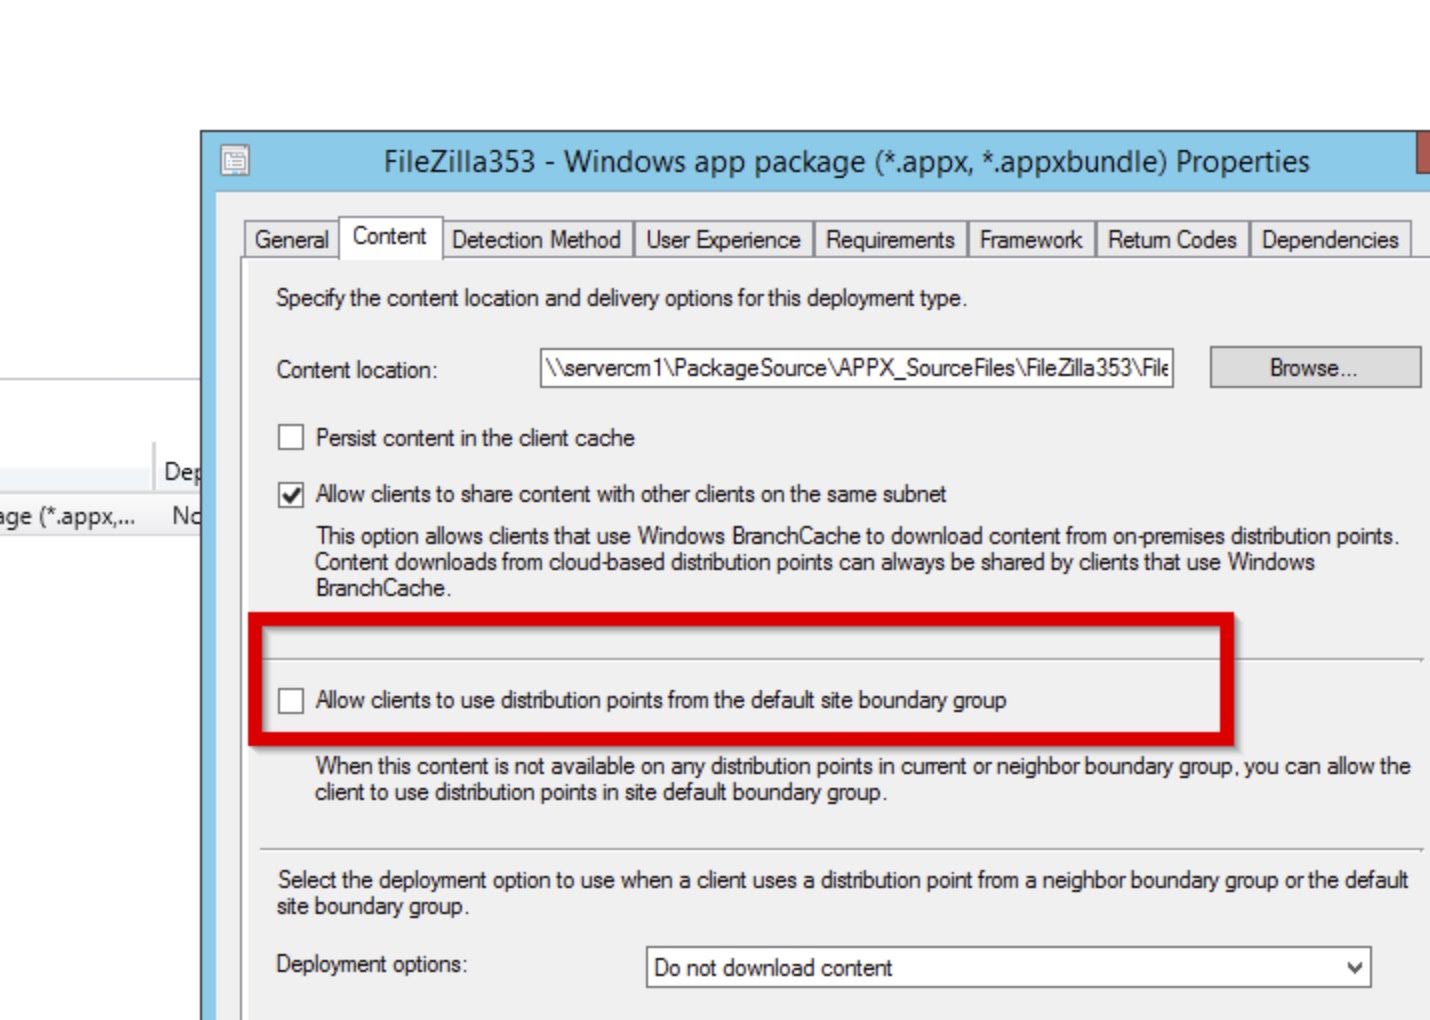
Step 2: Go to the Content tab.
Step 3: Check the option of Allow clients to use distribution points from the default site boundary group.
Step 4: Click on the OK button.
Step 5: Wait for at least 5 minutes then check again.
Other related settings to check:
- Make sure boundary groups are enabled in the properties of the Distribution Point.
- Check if the IPs of the client machine are included in the boundary group.
- Try if using the IPv6 IP range of the client machines in the boundary groups.
Solution 9: Edit Boundary Group settings
Step 1: Open the SCCM.
Step 2: Navigate to Administration > Overview > Hierarchy Configuration > Boundary Groups.
Step 3: Go to the Reference tab of the Boundary Group.
Step 4: Check the Use this boundary group for site assignment option under Site assignment section.

Step 5: Click on the Add button to add the server to the boundary group.
Step 6: Click on the OK button.
Step 7: Wait for at least 5 minutes then check again.
Solution 10: Allow the SCCM required ports in Firewall
Step 1: Type Windows Defender Firewall in the search box.
Step 2: Click on the Windows Defender Firewall with Advanced Security from the search result.

Step 3: Click on the Outbound Rules at the left pane, and then click the New Rule option in the Action pane.

Step 4: Select Port as the Rule Type, click on the Next button to continue.

Step 5: Select the radio button of TCP and enter 3260 for Specific remote ports, click on the Next button to continue.

Step 6: Select the radio button of Allow the connection, click on the Next button to continue.

Step 7: Check all the three types of networks (Domain, Private, and Public), click on the Next button to continue.

Step 8: Name the rule and then click the Finish button.

Other related settings to check:
- Check if the VPN or router is not blocking the network.
- Check if re-adding the client device to the domain solves the problem.
- Use ContentLibraryCleanup.exe in the delete mode against SCCM server.
- Reinstall IIS (with BITS and ASP.Net) or SCCM (with IIS).
- Share the package/application with users.