Table of Contents
- Problem Symptom
- Solution 1: Enable unknown sources in add-ons settings
- Solution 2: Optimize Cache size using Ares Wizard add-on
- Solution 3: Delete thumbnails and packages temp files using Ares Wizard add-on
- Solution 4: Write file or remove active AdvancedSettings.xml using Supreme Builds wizard
- Solution 5: Configure AdvancedSettings.xml using EzzerMacs Wizard
- Solution 6: Modify Advancedsettings.xml file
- Solution 7: Clear add-ons cache
- Solution 8: Enable HQ scalers
Problem Symptom
Nothing could be more frustrating than frequently interruptions while watching favorite movie or TV show using Kodi app. Kodi’s Buffering “Please wait” issues are common as more and more streams get added unchecked.
There are some solutions that can fix Kodi app buffering issues or at least minimize it. In this article, we will share with you how to fix buffering issue on Kodi app.
Solution 1: Enable unknown sources in add-ons settings
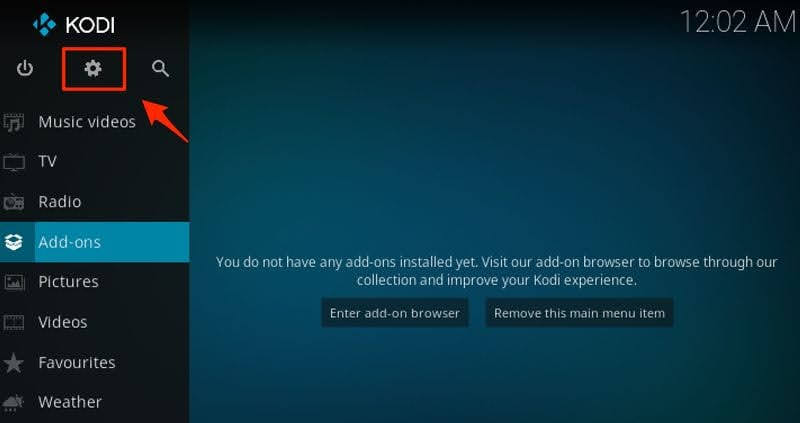
Step 1: Click on the Settings icon located at the top right of Kodi Home screen.
Step 2: Click on the System Settings icon or System if you use Kodi Leia 18.

Step 3: Click the Add-ons option on the left sidebar.
Step 4: Toggle on the Unknown sources option at the right pane.

Solution 2: Optimize Cache size using Ares Wizard add-on
Step 1: Select the Settings icon on the FireStick Home screen.

Step 2: Open the File Manager.

Step 3: Click on the Add Source folder.

Step 4: Click the <None> option in the Add file source box.

Step 5: Add the source URL as http://areswizard.co.uk/ and type ares as the name. Click on the OK button.


Step 6: From the Kodi Home screen, click the Add-ons option located in left side menu.
Step 7: Click on the Install from zip file button listed in Categories.

Step 8: Locate the folder called ares that you typed in the previous step and select it.

Step 9: Click the script.areswizard-x.x.x.zip.
Note: x.xx..zip is the version number.

Step 10: Wait until you see the Addon installed notification, then go to the Add-ons section again.

Step 11: Launch the Ares Wizard add-on.
Step 12: Click the Tweaks button located at the top bar.

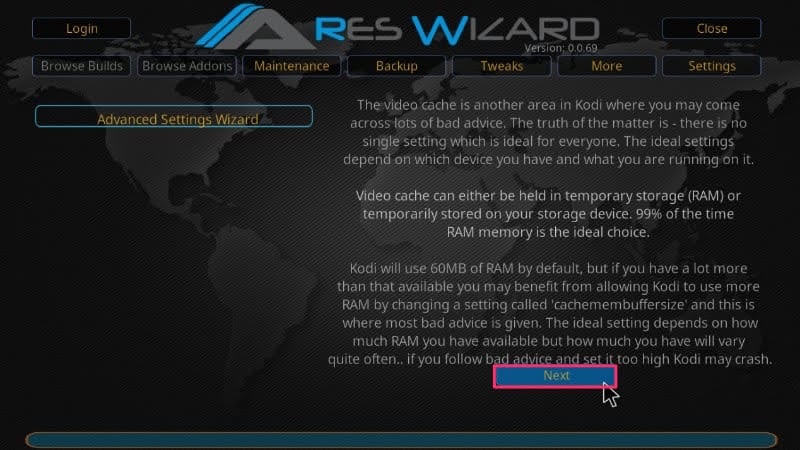
Step 13: Click the Advanced Settings Wizard button.

Step 14: Click on the Next button.
Step 15: Click on the Generate settings button.

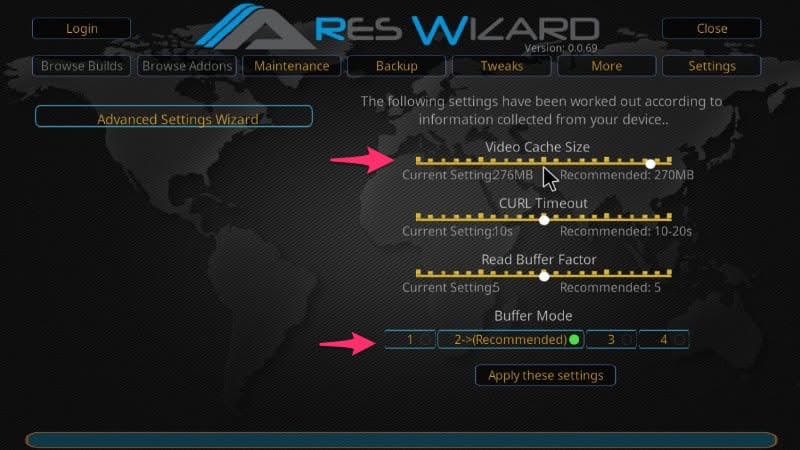
Step 16: Drag the Video Cache Size to the recommended value.
Step 17: Select Mode 2 for the Buffer Mode.
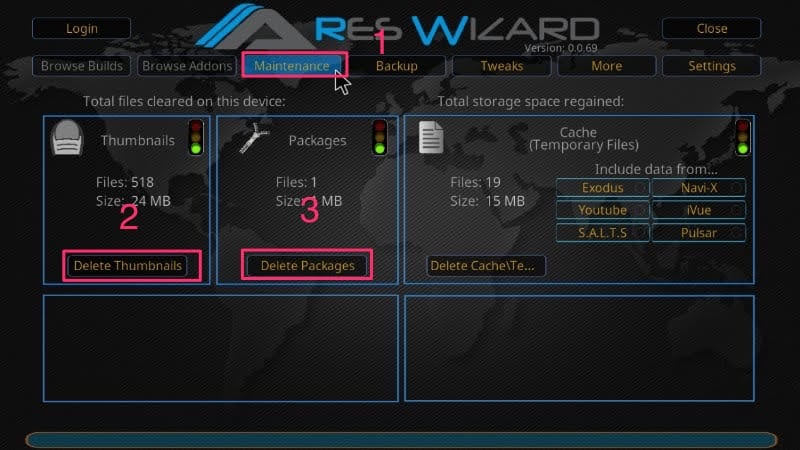
Solution 3: Delete thumbnails and packages temp files using Ares Wizard add-on
Step 1: Launch the Ares Wizard add-on.
Step 2: Click the Maintenance button located at the top bar.
Step 3: Click on the Delete Thumbnails button then Delete Packages button.
Solution 4: Write file or remove active AdvancedSettings.xml using Supreme Builds wizard
Step 1: Select the Settings icon on the FireStick Home screen.
Step 2: Open the File Manager.
Step 3: Click on the Add Source folder.
Step 4: Click the <None> option in the Add file source box.
Step 5: Add the source URL as http://repo.supremebuilds.com/ and type supreme as the name. Click on the OK button.


Step 6: From the Kodi Home screen, click the Add-ons option located in left side menu.
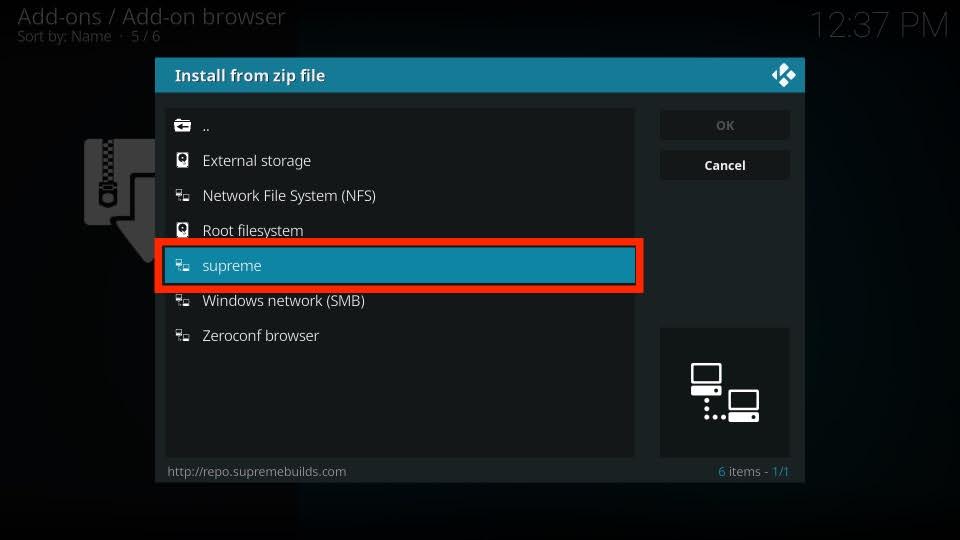
Step 7: Click on the Install from zip file button listed in Categories.
Step 8: Locate the folder called supreme that you typed in the previous step and select it.
Step 9: Click the repository.supremebuilds-x.x.x.zip.
Note: x.x.zip is the version number.

Step 10: Wait until you see the Addon installed notification, then go to the Add-ons section again.

Step 11: Select the Install from repository option from the list of Add-ons / Add-on browser.

Step 12: Select the Supreme Builds repository option from the list of Add-ons / Install from repository.

Step 13: Select the Program add-ons option from the list of Add-ons / Supreme Builds Repository.

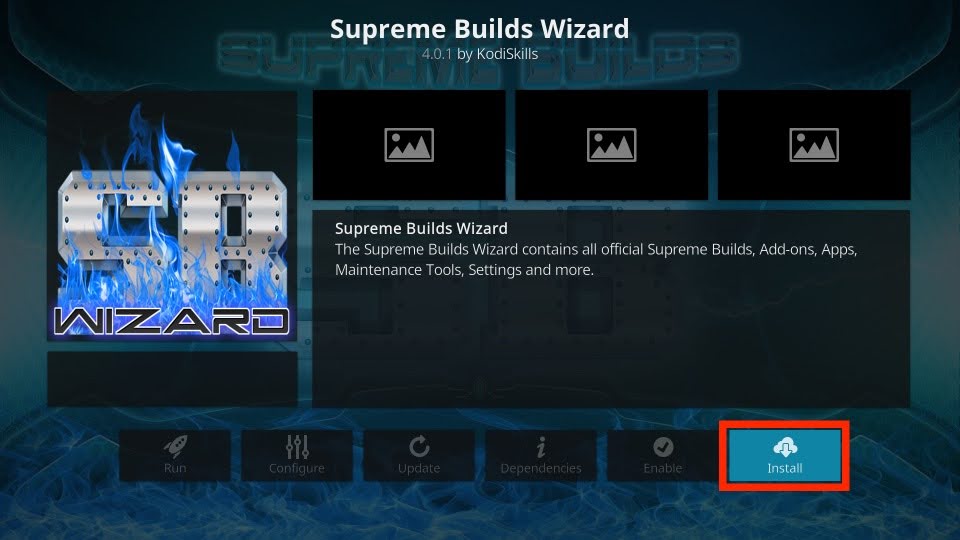
Step 14: Select the Supreme Builds Wizard.

Step 15: Click on the Install button located at the bottom right corner.
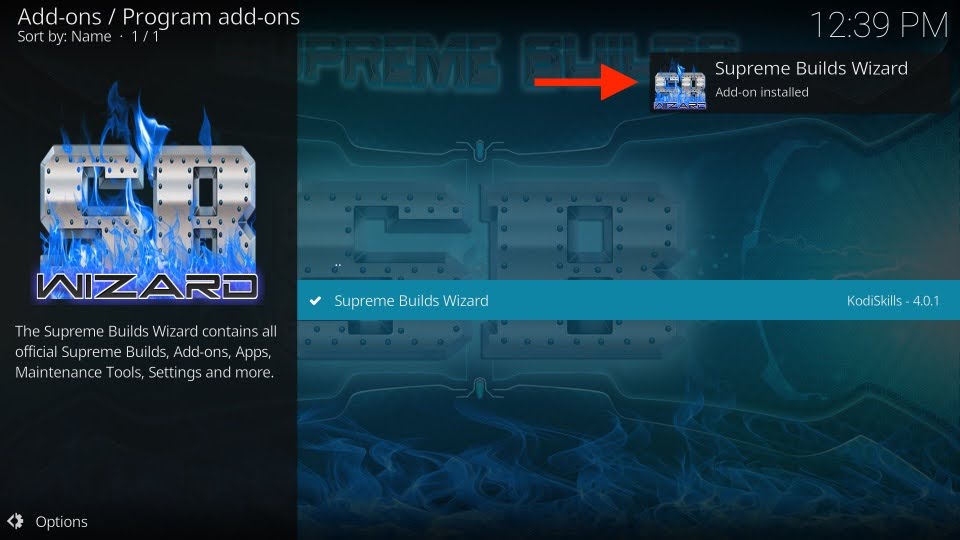
Step 16: Wait until you see the Addon installed notification.
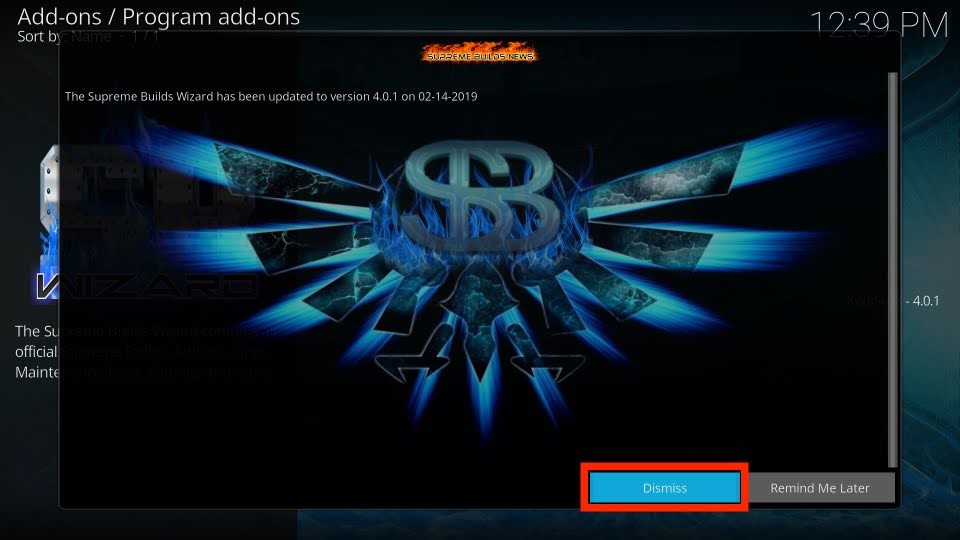
Step 17: Click on the Dismiss button for versioning pop-up.
Step 18: Enable for Clear Cache on Startup, Clear Packages on Startup, and Clear Old Thumbnails on Startup options. Click on the Continue button to proceed for the First Run Wizard.

Step 19: Click on the Ignore button to close the message box.

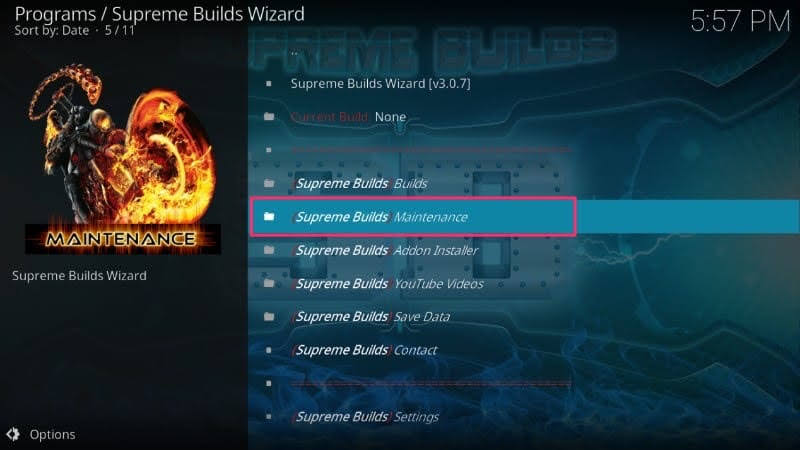
Step 20: Launch the Supreme Builds Wizard from the Kodi Home screen > Add-ons > Program Add-ons.
Step 21: Click on the Supreme Builds Maintenance option.
Step 22: Click on the Supreme Builds System Tweaks/Fixes option.

Step 23: Click on the Advanced Settings option.
Step 24: Click on the Quick Configure AdvancedSettings.xml option.

Step 25: DO NOT make any changes to the recommended settings. Click the Write File button located at the bottom left corner.
Note: Click on the Remove Settings button if any error.
Solution 5: Configure AdvancedSettings.xml using EzzerMacs Wizard
Step 1: Select the Settings icon on the FireStick Home screen.
Step 2: Open the File Manager.
Step 3: Click on the Add Source folder.
Step 4: Click the <None> option in the Add file source box.
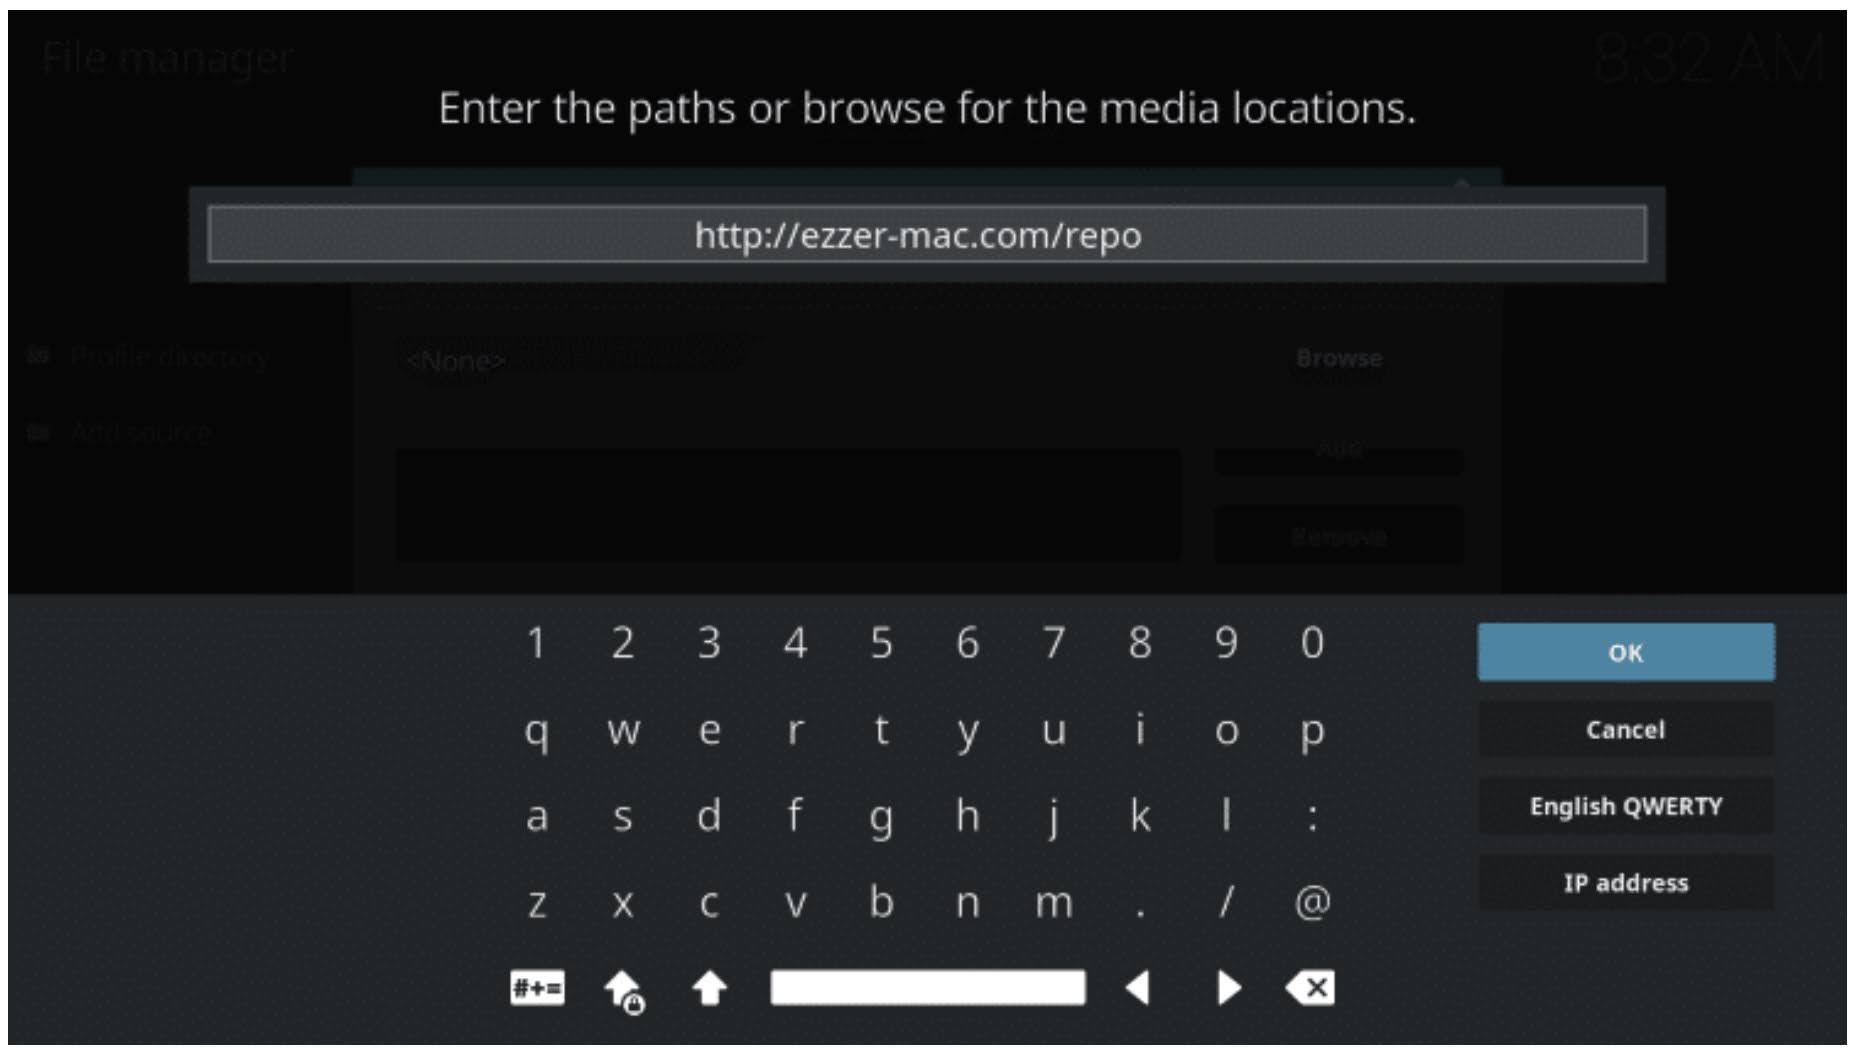
Step 5: Add the source URL as http://ezzer-mac.com/repo and type ezzer as the name. Click on the OK button.

Step 6: From the Kodi Home screen, click the Add-ons option located in left side menu.
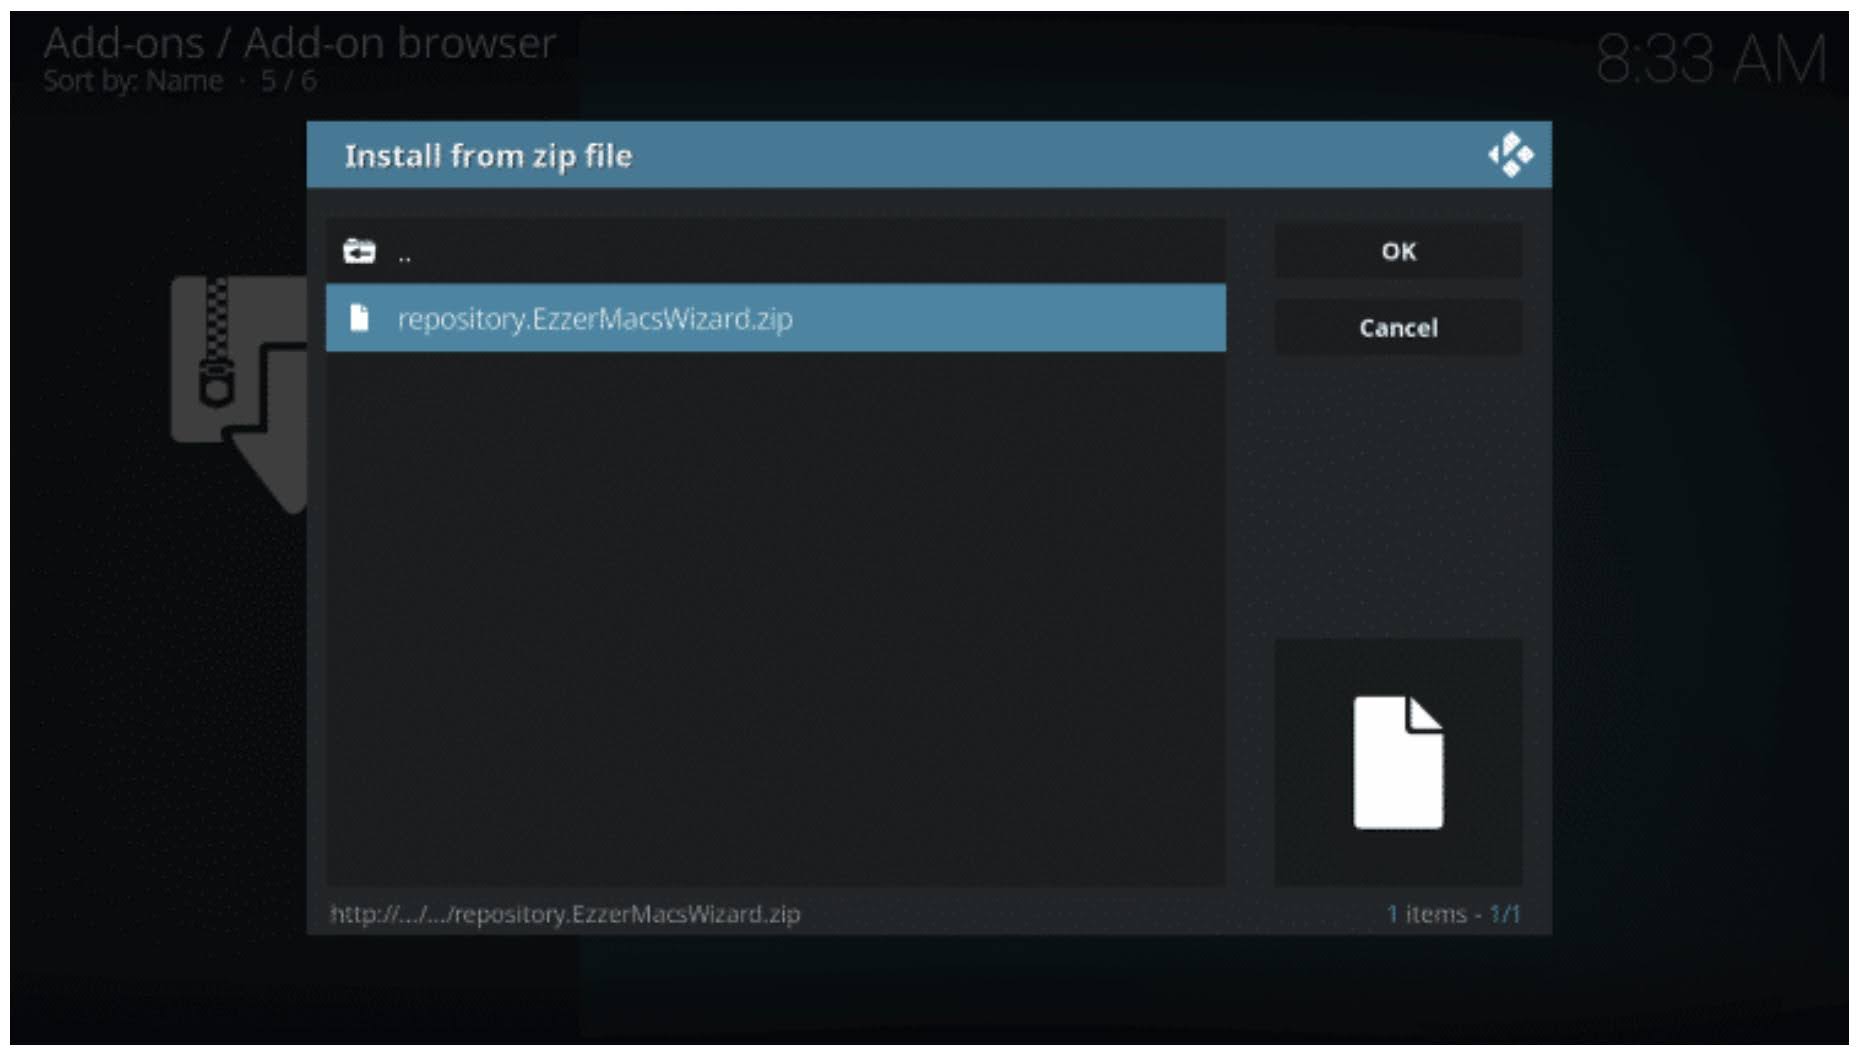
Step 7: Click on the Install from zip file button listed in Categories.
Step 8: Locate the folder called supreme that you typed in the previous step and select it.

Step 9: Click the repository.EzzerMacsWizard.zip
Step 10: Wait until you see the Addon installed notification, then go to the Add-ons section again.
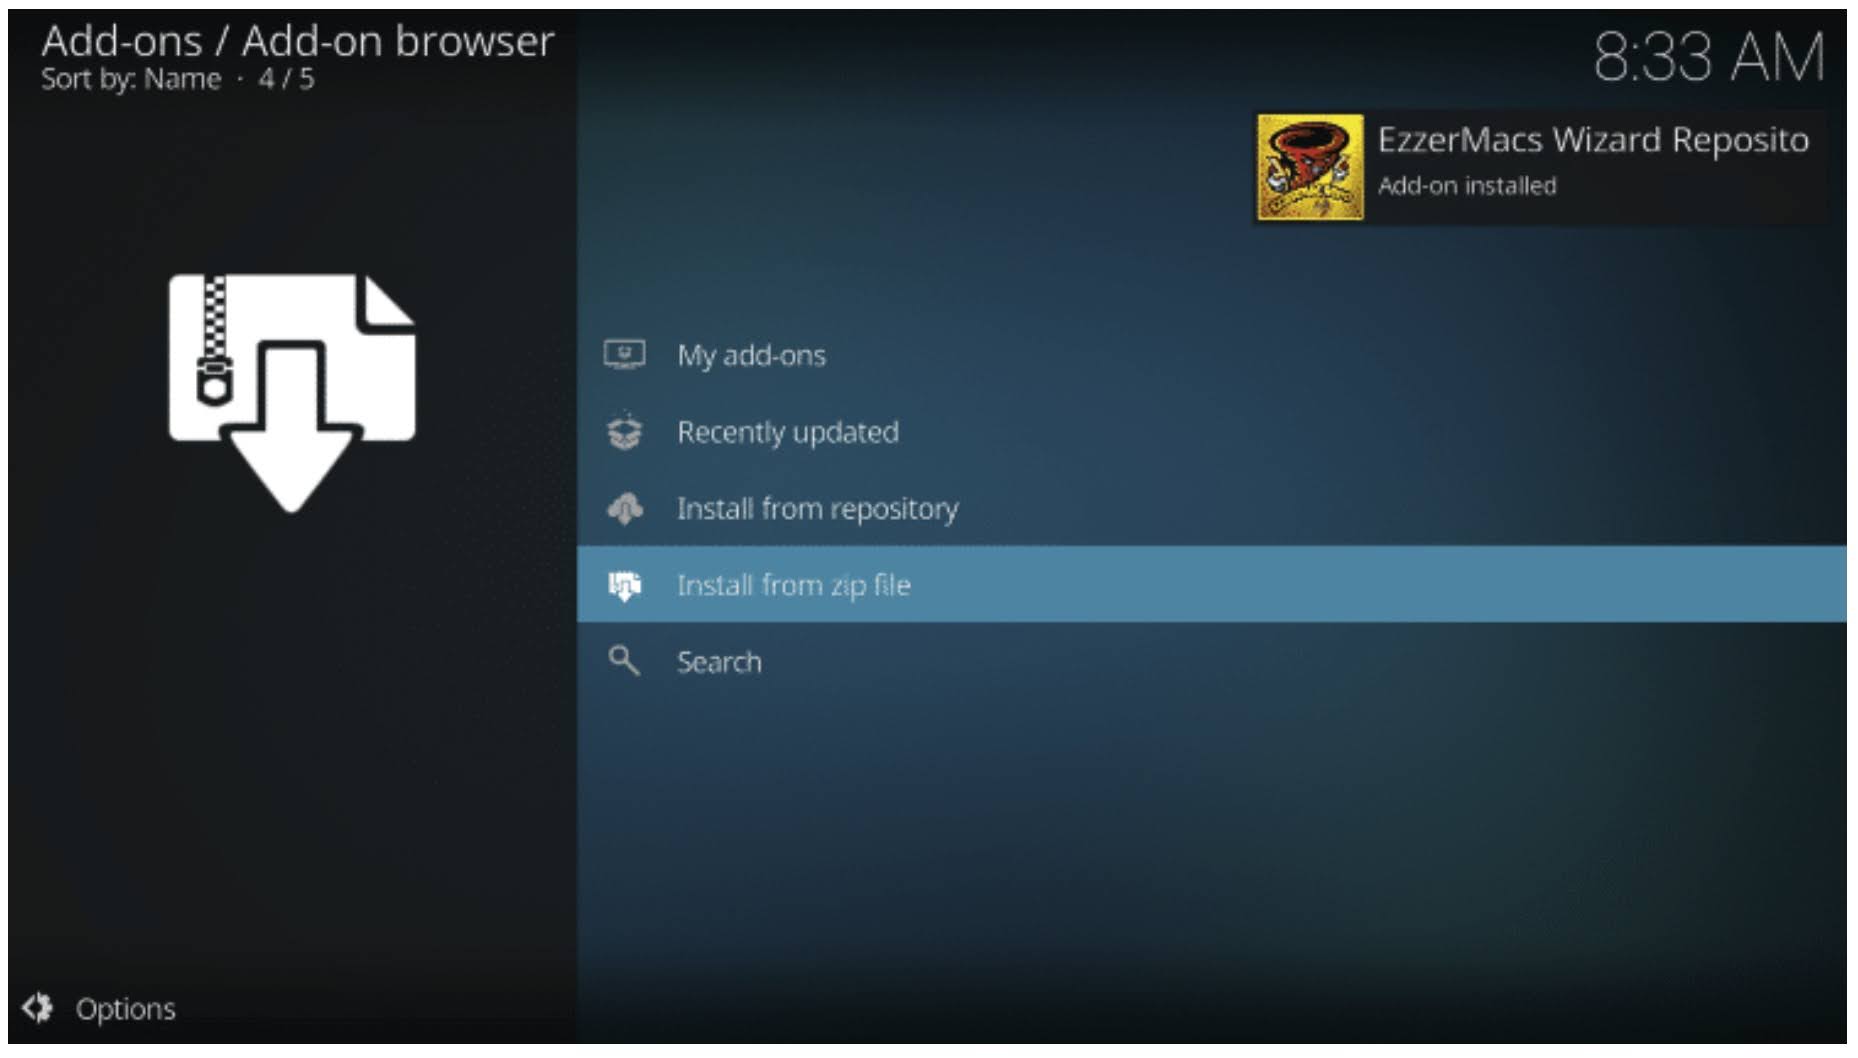
Step 11: Select the Install from repository option from the list of Add-ons / Add-on browser.
Step 12: Select the EzzerMacs Wizard Repository option from the list of Add-ons / Install from repository.
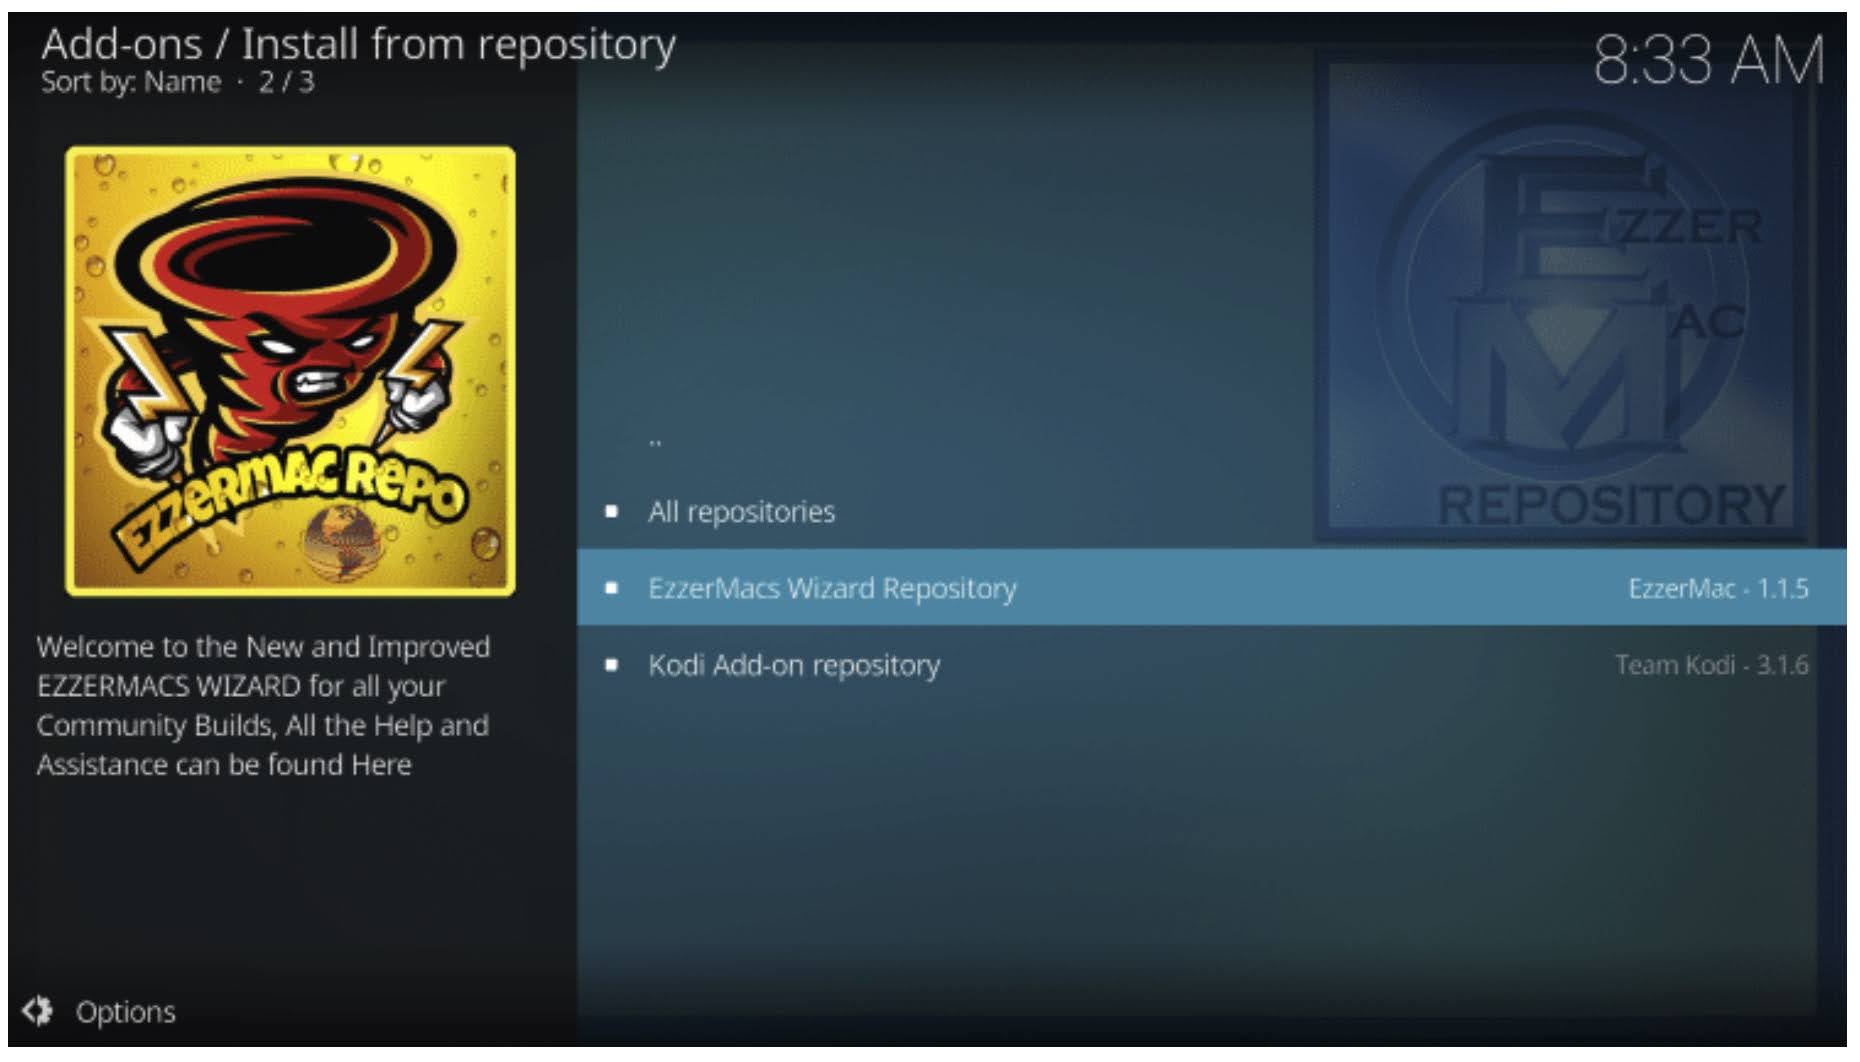
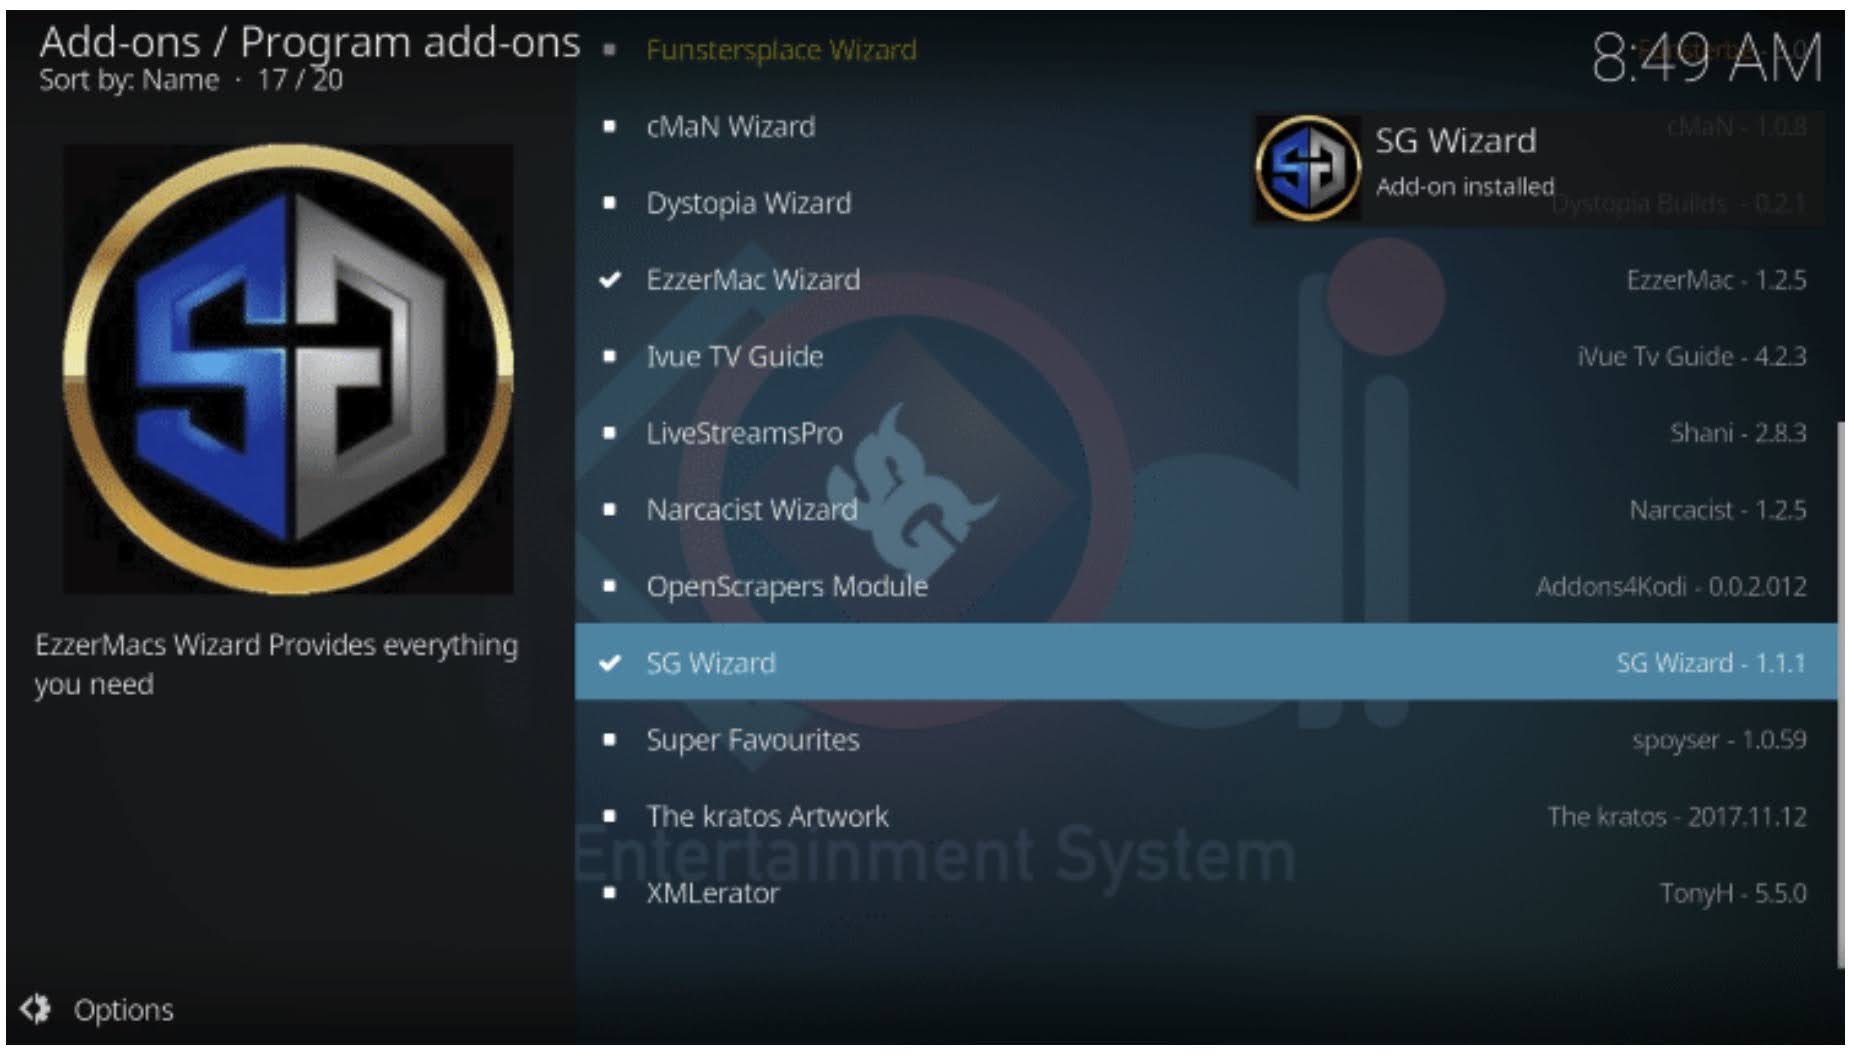
Step 13: Select the Program add-ons option from the list of Add-ons / Supreme Builds Repository.
Step 14: Select the SG Wizard.

Step 15: Click on the Install button located at the bottom right corner.

Step 16: Wait until you see the Addon installed notification.
Step 17: Click on the Continue button in the First Run Wizard.
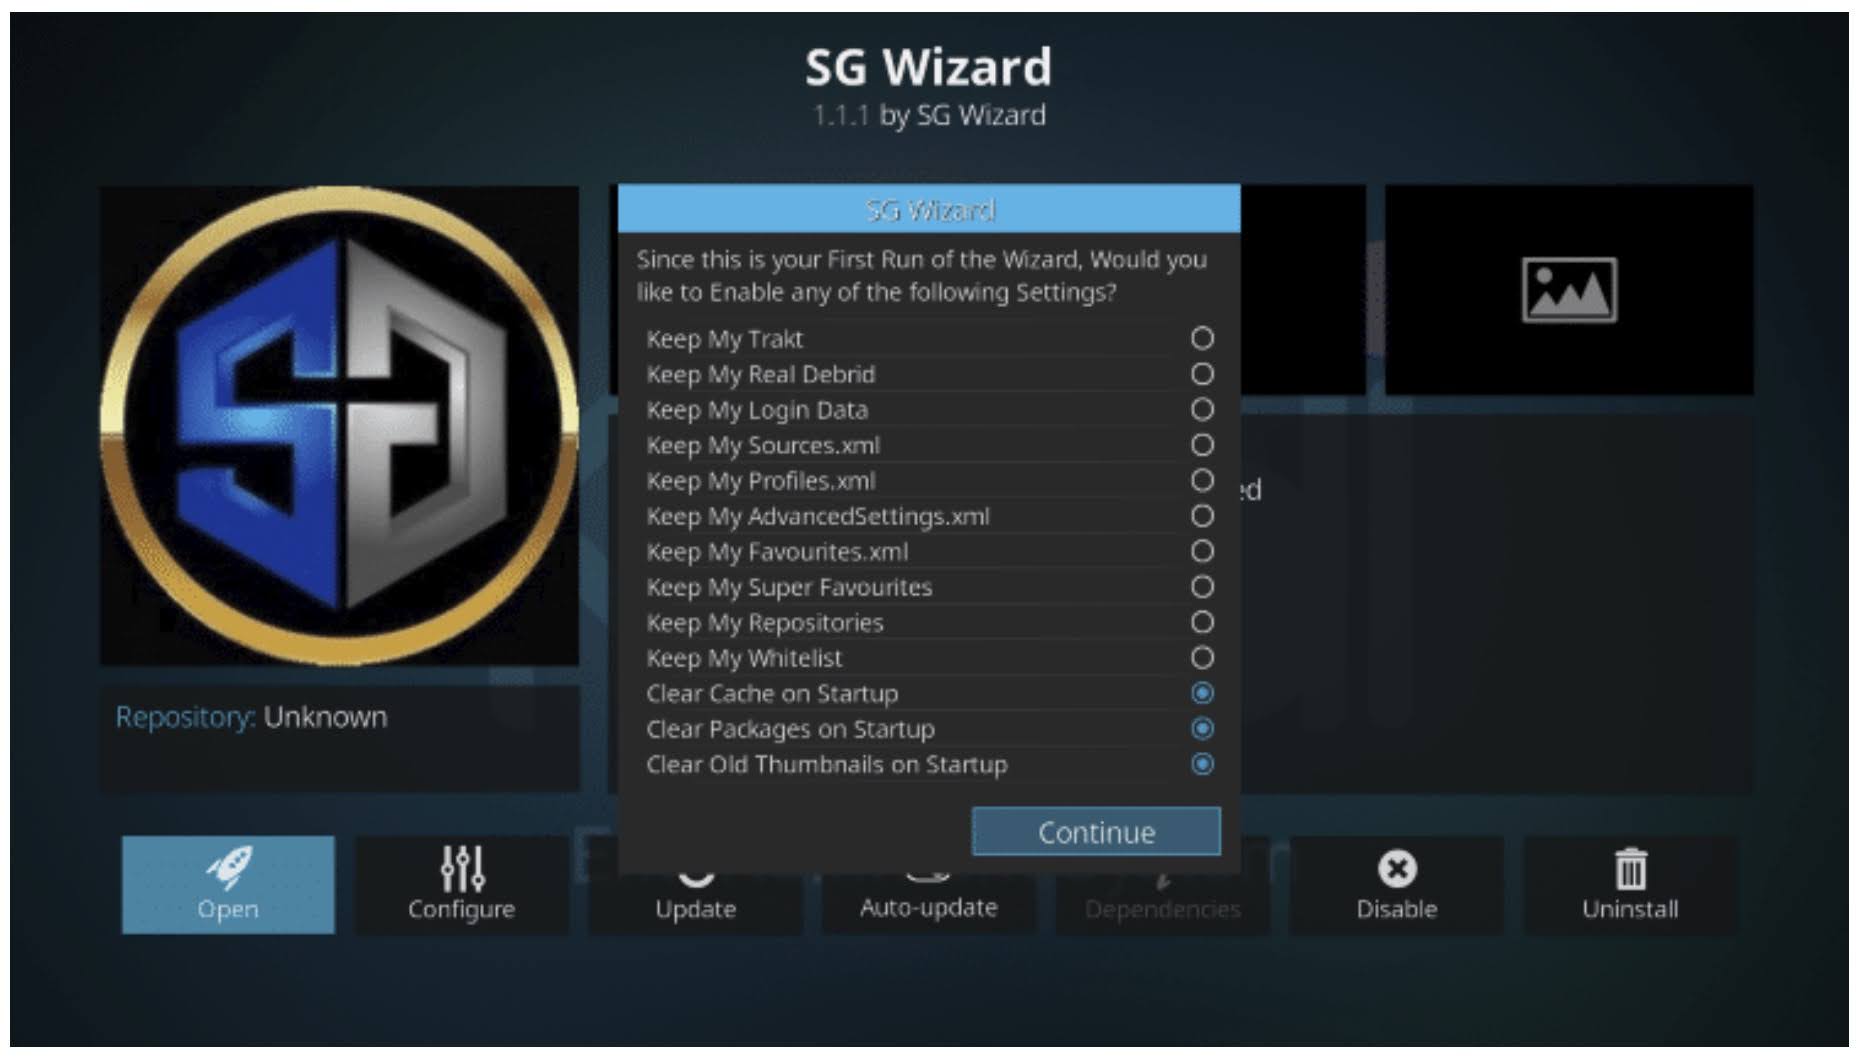
Step 18: Click on the Open button located at the left-bottom corner.

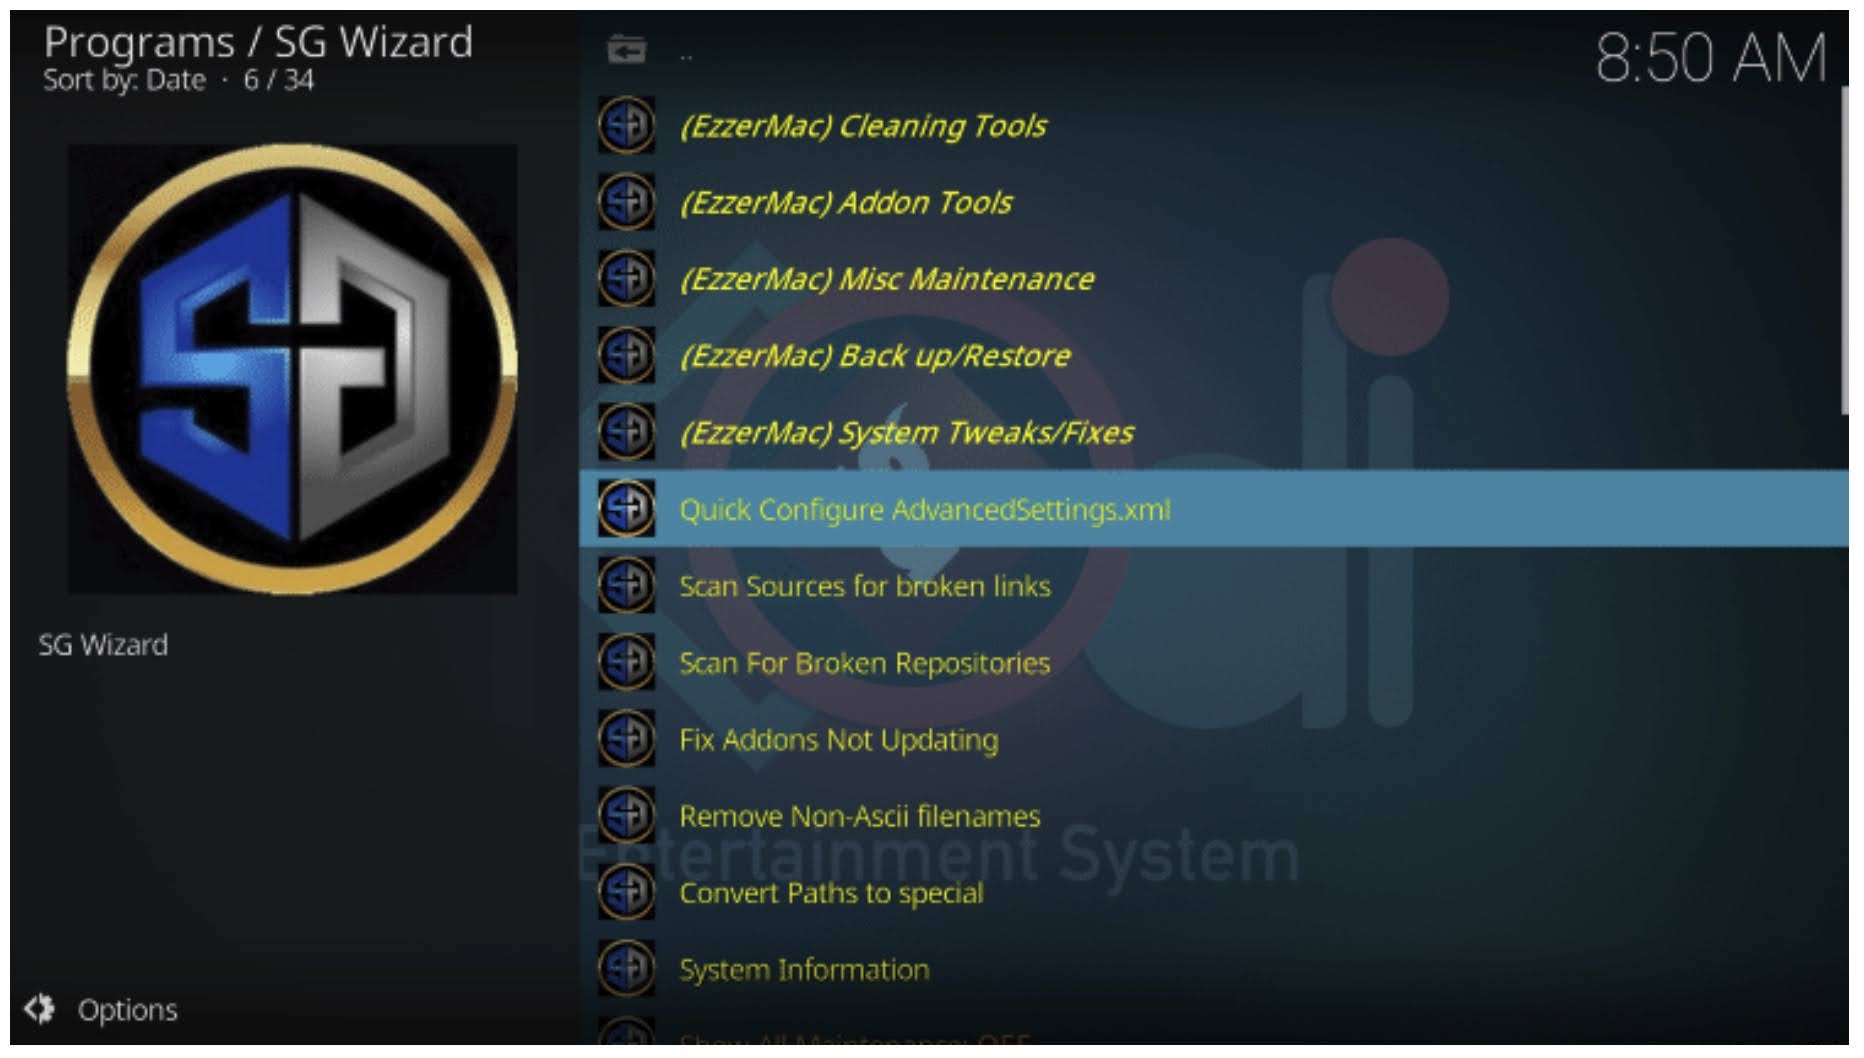
Step 19: Select the (EzzerMac) Maintenance option.

Step 20: Select the (EzzerMac) System Tweaks/Fixes option.

Step 21: Select the Quick Configure AdvancedSettings.xml option.
Step 22: Adjust the Video Cache Size to the Maximum MB.
Step 23: Click on the Write File button.

Solution 6: Modify Advancedsettings.xml file
For Windows platform:
Step 1: Press the Windows + R key to open the Run box.
Step 2: Type in Notepad and press the Enter key to open the Notepad app.
Step 3: Copy and paste the followinng codes into the Notepad:
<advancedsettings>
<network>
<buffermode> 1 </buffermode>
<readbufferfactor> 1.5 </readbufferfactor>
<cachemembuffersize> 104857600 </cachemembuffersize>
</network>
</advancedsettings>
Step 4: Save this file with the name advancedsettings.xml.
Step 5: Press the Windows + R key to open the Run box.
Step 6: Copy and paste the following path and press the Enter key: %APPDATA%\kodi\userdata
Step 7: Copy the advancedsettings.xml file into this folder.
Steps for the other platforms:
Copy the advancedsettings.xml file into the userdata folder located as follows:
Android: Android/data/org.xbmc.kodi/files/.kodi/userdata/
iOS: /private/var/mobile/Library/Preferences/Kodi/userdata/
Linux: ~/.kodi/userdata/
Mac: /Users/<your_user_name>/Library/Application Support/Kodi/userdata/
Solution 7: Clear add-ons cache
Step 1: Launch the Kodi app on your device.
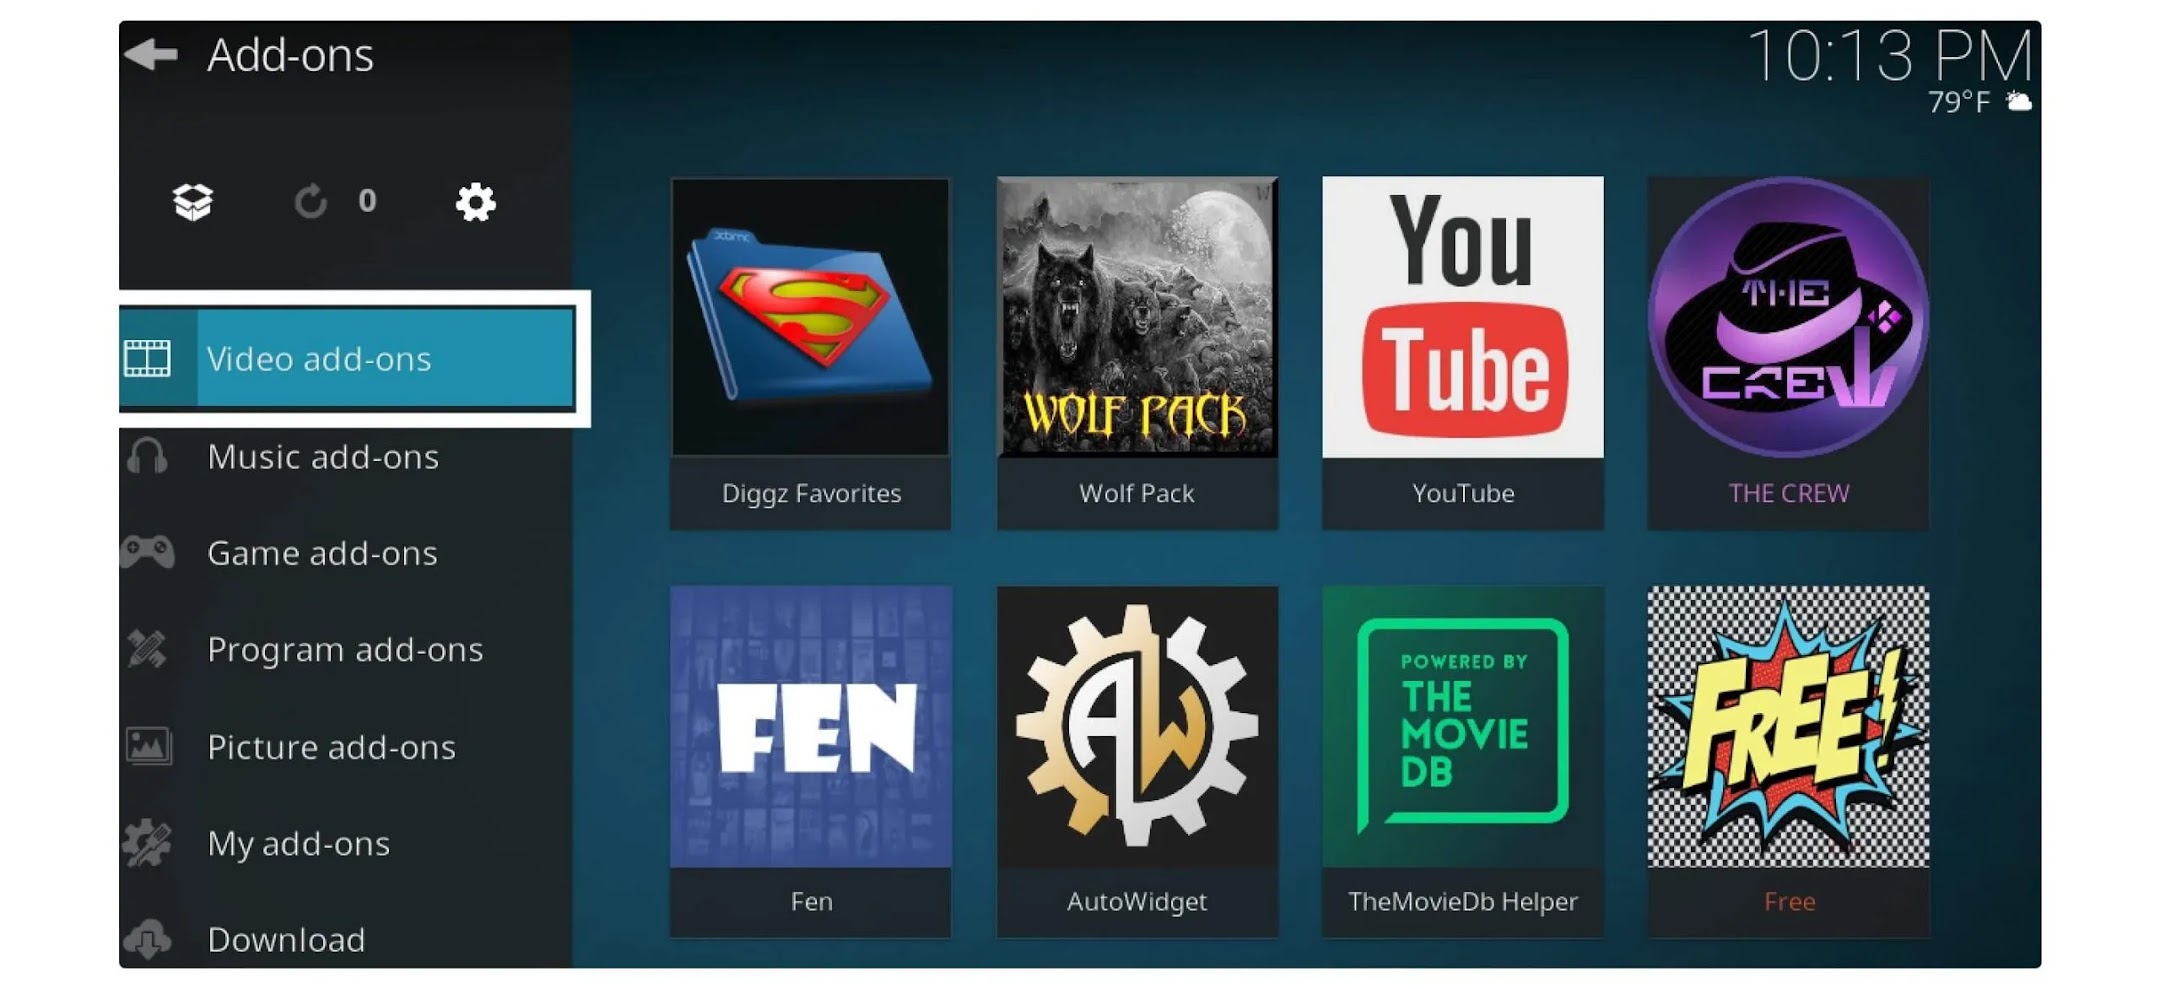
Step 2: From the Kodi Home screen, click the Add-ons option located in left side menu.

Step 3: Click on the Video add-ons option or any other category from the list of Add-ons / Add-on browser.
Step 4: Scroll down and click on the Tools option.
Step 5: Click the Clear Cache option.
Step 6: Click on the Yes button to confirm the action.
Solution 8: Enable HQ scalers
Step 1: Click the Settings icon on the Kodi Home screen.
Step 2: Go to the Player section.
Step 3: From the left sidebar, change the Basic to Advanced or Expert.
Step 4: Lower the value for the Enable HQ scalers for scaling above option to 10% or 0%.
