Running a seamless slideshow presentation can be a challenge, especially when unexpected questions arise. Imagine someone in your audience asks about a topic covered in a slide much later in your presentation. It’s a common scenario, and the traditional solutions involve either awkwardly scrolling through slides or exiting the presentation to find the right one, disrupting the flow.
The good news is, there’s a smarter and more efficient solution. You can incorporate interactive links within your Google Slides presentation that instantly transport you to the relevant slide. What’s even better is that these links don’t have to be limited to plain text; you can create links from virtually any element in your presentation.
In this blog, we’ll show you how to harness the power of these slide links to navigate your Google Slides presentation seamlessly. Whether you’re a seasoned presenter or just starting, this feature can make your presentations more engaging, interactive, and stress-free. It’s a game-changer for anyone looking to enhance their presentation skills. Let’s dive in and discover how to link to another slide in Google Slides.
Table of Contents
Exploring Link Options in Google Slides
Google Slides provides a variety of link options to enhance your presentations. You have the flexibility to create hyperlinks that lead to diverse destinations. Here’s a breakdown of what you can do:
- Website Links: You can insert hyperlinks to specific websites, making it easy for your audience to access external web pages with a simple click.
- Internal Google Documents: If you have related content stored in Google Drive, such as Google Docs or Google Sheets, you can create links to these documents. This helps you seamlessly integrate your presentation with other files in your Google ecosystem.
- Intra-Presentation Links: Want to navigate within your own presentation? You can create links to other slides within your slide deck. This feature allows for quick and effortless movement between different slides, eliminating the need to manually search or click through numerous slides.
Imagine you need to jump to a different section of your presentation. With intra-presentation links, you can achieve this with a single click, efficiently moving from one slide to another. It’s a time-saving feature that simplifies the way you interact with your slides, offering a smoother experience for both you and your audience. In the next section, we’ll delve into the practical steps for creating these various types of links in Google Slides.
What Types of Objects Can You Use as Links in Google Slides?
In Google Slides, you have the flexibility to use a wide array of objects as links within your presentation. Essentially, any element you can select during the creation of your slides can be turned into a link. Here’s a list of objects that you can utilize for this purpose:
- Text: You can use individual words or entire text boxes as links.
- Images and Videos: Whether it’s an image or a video clip, you can turn them into clickable links.
- Shapes: Shapes, including circles, rectangles, arrows, and custom shapes, can be employed as links.
- Charts: Even charts within your presentation can become interactive links.
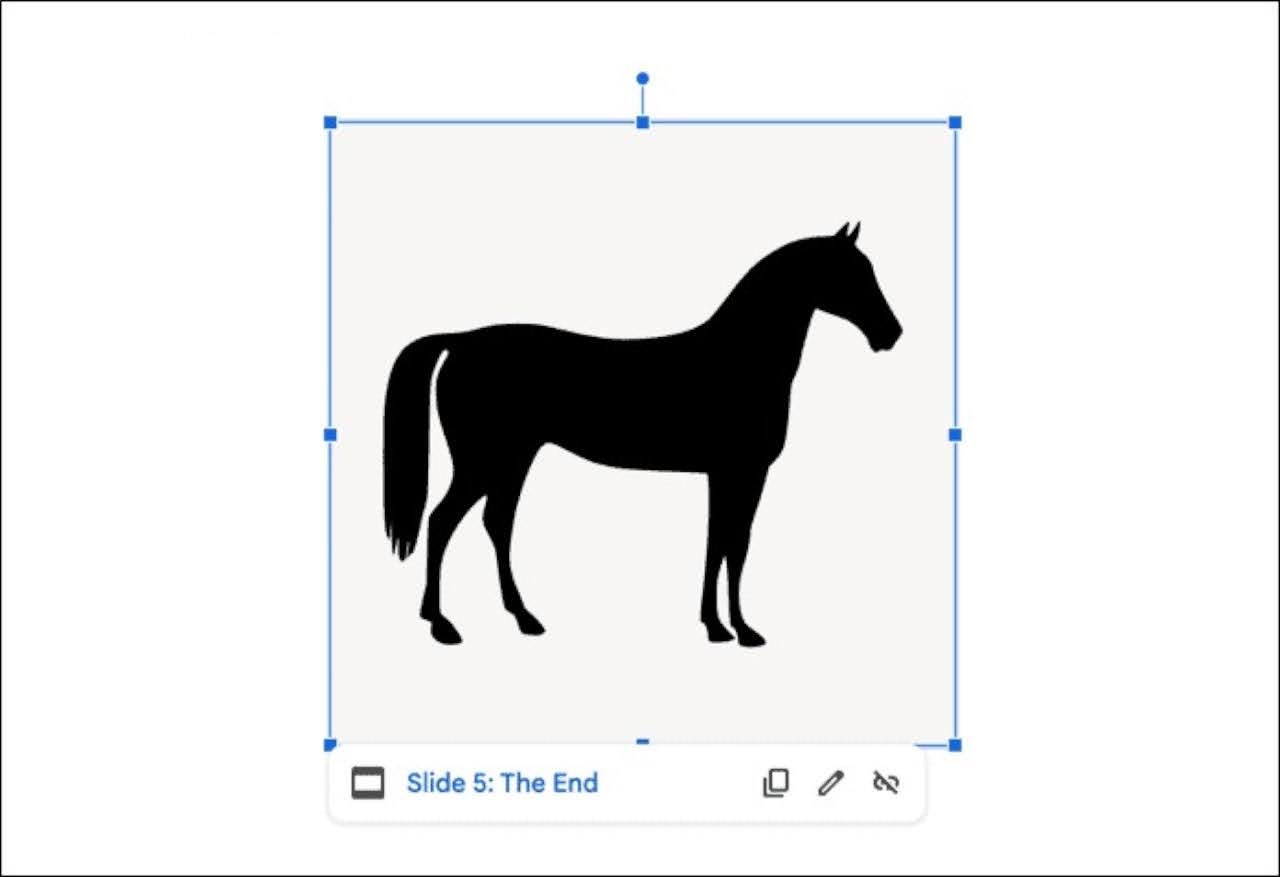
The versatility of using objects other than text as links opens up creative possibilities. You can strategically incorporate hidden buttons or interactive elements within your presentation to enhance navigation and engagement. For instance, an innocuous image of a puppy on one of your slides could secretly serve as a button to swiftly navigate to the final slide if needed. This method adds an element of surprise and interactivity to your presentations, making them more engaging and user-friendly.
A Quick Guide to Linking Slides in Google Slides
Adding links to your Google Slides presentation is a breeze, whether you want to link to another slide or an external webpage. You can use the context menu or convenient keyboard shortcuts. Here’s how to link to another slide in Google Slides:
Step 1: Open Google Slides and navigate to the slide where you intend to insert your link.
Step 2: If you haven’t already, add the text or object that you want to serve as a clickable link leading to your target slide.
Step 3: Highlight the text or select the object you want to turn into a link.
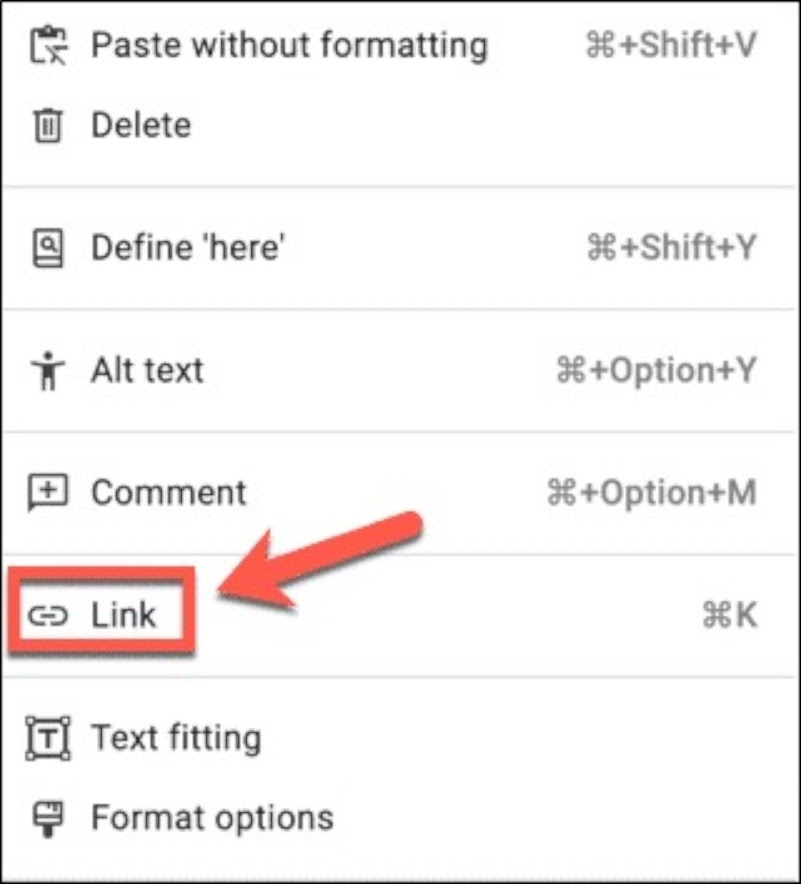
Step 4: Right-click on the selected text or object.
Step 5: Choose the “Link” option from the context menu. Alternatively, you can use a keyboard shortcut:
- On Windows, press Ctrl+K.
- On Mac, press Cmd+K.
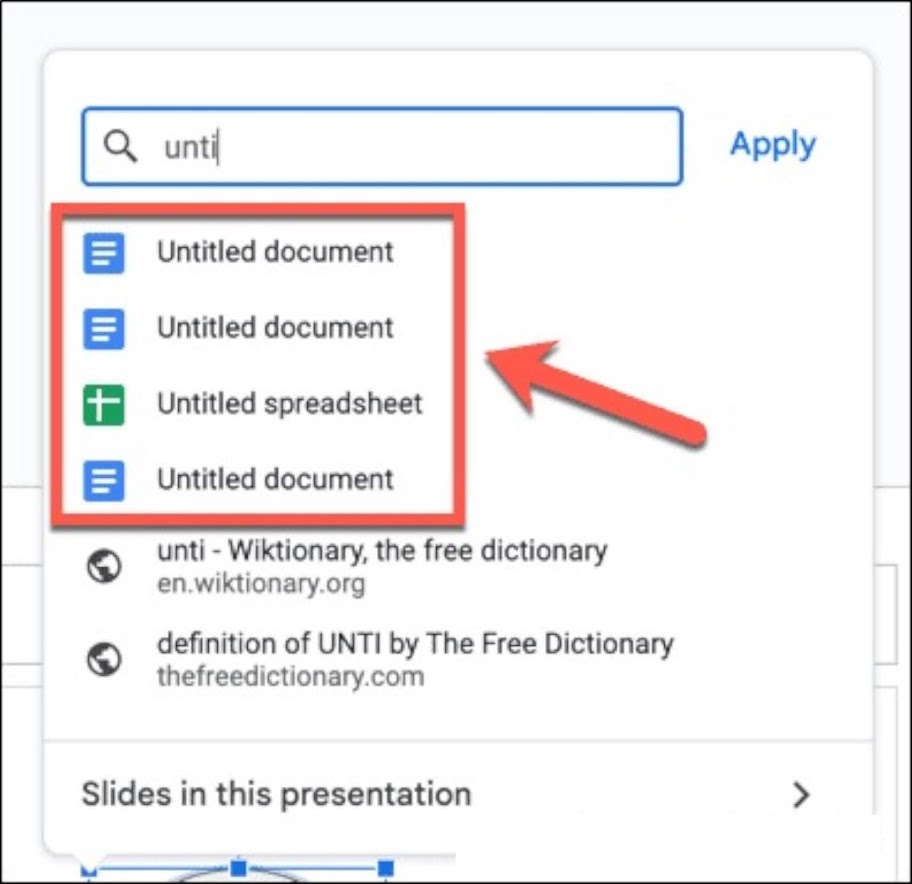
Step 6: If you wish to link to a specific website, enter the URL in the provided search bar.
Step 7: To link to other Google documents in your Google Drive, use the search bar to find them.
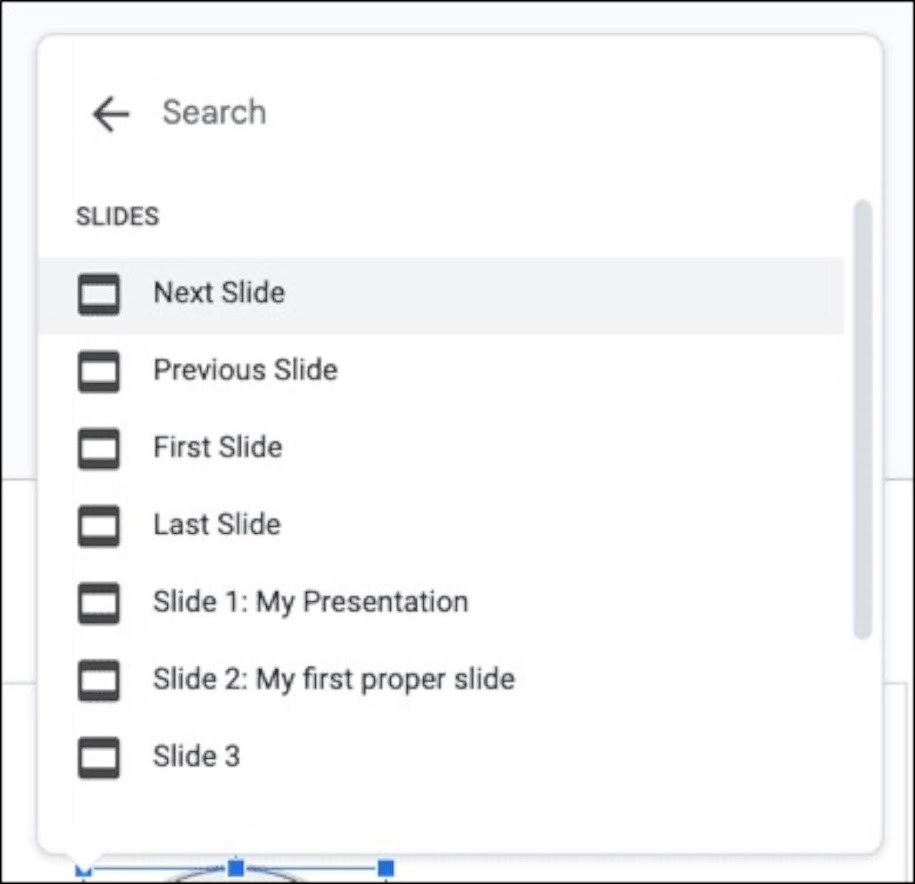
Step 8: To link to slides within your presentation, click on “Slides in This Presentation.”

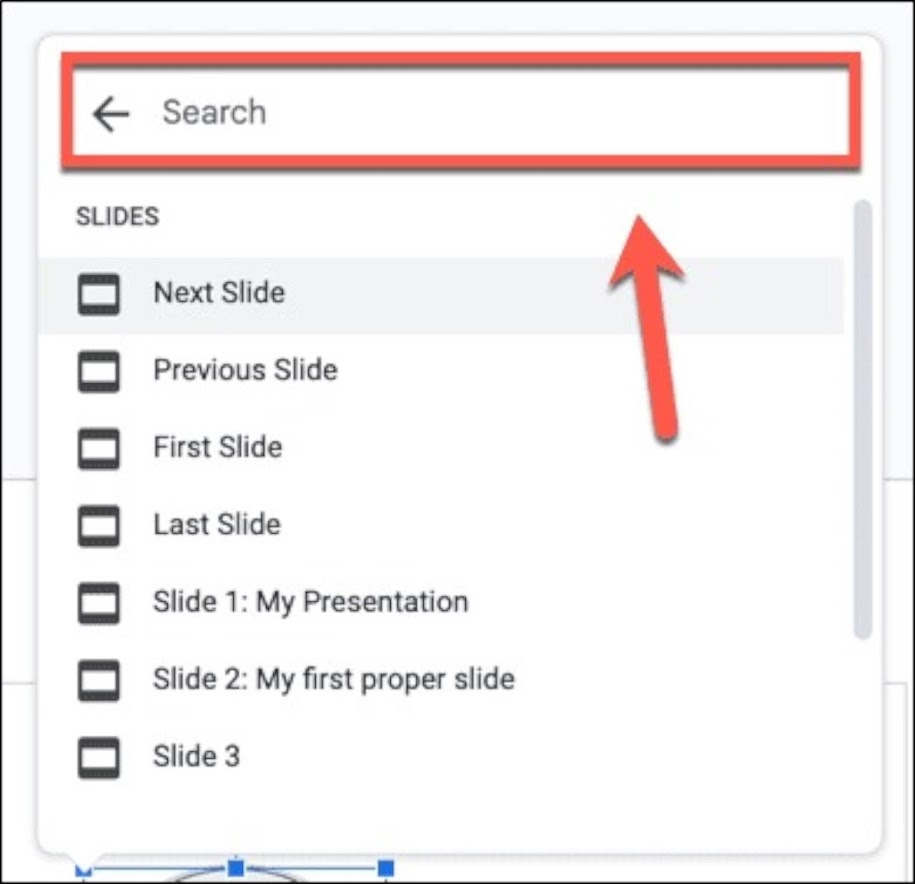
Step 9: You’ll be presented with various slide linking options, including “Next Slide,” “Previous Slide,” “First Slide,” and “Last Slide.” Below these options, you’ll find a list of all your slides in sequential order. Scroll down if needed. If your slides have titles, they’ll be displayed, making it easier to identify the correct slide.
Step 10: Click on the slide that you want to link to from the list.
Step 11: Your link is now created, connecting the selected text or object to the chosen slide.
Step 12: During your presentation, simply click on the object that you assigned the link to. You’ll be swiftly directed to the designated slide, ensuring seamless navigation.
With these simple steps, you can enhance the interactivity and accessibility of your Google Slides presentation. Whether you’re a student, educator, or professional, this feature can help you deliver engaging and organized presentations with ease.