AtlasOS offers a significant enhancement to your gaming experience on Windows 11, delivering superior FPS and reduced latency without the need for hardware upgrades. This software solution is designed to optimize your system’s performance, particularly for gaming.
For a successful installation of AtlasOS, ensure you’re running a legitimate copy of Windows 11. AtlasOS is incompatible with unauthorized versions and demands a fresh installation of Windows 11 to function effectively.

Installation Process
- Begin by navigating to the AtlasOS official website using your preferred web browser.
- Download the Atlas Playbook and AME Wizard Beta.
- Extract the contents of both ZIP files into a chosen folder on your computer.
- Initiate the AME Wizard Beta application.
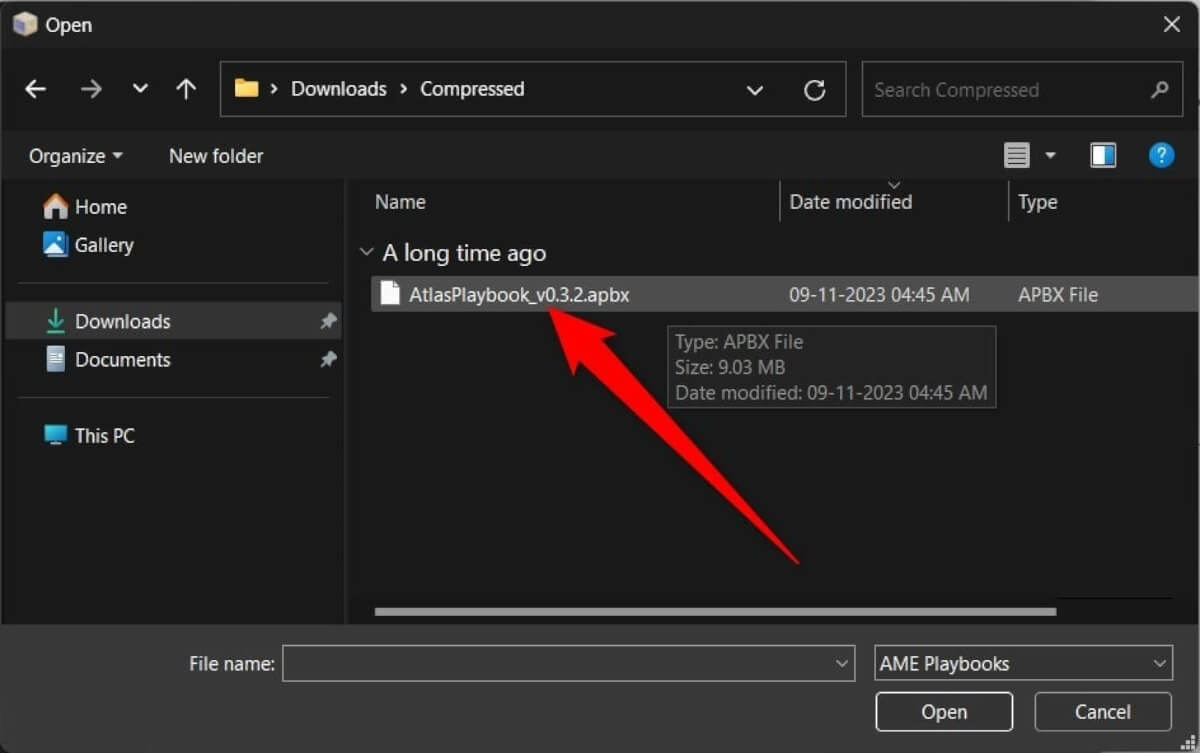
- Use the interface to load the Atlas Playbook file (.abpx) by dragging it into the designated area.
- Select the AtlasPlaybook_vx.x.x.apbx file for loading; this may take a moment.
- Prior to installation, disable Windows Security by clicking on the ‘Run action’ button.
- Click on the Open Windows Security button.
- Within Windows Security, deactivate the following: Real-time protection, Cloud-delivered protection, Automatic sample submission, and Tamper Protection.
- Proceed through the installation wizard, which will verify your Windows 11 activation status and system requirements.
- Agree to the license terms to move forward.
- Review the configuration settings, understanding their impact on your system, and continue.
- Answer the installation prompts, such as setting your default web browser, with careful consideration.
- Finalize the installation, and AtlasOS will be set up on your machine, ready to optimize your gaming performance.


By following these steps, you can harness the full potential of AtlasOS and enjoy an enhanced gaming experience on your PC.