Table of Contents
Problem Symptom
If you try to install Windows 11 Insider Preview on a PC that does not fulfill the minimum hardware requirements, the Windows Insider Program will display an error message as below:
Windows Insider Program
Your PC does not meet the minimum hardware requirements for Windows 11. Your channel options will be limited.

If you try to install the new Windows 11 Insider Preview as a new OS using ISO, the error message as below will display:
Windows Setup
This PC can’t run Windows 11
This PC doesn’t meet the minimum requirements to install thise version of Windows. For more information, visit https://aka.ms/WindowsSysReq

Follow the below workaround steps to install Windows 11 Insider Preview even your PC does not meet the minimum hardware requirements.
Bypass TPM 2.0 and Secure Boot
Step 1: Press Windows key + R to open a Run box.
Step 2: Type regedit and press Enter to open up the Registry Editor. Click Yes to grant administrative privileges when prompted by the UAC (User Account Control). If you are installing as a new OS, you need to press the Shift + F10 key to open the command prompt and type regedit.exe to open the Registry Editor.
Step 3: Navigate to the following location: Computer\HKEY_LOCAL_MACHINE\SYSTEM\Setup
Step 4: Create a new key called LabConfig.
Step 5: In the LabConfig key, right-click on the right pane then select New > DWORD (32-bit) Value. Name the new DWORD as BypassTPMCheck.
Step 6: Double-click on BypassTPMCheck and change its value to 1.
Step 7: In the LabConfig key, right-click on the right pane then select New > DWORD (32-bit) Value. Name the new DWORD as BypassSecureBootCheck.
Step 8: Double-click on BypassSecureBootCheck and change its value to 1.
Step 9: Click on the OK button and close the registry editor.
Step 10: Restart the PC.
Apply OfflineInsiderEnroll script to enroll in Dev Channel
Step 1: Open Start > Settings > Privacy > Diagnostics & feedback. Make sure the Optional diagnostic data is toggle On or select the radio button for Optional diagnostic data / Full.


Step 2: Download OfflineInsiderEnroll script at GitHub. OfflineInsiderEnroll is a simple script to join Windows Insider Program Dev Channel and it can be executed on a PC with a local account.
Step 3: Right-click on the downloaded script and select the Run as administrator option from the context menu.
Step 4: The command prompt window will display with the available Windows Insider Program channels including Dev Channel, Beta Channel, and Release Preview Channel.
Step 5: Select Enroll to Dev Channel by pressing the corresponding number and Enter.

Step 6: Restart the PC.
Modify Registry key
Step 1: Open Start > Settings > Update & Security > Windows Insider Program.
Step 2: Click on Get Started to connect your Microsoft account used for registering to the Windows Insider program.
Step 3: Select the Release Preview Channel from the list of channels show in Pick your Insider channel settings.
Step 4: Review the Privacy Statement and terms, and click the Confirm button.
Step 5: Click on Restart Now when prompted.
Step 6: Open Start > Settings > Update & Security > Windows Insider Program.
Step 7: Verify if the Dev Channel option is available. If it is not available, continue the below steps to modify the related registry key.
Step 8: Press Windows key + R to open a Run box.
Step 9: Type regedit and press Enter to open up the Registry Editor. Click Yes to grant administrative privileges when prompted by the UAC (User Account Control).
Step 10: Navigate to the following location: HKEY_LOCAL_MACHINE\SOFTWARE\Microsoft\WindowsSelfHost\UI\Selection
Step 11: Change the value for the following entries:
- UIBranch: Dev
- UIContentType: Mainline
- UIRing: External

Step 12: Navigate to the following location: HKEY_LOCAL_MACHINE\SOFTWARE\Microsoft\WindowsSelfHost\Applicability
Step 13: Change the value for the following entries:
- Branch: Dev
- ContentType: Mainline
- Ring: External

Step 14: Click on the OK button and close the registry editor.
Step 15: Restart the PC.
Step 16: Open Start > Settings > Update & Security > Windows Insider Program. You will see the Dev Channel display under Pick your Insider settings. You will still see a warning message at the top that mentions your PC does not meet hardware requirements for Windows 11.

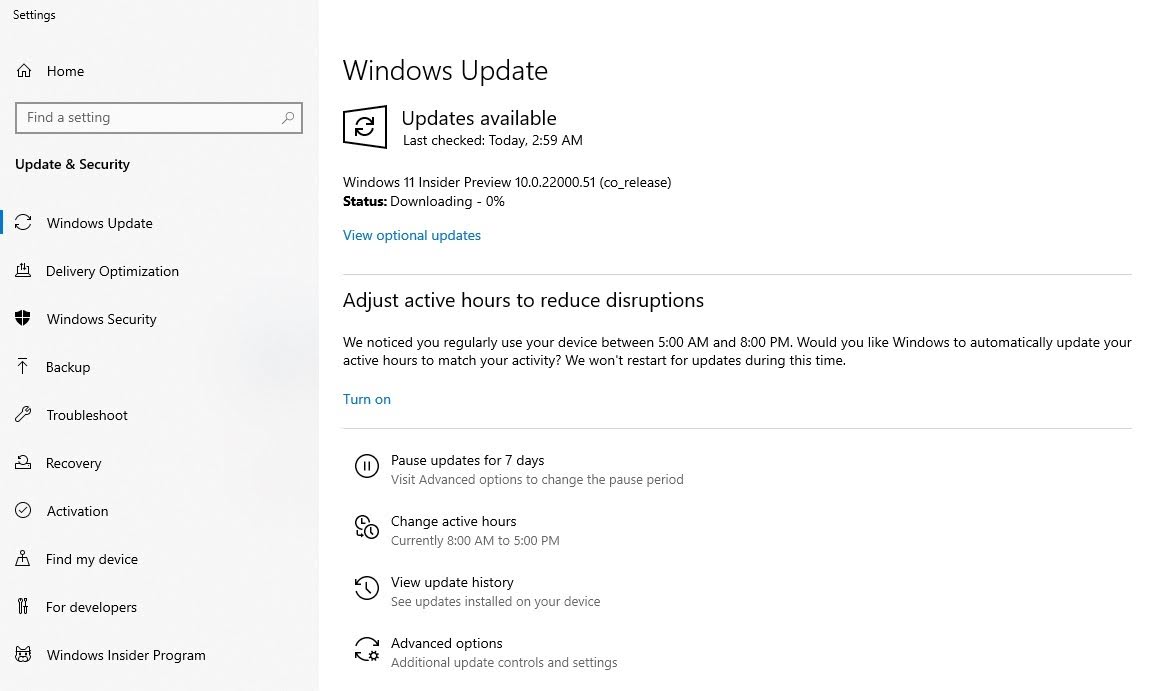
Step 17: Go to Settings > Update & Security > Windows Update.
Step 18: Click the Check for updates button. You should see the Windows 11 Insider Preview start to download.