Have you encountered the frustrating OCLP Black Screen problem on your Mac running macOS Sonoma 14.1? You’re not alone. We’re here to help you fix it. OpenCore Legacy Patcher (OCLP) is a fantastic tool that lets you run the latest macOS versions on older, unsupported Macs. It’s like giving new life to your trusty old machine. But sometimes, even the best tools hit a few bumps in the road.
Many users have reported a troublesome issue after updating OCLP to the latest 1.1.0 version. Their Macs end up stuck on a black screen, with a progress bar that just won’t budge. If you’re one of the affected users, you don’t need to worry. In this guide, we’ll show you a smart workaround to get your Mac back to working order. No more staring at that vexing black screen. Let’s get started.
Fixing OCLP Black Screen Issue on macOS Sonoma 14.1
If you’re facing the OCLP Black Screen problem on your Mac running macOS Sonoma 14.1, follow these steps to resolve it:
- Power off your Mac.
- Press Enter on the EFI boot menu, and then press Space on the next screen.
- Select “Recovery 14.1 (dmg)” to access macOS Recovery.
- Inside macOS Recovery, click on “Disk Utility” and proceed to the next step. Take note of the name of the main Interval volume, typically labeled as “Macintosh HD.”
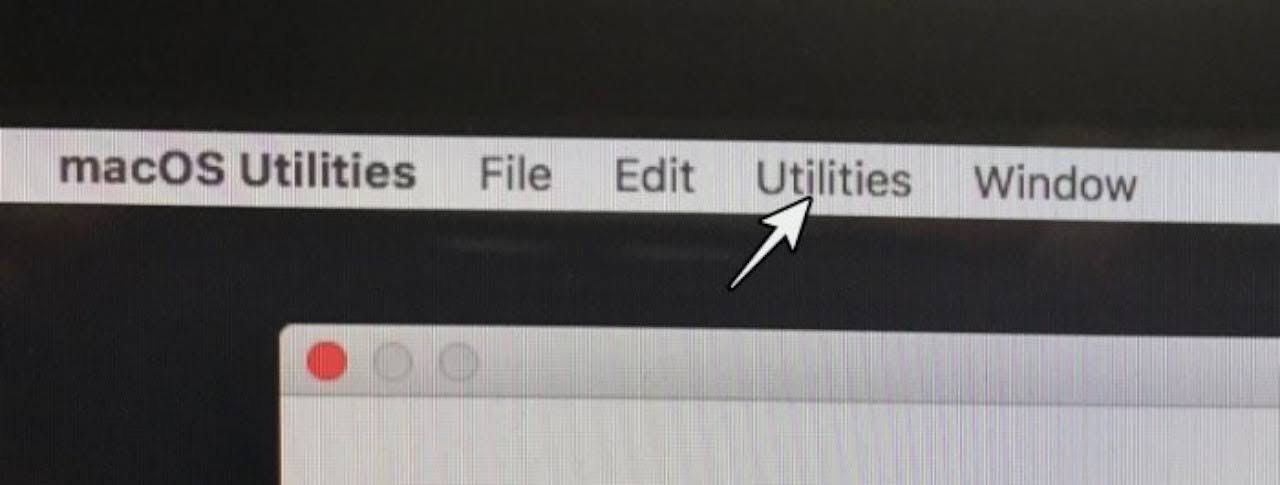
- Close Disk Utility, and you will return to Recovery. Click on “Utilities” and choose “Terminal.”
- In the Terminal, type the following command and press Enter: mount -uw “/Volumes/Macintosh HD”
- Execute the following command: bless –mount “/Volumes/Macintosh HD” -bootefi –last-sealed-snapshot
- After completing the commands, close the Terminal. You’ll return to Recovery.
- Click on the Apple Logo and select “Restart.”

Your Mac will reboot, automatically selecting macOS Sonoma, and should successfully boot into the operating system, resolving the black screen issue.
Conclusion
And there you have it – these are the steps to resolve the OCLP Black Screen problem on macOS Sonoma 14.1. If you have any questions or need further assistance with the steps mentioned above, feel free to drop your queries in the comments. We’ll promptly provide you with a solution.