Earphones and headphones are great for music, calls, and podcasts. Keeping them clean without damage matters. This guide helps clean them properly to ensure longevity.
Table of Contents
How to Clean Headphones and Headsets
Cleaning them can seem tricky, but with time, they gather dirt affecting both looks and functionality. We’ll simplify the steps to maintain them for better sound quality and comfort. Let’s enhance your audio experience!

Step 1: Disassemble Your Headphones
Start the cleaning process by disassembling your headphones. Dirt, gunk, and earwax can hide in small crevices that regular cotton swabs can’t reach. Focus on delicate areas like cushions.
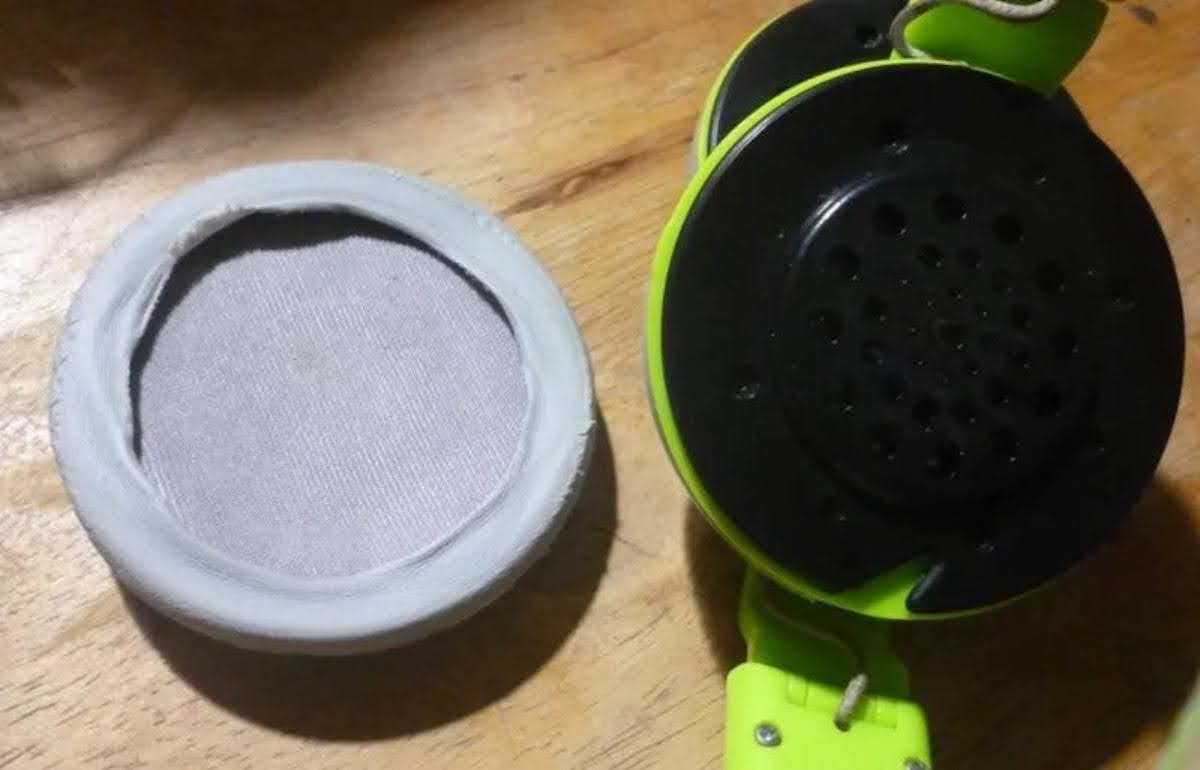
Begin by removing the ear cushion. For round pads, gently twist them off. If they’re oval or square, carefully pry them away from the headphones.
Some models have a cushiony layer under the headband. You can typically remove it by unscrewing or gently prying it off from the sides. We’ll guide you through this step-by-step for safety.

Step 2: Clean Your Ear Pads
After removing the ear pads, it’s time for a thorough clean. These cushiony parts can accumulate sweat, earwax, and dead skin over time.
Prepare a mild cleaning solution using warm water and a gentle detergent. Use a soft-bristled brush, like a toothbrush or a specialized headphone cleaning brush, to delicately scrub away dirt and grime. Treat this as a spa day for your ear pads!
Avoid tossing them into the washing machine, as it can wear them out faster. Stick to the gentle hand-cleaning method to maintain their coziness for an extended period.
Step 3: Clean the Plastic Components
Focus on the hard, non-cushioned parts of your headphones now—the plastic components that can gather grime.
Using a clean cloth and 90% sanitizing alcohol, lightly dampen the cloth and gently wipe down all the plastic surfaces. This process helps eliminate built-up germs and grime.
Avoid using water, as it can damage electronics. Also, the microphone holes are typically too small for alcohol to affect the internal microphone, so wiping with alcohol won’t harm it. Stick to this method for a safe and effective clean!

Step 4: Use Compressed Air for Dust Removal
If your headset has a movable microphone, here’s a neat way to clear out dust and debris.
Grab a can of compressed air—a small can that releases powerful air when you press the nozzle. Direct it at the joint where the microphone moves and give it a gentle burst. This air will dislodge any trapped dust or tiny particles.
Afterward, move the microphone joint to help dislodge any remaining debris between the plastic parts.
Avoid aiming the compressed air at your face or ears as it’s quite forceful!
You can also use this method on fit adjusters. Extend them fully and give them a burst of canned air. Wherever a cotton swab or cloth can’t reach, the canned air works wonders. It’s like a superpower for cleaning tight spots!

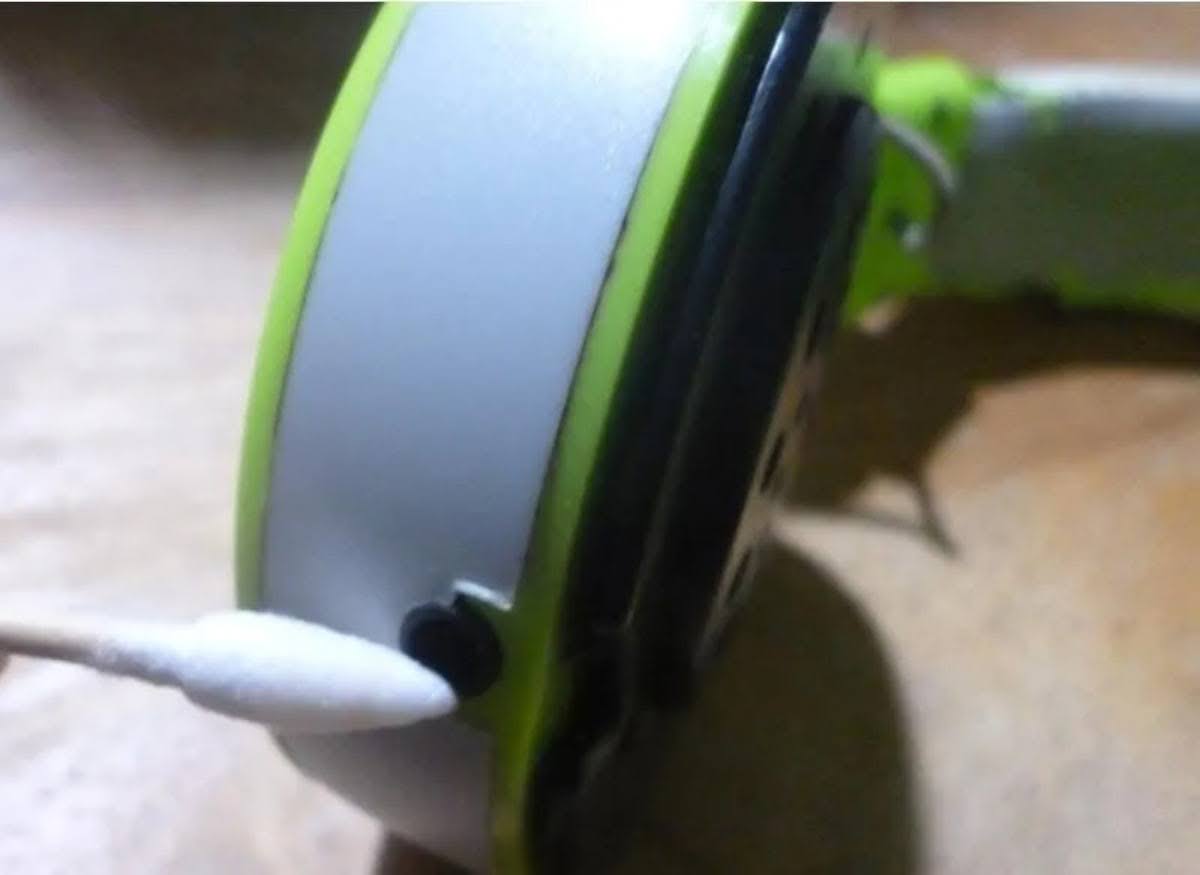
Step 5: Clean the Audio Connector Jack
The audio connector jack often gets overlooked but needs cleaning too. It’s that small plug for your phone or computer.
Take a cotton swab and gently wipe around the jack. Avoid inserting it directly inside to prevent pushing dirt deeper. A thorough wipe on the outside should suffice. Think of it like tidying up the doorway before entering your house—keeping it clean for a smooth connection.
Step 6: Reattaching Ear Pads Correctly
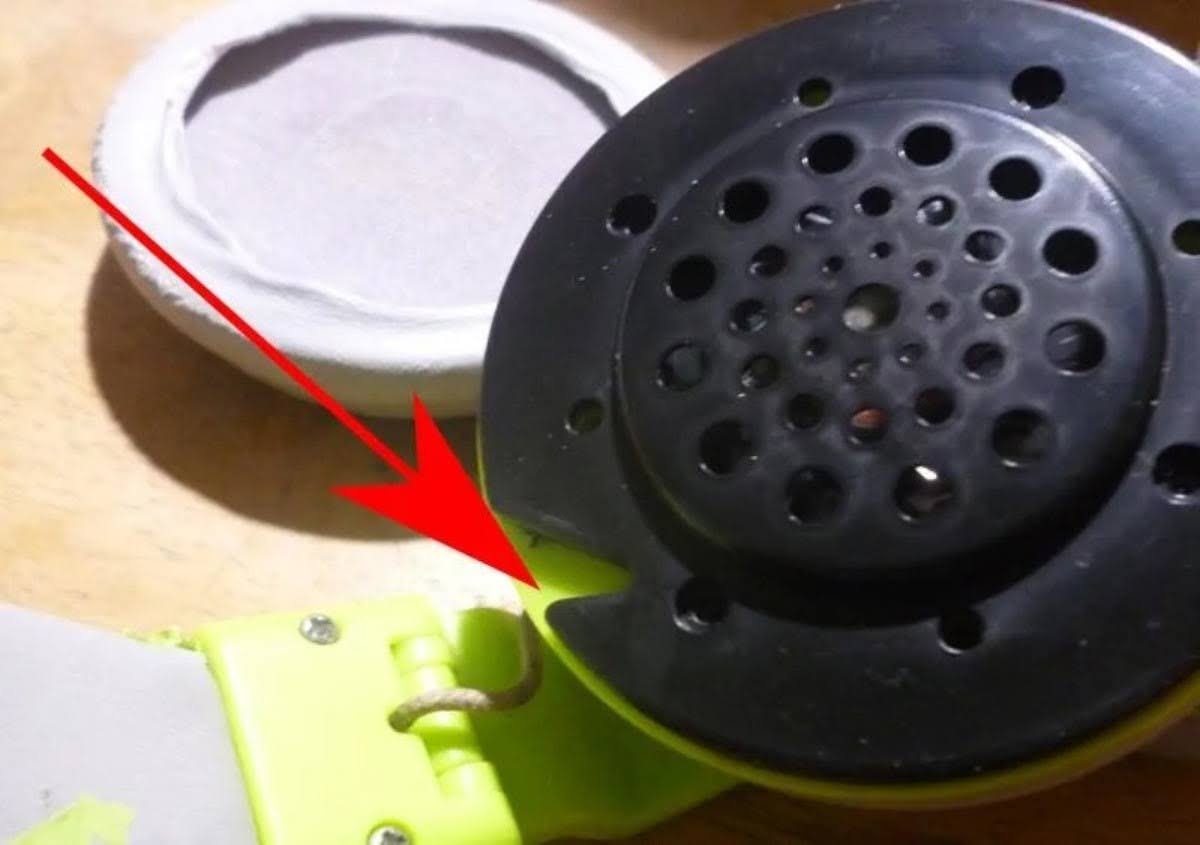
Putting back the ear pads might seem simple, but there’s a method to avoid struggling with your headphones.
For round ear pads, find the hook-like mechanism allowing a twist or “screwing” motion to secure them. It’s akin to closing a jar lid—gently twist until snug.
For non-rounded pads with a detachable frame, remove the frames, slide the ear pads over, reattach the frames, and you’re done. Think of it like fitting a puzzle piece back in place.

Following these steps saves you from frustrating fits and ensures your headphones look and feel great in no time!
Read more: Tips for Cleaning Earbuds and Earphones