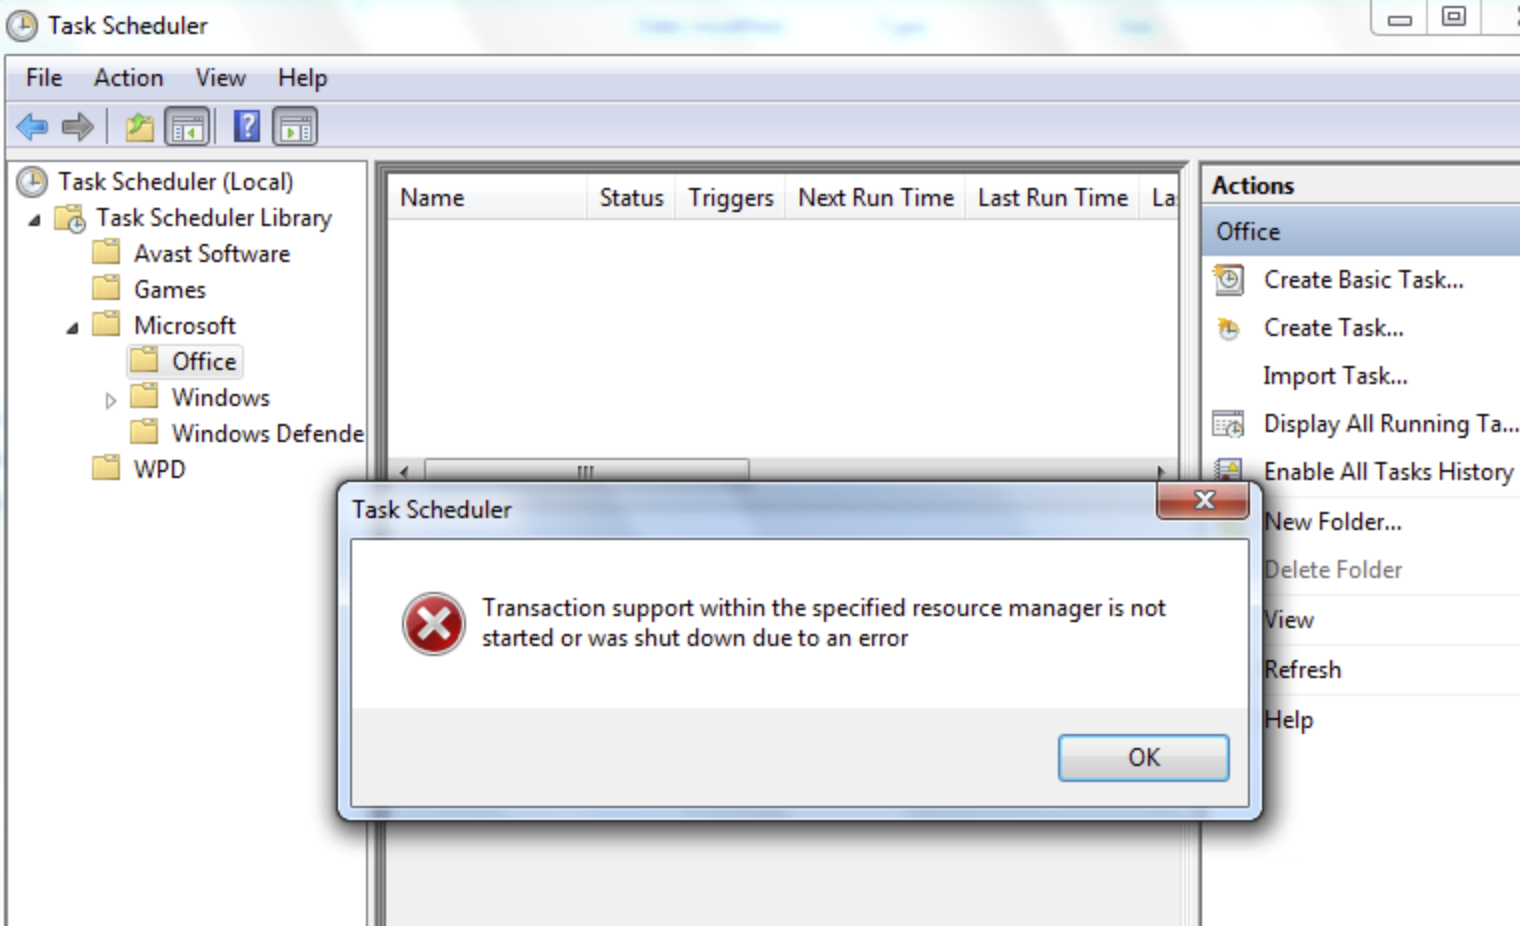
“Transaction support within the specified resource manager is not started or was shut down due to an error” error message prompted when trying to create or delete a task or folder in Windows Task Scheduler.

Follow the below solution steps to resolve the “Transaction support within the specified resource manager is not started or was shut down due to an error” issue.
Potential Causes
Table of Contents
- Corrupted transactional resource manager
- Corrupted Windows file system transaction log
Solution 1: Update Windows to the latest Service Pack
Solution 2: Execute CHKDSK
Execute an Automatic CHKDSK scan with the ‘Scan for and attempt recovery of bad sectors’ option.
Step 1: Press Windows key once
Step 2: Type cmd in the search box.
Step 3: Choose Run as administrator to open an elevated command prompt. If the UAC prompts then click on Yes to proceed further.
Step 4: Type CHKDSK C: /R and press Enter.
Step 5: Restart the computer.
Solution 3: Clean the transactional metadata
Step 1: Press Windows key once
Step 2: Type cmd in the search box.
Step 3: Choose Run as administrator to open an elevated command prompt. If the UAC prompts then click on Yes to proceed further.
Step 4: Type fsutil resource setautoreset true c:\ and press Enter.

Step 5: Close the Command Prompt window.
Step 6: Restart the computer.
Solution 4: Remove blf and regtrans-ms files
Step 1: Go to C:\Windows\System32\SMI\Store\Machine
Step 2: Delete the .blf and .regtrans-ms files or move them to another folder as backup.
Step 3: Restart the computer.
Step 1: Go to %windir%/System32\config\TxR
Step 2: Go to the View menu and check the Hidden items checkbox to enable the viewing of hidden files.

Step 3: Select all files inside the TxR folder and delete them or move them to another folder as backup.
Step 4: Restart the computer.