Problem Symptom
Table of Contents
- Problem Symptom
- Potential Causes
- Solution 1: Close all unnecessary apps
- Solution 2: Check Activision Server status
- Solution 3: Update graphics driver
- Solution 4: Run Modern Warfare with admin privilege
- Solution 5: Set Call of Duty’s Priority Process to High
- Solution 6: Disable Cache Spot and Cache Sun Shadows
- Solution 7: Turn Off Crossplay feature
- Solution 8: Disable the Ray Tracing function
- Solution 9: Enable the Server Latency function
- Solution 10: Disable the G-SYNC
- Solution 11: Enable Fullscreen Borderless Display Mode
- Solution 12: Additional Command Line Arguments in game setting
- Solution 13: Disable In-Game Overlay feature
- Solution 14: Select Adaptive Half Refresh Rate for Vertical sync
- Solution 15: Disable Game Bar in Windows
- Solution 16: PC screen only project in Windows
- Solution 17: Change video memory scale
- Solution 18: Force update Call of Duty
- Solution 19: Scan and repair Call of Duty game files
- Solution 20: Execute SFC and DISM
- Solution 21: Uninstall and reinstall Call of Duty
- Solution 22: Update Windows
- Solution 23: Perform Clean Boot State in Microsoft Windows
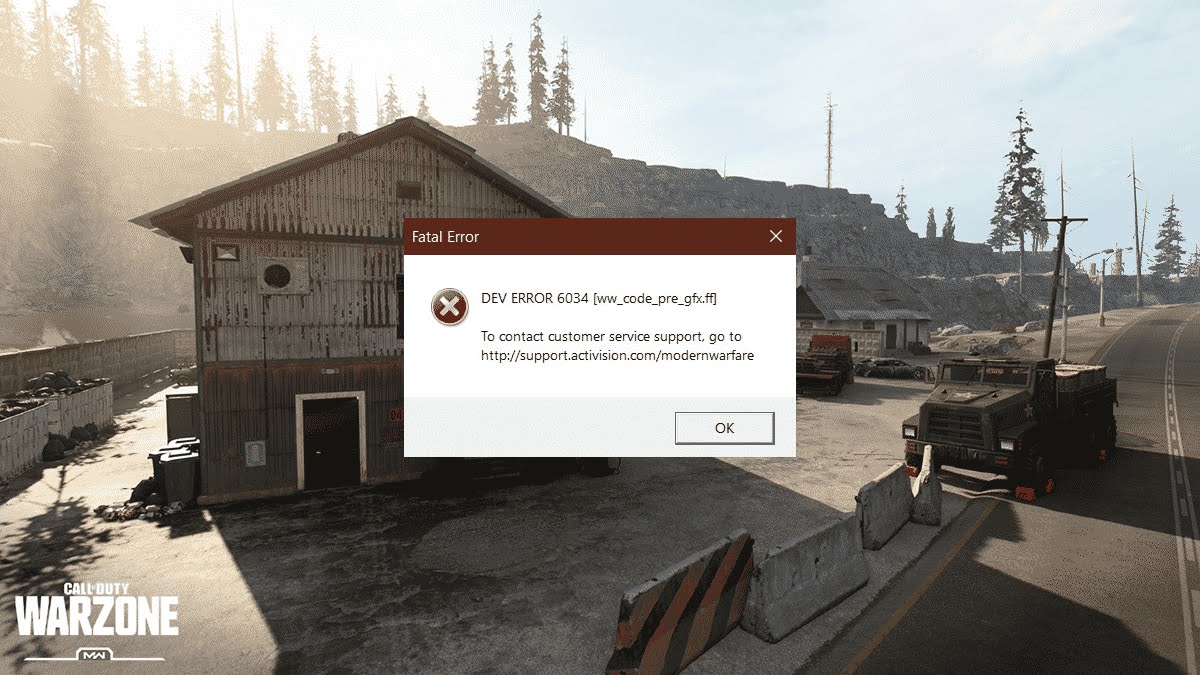
The Call of Duty Dev Error (1110, 5573, 6068, 6606, 6065, 6165, 6071, 6036, 6034, 6328, 6347, 6634) faced by many players even after game patches in Windows 11 or Windows 10. Players encounter such fatal dev error while playing the main campaign, get kicked out from the game, or COD MW force to close down abruptly.

The detailed error message is as below:
Fatal Error
DEV ERROR 6036
[mp_donetsk_cg_00501_tr.ff]
[mp_hd_heap_mp_western_otter_5_1_l15_tr.ff]
[ww_mp_aniyah_tac.ff]
[ww_code_pre_gfx.ff]
[mp_vh_mp_western_vm_arms_zebra_1_1_lod0_tr.ff]
[ww_mp_raid.ff]
[mp_don3_00312_tr.ff]
[ww_mp_runner.ff]
[mp_av_attachment_vm_ar_t9fastfire_mag_tr.ff]
[mp_donetsk_00281_tr.ff]
To contact customer service support, go to https://support.activision.com/modernwarfare

Fatal Error
DEV ERROR 6065
DEV ERROR 6068
DEV ERROR 6071
DirectX encountered an unrecoverable error
To contact customer service support, go to https://support.activision.com/modernwarfare
Follow the below solution steps to resolve Call of Duty Warzone Dev Error (1110, 5573, 6068, 6606, 6065, 6165, 6071, 6036, 6034, 6328, 6347, 6634) issue even if you are not technical train.
Potential Causes
- Game files corrupted, unreadable or outdated files
- Apps running in the background and other apps on the device
- Low RAM
- Game settings are high
- OS or device drivers are outdated
- Not running the game with admin privileges
Solution 1: Close all unnecessary apps
Before starting the game, you should close all the background apps and processes.
Solution 2: Check Activision Server status
Visit Activision support online service to make sure the Activision servers are up and running. If there is a server problem announced, the issue is beyond your control and you’ll have to wait for the game developers to fix the problem and get the server back online.
Solution 3: Update graphics driver
The outdated graphics driver is one of the most common causes Call of Duty fatal error. You should update the graphics driver before installing the Call of Duty. Either update graphics drivers manually via the Device Manager, or you can get the graphics driver updates on the Optional Updates section under Windows Update. You may also download the latest version of the driver from the graphics adapter hardware manufacturer’s website.
Step 1: Press the Windows key + R to open the Run dialog.
Step 2: Type devmgmt.msc in the Run dialog box and click on the OK button or press the Enter key to open the Device Manager.
Step 3: Go to the device category and click on it to expand the section.
Step 4: Right-click on the device name and select the Update driver option from the context menu.

Step 5: Select the Search automatically for updated driver software option for Windows to start to search and install the latest device driver on the computer.

Solution 4: Run Modern Warfare with admin privilege
If Call of Duty Modern Warfare game installation is located on the system drive, it might require additional admin permissions for the PC to execute some functions on the storage device.
Step 1: Open the Battle.net launcher.
Step 2: Open the Call of Duty window.
Step 3: Click on the Options tab located right side of the window.
Step 4: Select the Show in Explorer option from the drop-down list.
Step 5: Locate and right-click on the Call of Duty file with the .exe extension in the Call of Duty folder.
Step 6: Select Run as Administrator option from the context menu.

Solution 5: Set Call of Duty’s Priority Process to High
Step 1: Press Ctrl + Shift + Esc keys together to open the Task Manager.
Step 2: Right-click the process of the Call of Duty.
Step 3: Click on Go to Details option in the menu.

Step 4: In the Details tab, right-click on the Call of Duty process.
Step 5: Select the Priority option.
Step 6: Go to the Set Priority option and click on the High.

Step 7: Exit the Task Manager.
Solution 6: Disable Cache Spot and Cache Sun Shadows
Step 1: Open the Call of Duty Warzone.
Step 2: Click on the Option button.
Step 3: Click on the Graphics tab.
Step 4: Search for Cache Spot and click on the disable it option.
Step 5: Search for Cache Sun Shadows and click on the disable it option.

Solution 7: Turn Off Crossplay feature
Step 1: Open the Call of Duty Modern Warfare.
Step 2: Click on the Option button.
Step 3: Go to the Account tab.
Step 4: Set the Crossplay option to Disable.

Solution 8: Disable the Ray Tracing function
Step 1: Open the Battle.net launcher.
Step 2: Open the Call of Duty window.
Step 3: Click on the Options tab located right side of the window.
Step 4: Click on the Shadow & Lighting.
Step 5: Disable the Ray tracing option.

Solution 9: Enable the Server Latency function
Step 1: Open the Battle.net launcher.
Step 2: Open the Call of Duty window.
Step 3: Click on the Options tab located right side of the window.
Step 4: Switch to the General tab.
Step 5: Under the Telemetry section, go to the Server Latency and select Enable option.

Solution 10: Disable the G-SYNC
Step 1: Right-click on the Desktop and click on the NVIDIA Control Panel.
Step 2: Click on the Display to expand the section in the NVIDIA’s Control Panel.
Step 3: Click on the Setup G-SYNC.
Step 4: Uncheck the Enable G-SYNC, G-SYNC Compatible checkbox.

Solution 11: Enable Fullscreen Borderless Display Mode
Step 1: Open the Call of Duty Warzone.
Step 2: Click on the Option button.
Step 3: Click on the Graphics tab.
Step 4: Set the Display Mode to Fullscreen Borderless option from the list.

Step 5: Save the change.
Solution 12: Additional Command Line Arguments in game setting
Step 1: Open the Battle.net launcher.
Step 2: Open the Call of Duty window.
Step 3: Click on the Options tab located right side of the window.
Step 4: Click on the Game Settings.

Step 5: Under the Call of Duty section, check the Additional Command Line Arguments option and enter –d3d11.

Solution 13: Disable In-Game Overlay feature
Step 1: Exit the Call of Duty from system tray on Taskbar.
Step 2: Press Ctrl + Shift + Esc keys together to open the Task Manager.
Step 3: Stop all Call of Duty-related processes in Task Manager.
Step 4: Start the NVIDIA GeForce Experience.
Step 5: Click on the General tab at the left pane of the window.
Step 6: Locate the In-Game Overlay option and toggle it to Off.

Step 7: Save the changes and close the NVIDIA GeForce Experience.
Solution 14: Select Adaptive Half Refresh Rate for Vertical sync
Step 1: Right-click on the Desktop and click on the NVIDIA Control Panel.
Step 2: Click on the Manage 3D settings.
Step 3: Open the Program Settings and select the Call of Duty option from the list.
Step 4: Go to the Vertical sync setting and select the Adaptive Half Refresh Rate option from the list.

Step 5: If still getting the same error, then go back to the Vertical sync settings and select the Off option from the list.
Solution 15: Disable Game Bar in Windows
Step 1: Exit the Call of Duty from system tray on Taskbar.
Step 2: Press Ctrl + Shift + Esc keys together to open the Task Manager.
Step 3: Stop all Call of Duty-related processes in Task Manager.
Step 4: Go to the Windows Search box and type game bar.
Step 5: Click on the Game Bar Settings shown in the search result.

Step 6: In the Game Bar settings window, toggle the Game Bar to Off status.

Solution 16: PC screen only project in Windows
Step 1: Exit the Call of Duty from system tray on Taskbar.
Step 2: Press Ctrl + Shift + Esc keys together to open the Task Manager.
Step 3: Go to the Notification icon located at the bottom right corner of the system tray.
Step 4: Click on the Project button.

Step 5: Click on the PC screen only option.

Solution 17: Change video memory scale
Step 1: Exit the Call of Duty from system tray on Taskbar.
Step 2: Press Ctrl + Shift + Esc keys together to open the Task Manager.
Step 3: Stop all Call of Duty-related processes in Task Manager.
Step 4: Press Windows key + E to open the File Explorer.
Step 5: Navigate to the path of your player folder which is usually located in Documents\Call of Duty Modern Warfare\players
Step 6: Find the file called adv_options.ini and open it using Notepad program.
Step 7: locate the line of VideoMemoryScale.
Step 8: Change the value of VideoMemoryScale to 0.5.
Step 9: Save the file and exit the Notepad program.
Step 10: Relaunch the Call of Duty Modern Warfare.
Solution 18: Force update Call of Duty
Step 1: Go to the location where your game is stored, the default path is C:\Users\CURRENTUSER\AppData\Local\VirtualStore\Program Files
Step 2: Select all the files and exclude any folder.
Step 3: Delete all the files.
Step 4: Restart your computer.
Solution 19: Scan and repair Call of Duty game files
Step 1: Open Battle.net.
Step 2: Select Call of Duty from the PARTNER GAMES section.
Step 3: Click the Options.
Step 4: Select the Scan and Repair option.

Step 5: Click the Begin Scan button.
Step 6: Corrupted and missing files will be downloaded after the scanning process is completed.
Solution 20: Execute SFC and DISM
Call of Duty Fatal Error DEV ERROR 1110, 5573, 6068, 6606, 6065, 6165, 6071, 6036, 6034, 6328, 6347, 6634 can occur if the installation is corrupted, you can fix it by executing System File Checker (SFC) and Deployment Image Servicing and Management(DISM).
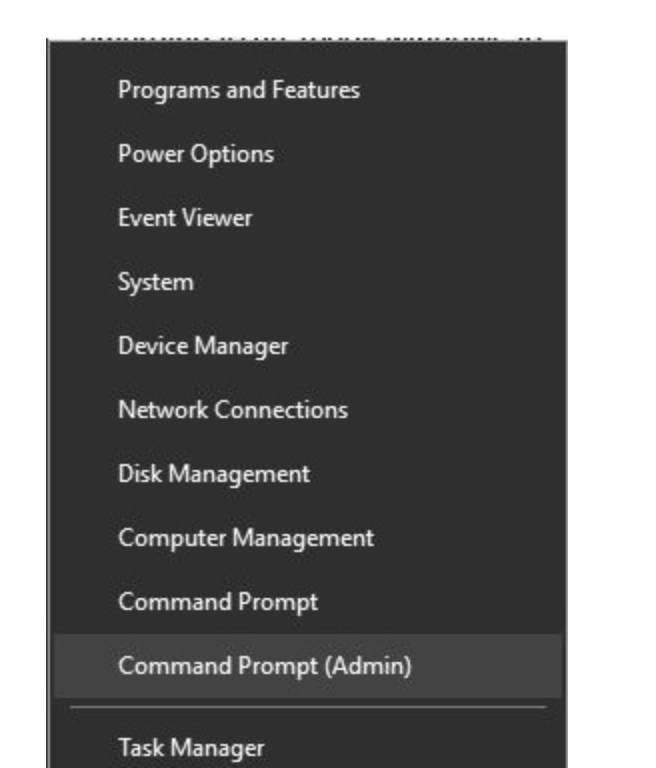
Step 1: Press Windows + X and choose Command Prompt (Admin) from the menu to start Command Prompt as administrator.
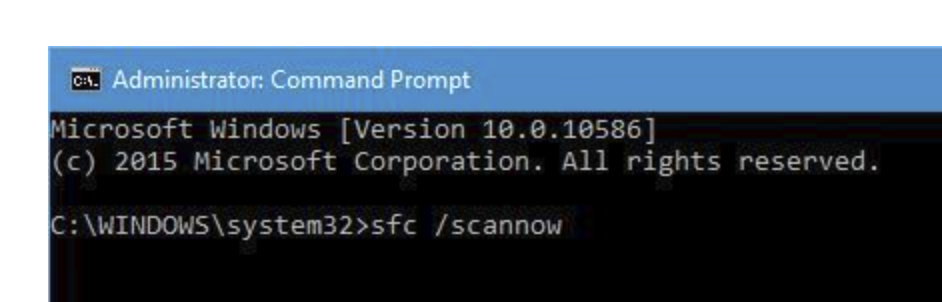
Step 2: Enter sfc /scannow and press Enter. Wait for the process to complete.
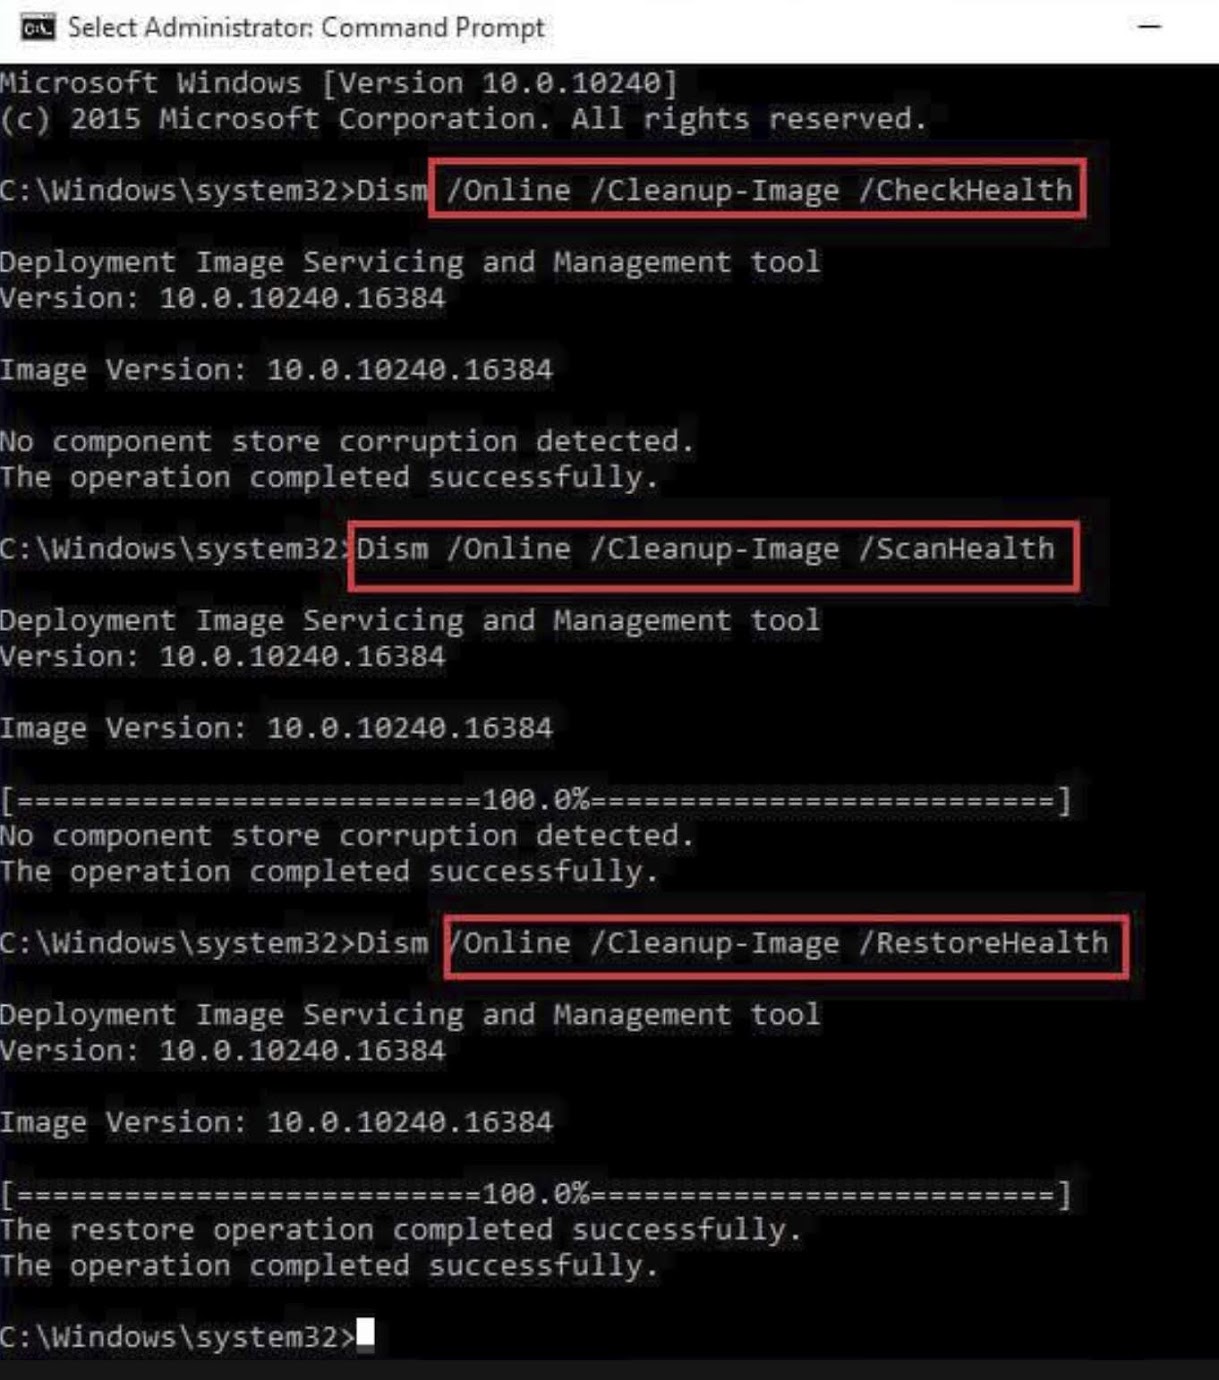
Step 3: Enter belo commands and press Enter. Wait for the process to finish.
Dism /Online /Cleanup-Image /CheckHealth

Dism /Online /Cleanup-Image /ScanHealth

Dism /Online /Cleanup-Image /RestoreHealth
Step 4: Restart your Windows.
Solution 21: Uninstall and reinstall Call of Duty
Step 1: Press the Windows key + R to open the Run dialog.
Step 2: Type the environment variable below in the Run dialog box and press Enter key: %appdata%
Step 3: Search for the Modern Warfare folder.
Step 4: Right-click the folder and select the Delete option. Confirm any additional prompts.
Step 5: Exit the File Explorer.
Step 6: Uninstall Call of Duty Modern Warfare.
Step 7: Restart your computer.
Step 8: Download and reinstall the latest version of the Call of Duty Warzone game.
Solution 22: Update Windows
Step 1: Press the Windows + I keys to open the Windows Settings.
Step 2: Select the Update & security option in the Settings app.

Step 3: Go to the Windows Update section.
Step 4: Click on the Check for updates button, Windows will start to search for the new updates.

Step 5: If there is a new update available for your OS, then download and install it on your computer.
Step 6: Once the new update is installed, restart the computer.
Solution 23: Perform Clean Boot State in Microsoft Windows
3rd party software or drivers may conflict with other installed software and cause such errors. Perform a clean boot on Windows may fix the DEV ERROR on Call of Duty. Refer to this article for how to perform clean boot state in Microsoft Windows 8, 10, 7, Vista and XP.