Windows 10 users reported unable to open the Netflix 10 Universal Windows Platform (UWP) app with Error Code H403 or H404 when trying to open the Netflix app or when attempting to stream some content. Detail error message as below:
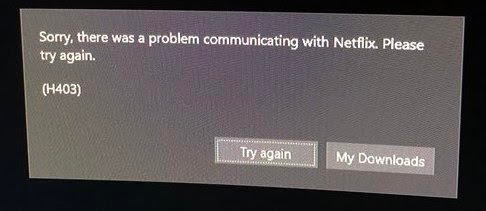
Sorry, there was a problem communicating with Netflix. Please try again. (H403)
Sorry, there was a problem communicating with Netflix. Please try again. (H404)

There are different ways on how you can fix the Netflix error code H403 and H404. Follow below resolution methods to get it resolved and continue to enjoy the Netflix app on your PC.
Table of Contents
- Solution 1: Update to the latest Netflix App
- Solution 2: Netflix Service Down?
- Solution 3: Sign In on other Device
- Solution 4: Set High Performance for Graphics Specifications
- Solution 5: Flush DNS Cache
- Solution 6: Remove mspr.hds files
- Solution 7: Disable Intel(R) Content Protection HECI Service
- Solution 8: Reset Netflix UWP App
- Solution 9: Reinstall Netflix UWP App
Solution 1: Update to the latest Netflix App
- Press Windows key + R to open Run box.
- Type
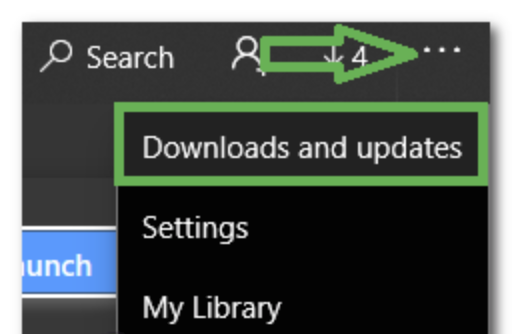
ms-windows-store://homeand press Enter to open Microsoft Store Dashboard. - Click on the Action button (three dots at the top-right corner) > Downloads and Updates option.
- Click the Get Updates button and wait until the Netflix UWP App is updated to the latest version.
- Reboot your PC.

Alternately, follow the below steps if you are facing the error on Android or iOS App:
- Go to Google Play Store for Android or App Store for iOS.
- Go to Updates and look for Netflix.
- Tap Update and wait for the process to finish.

Solution 2: Netflix Service Down?
- Open the browser and visit Netflix.com on a PC. If there is Netflix Site Error on Netflix.com, all you can do is to wait for the Netflix server to fix it.
- Open the browser and visit Downdetector to verify whether Netflix service is currently down.
- You can see the last outage on a live map, commonly reported problems and filter issues by location. If the Netflix service show is down current, then the only thing you can do is wait until it up online.

Solution 3: Sign In on other Device
- Open the Netflix UWP App on the PC.
- Click on the Action button (three dots located at the top-right corner) > Sign out from the context menu.
- If you are using a device with a different network then perform sign out as well.
- Use a mobile device and connected to the same network as your PC is connected to.
- Open the Netflix app and sign in with the same account.
- Stream any type of content, then Sign out from the mobile device.
- Perform sign in on your PC.


Solution 4: Set High Performance for Graphics Specifications
- Press Windows key + R to open Run box.
- Type
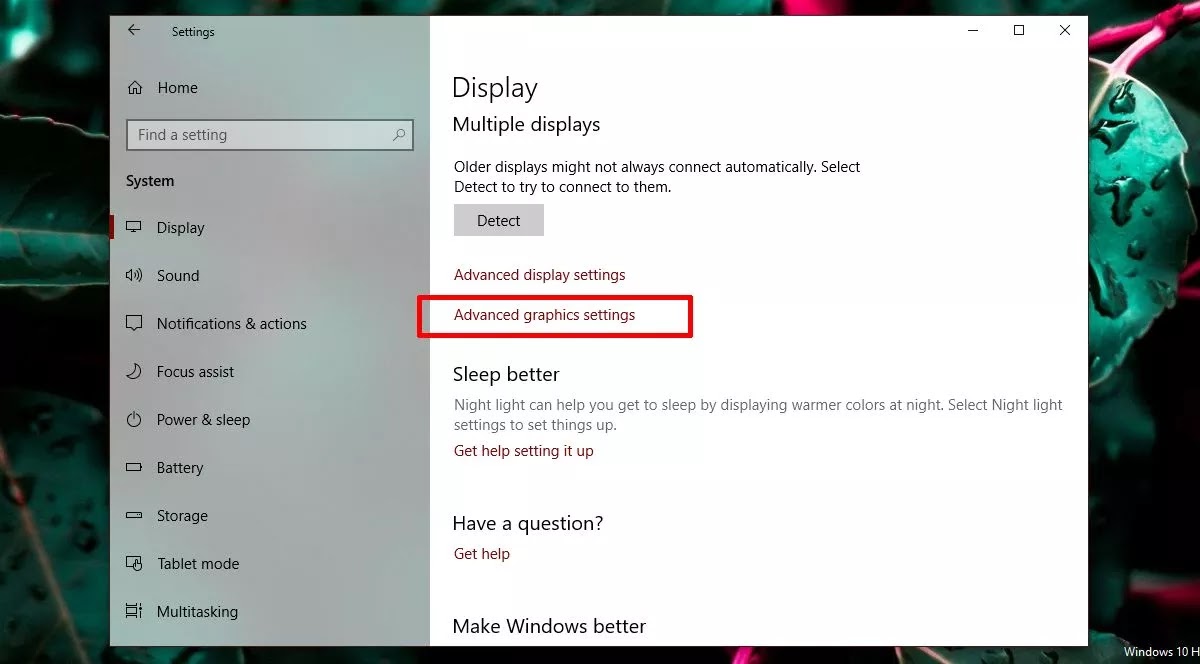
ms-settings:displayand press Enter to open the Display tab of the Settings app. - Scroll down the list to locate the Advanced graphics settings hyperlink then click on it.
- Under Choose an app to set preference section, select Universal App for the first option and add Netflix to the second option. Click on the Add button.
- Click on the Options button for Netflix UWP App.
- The graphics preference of Netflix App would be System default, set the graphics preferences to High Performance and click on the Save button.


Solution 5: Flush DNS Cache
- Go on Start and search for cmd.
- Right-click on the search result Command Prompt and click on Run as administrator option from the context menu.
- Type the following command:
ipconfig/flushdnsand press Enter. - Type
exitin the command prompt. - Reboot your PC.

Solution 6: Remove mspr.hds files
- Press Windows key + E to open the File Explorer.
- Go to Windows System Drive which is usually C drive.
- Click the search box at the top-right corner, type
mspr.hdsthen press Enter. All files namedmspr.hdswill display. - Press Ctrl + A to select all mspr.hds file, right-click and select Delete option from the context menu. The system will generate a new mspr.hds file automatically.
- Restart your PC.

Solution 7: Disable Intel(R) Content Protection HECI Service
- Press Windows key + R to open a Run box.
- Type
msconfigthen press Enter. - Go to Services tab, uncheck Hide all Microsoft services.
- Locate Inter(R) Content Protection HECI Service in the list of services and then uncheck it.
- Click Apply and OK button to save the changed.
- Go on Start and search for Device Manager.
- Expand the Display adapters, right-click on the graphics driver to select Update driver option from the context menu.
- After the graphics driver update completed, enable Inter(R) Content Protection HECI Service again.

Solution 8: Reset Netflix UWP App
- Press Windows key + R to open Run box.
- Type
ms-settings:appsfeaturesand press Enter to open the Apps & Features menu of the Settings app. - Scroll down through the list of installed UWP applications and locate the Netflix entry.
- Click on the Netflix UWP App to expand the menu, then click on Advanced options.
- Scroll down to the Terminate tab and click on the Terminate button twice to confirm the terminate operation.
- Scroll down to the Reset tab and click on the Reset button twice to confirm the reset operation to clear any temp data associated with the Netflix app and revert every local setting to the default.

Solution 9: Reinstall Netflix UWP App
- Press Windows key + R to open Run box.
- Type
ms-settings:appsfeaturesand press Enter to open the Programs & Features tab of the Settings app. - Scroll down through the list of installed UWP applications and locate the Netflix entry.
- Click on the Netflix UWP App to expand the menu, then click on Advanced options.
- Scroll down to the Terminate tab and click on the Terminate button twice to confirm the terminate operation.
- Scroll down to the Uninstall tab and click on the Uninstall button twice to confirm the uninstallation process.
- Reboot your PC.
- Press Windows key + R to open Run box.
- Type
ms-windows-store://homeand press Enter to open Microsoft Store Dashboard. - Use the Search function located at the top-right section of the screen to search for Netflix. Sign in with Microsoft credentials if you are asked to do so.
- Click on the Get button associated with Netflix to download & install the Netflix UWP App.