If you have a Western Digital Blue WDC WD60EZAZ hard drive and you are using Ubuntu, you may encounter some problems with its performance and stability. This hard drive is known to have issues with the Advanced Format (AF) technology, which uses 4K sectors instead of the traditional 512-byte sectors. This can cause alignment problems and reduce the speed and reliability of the drive.
In this article, we will show you how to fix unstable hard drive on Ubuntu by using various methods, such as checking the SMART status, updating the firmware, aligning the partitions, and formatting the drive. We will also provide some tips on how to prevent this problem from happening again.
Table of Contents
- What Causes Unstable Hard Drive on Ubuntu?
- How to Check the SMART Status of the Hard Drive?
- Method 1: Using Disks Utility
- Method 2: Using smartctl Command
- How to Update the Firmware of the Hard Drive?
- How to Align the Partitions of the Hard Drive?
- How to Format the Hard Drive?
- Method 1: Using Ubuntu Installer
- Method 2: Using GParted
- Tips to Prevent Unstable Hard Drive on Ubuntu
- FAQs Related to Unstable Hard Drive on Ubuntu
- Question: How do I know if my hard drive is 4K or 512-byte?
- Questio: How do I change the jumper setting of my hard drive to enable or disable AF?
- Question: How do I clone my hard drive to a new one without losing data or alignment?
- Summary
What Causes Unstable Hard Drive on Ubuntu?
There are several possible causes for unstable hard drive on Ubuntu, such as:
- The hard drive is old or damaged and has bad sectors or other physical errors.
- The hard drive is not compatible with the AF technology and needs a firmware update or a jumper setting change.
- The hard drive is not properly aligned with the 4K sectors and needs to be partitioned and formatted with the correct alignment.
- The hard drive is affected by external factors, such as power surges, vibrations, or high temperatures.
How to Check the SMART Status of the Hard Drive?
One of the first steps to fix unstable hard drive on Ubuntu is to check the SMART (Self-Monitoring, Analysis, and Reporting Technology) status of the drive. SMART is a feature that monitors the health and performance of the hard drive and reports any errors or warnings.
To check the SMART status of the hard drive on Ubuntu, you can use the Disks utility or the smartctl command. Here are the steps for both methods:
Method 1: Using Disks Utility
- Open Disks from the applications menu or by typing gnome-disks in a terminal.
- Select your hard drive from the list on the left.
- Click on the menu button (three horizontal lines) at the top right corner and select SMART Data & Self-Tests.
- You will see a window with various attributes and values related to your hard drive’s health. Look for any attributes that have a red icon or a high normalized value (lower than 100). These indicate potential problems with your hard drive.
- You can also run a self-test by clicking on Start Self-test and choosing a type of test (short, extended, or conveyance). The test will take some time depending on the size and condition of your hard drive. When it is done, you will see a result (completed without error, aborted by host, failed, etc.) and a log of any errors found.
Method 2: Using smartctl Command
- Open a terminal and type sudo apt install smartmontools to install the smartmontools package if you don’t have it already.
- Type sudo smartctl -a /dev/sda to check the SMART status of your hard drive (replace /dev/sda with your actual device name). You will see a lot of information about your hard drive, such as model, serial number, firmware version, capacity, etc.
- Look for any lines that say “SMART overall-health self-assessment test result” or “SMART Status”. If they say “PASSED” or “OK”, then your hard drive is healthy. If they say “FAILED” or “BAD”, then your hard drive has problems and needs to be replaced.
- You can also run a self-test by typing sudo smartctl -t short /dev/sda for a short test, sudo smartctl -t long /dev/sda for a long test, or sudo smartctl -t conveyance /dev/sda for a conveyance test. The test will take some time depending on the size and condition of your hard drive. When it is done, you can check the result by typing sudo smartctl -l selftest /dev/sda. You will see a table with the test number, type, status, remaining time, lifetime hours, LBA of first error (if any), etc.
How to Update the Firmware of the Hard Drive?
Another possible solution to fix unstable hard drive on Ubuntu is to update the firmware of the hard drive. Firmware is a software that controls how the hardware works and communicates with the operating system. Updating the firmware can improve the compatibility and performance of your hard drive.
To update the firmware of your Western Digital Blue WDC WD60EZAZ hard drive on Ubuntu, you need to download the firmware file from the official website and use a tool called hdparm to flash it. Here are the steps:
- Download the firmware file (WD60EZAZ_02.01A02_WD-WX41D29PPFJY.zip) from the website and extract it to a folder of your choice.
- Open a terminal and navigate to the folder where you extracted the firmware file. For example, if you extracted it to your Downloads folder, type cd ~/Downloads.
- Type sudo hdparm –fwdownload WD60EZAZ_02.01A02_WD-WX41D29PPFJY.fw –yes-i-know-what-i-am-doing /dev/sda to flash the firmware to your hard drive (replace /dev/sda with your actual device name). You will see a message saying “Issuing firmware download command” and then “Firmware download successful”.
- Reboot your computer and check if your hard drive works better.
How to Align the Partitions of the Hard Drive?
Another possible cause of unstable hard drive on Ubuntu is the misalignment of the partitions with the 4K sectors. This can result in poor performance and increased wear and tear of the hard drive. To fix this, you need to align the partitions of your hard drive with the 4K sectors using a tool called gparted. Here are the steps:
- Back up any important data on your hard drive before proceeding, as this process will erase all data on the drive.
- Connect an Ubuntu live USB or CD to your computer and boot from it. Choose Try Ubuntu without installing when prompted.
- Open GParted from the applications menu or by typing gparted in a terminal.
- Select your hard drive from the drop-down menu at the top right corner.
- Click on Device > Create Partition Table and choose GPT as the partition table type. Click Apply to confirm.
- Click on Partition > New and create a new partition with the following settings:
- Size: The size you want for your partition (leave some space for other partitions if you want).
- File system: The file system you want for your partition (ext4 is recommended for Ubuntu).
- Label: The name you want for your partition (optional).
- Align to: MiB
- Click Add to create the partition.
- Repeat steps 6 and 7 to create more partitions if you want.
- Click on Edit > Apply All Operations to apply the changes and format the partitions.
- Reboot your computer and install Ubuntu on your newly aligned partitions.
How to Format the Hard Drive?
If none of the above methods work, you may need to format your hard drive and start fresh. Formatting will erase all data on your hard drive and prepare it for a new installation of Ubuntu. You can format your hard drive using the Ubuntu installer or using GParted. Here are the steps for both methods:
Method 1: Using Ubuntu Installer
- Connect an Ubuntu live USB or CD to your computer and boot from it. Choose Install Ubuntu when prompted.
- Follow the instructions on the screen until you reach the Installation type screen.
- Choose Erase disk and install Ubuntu to format your entire hard drive and install Ubuntu on it. Alternatively, choose Something else to manually partition and format your hard drive as you wish.
- Click Install Now to confirm and continue with the installation.
Method 2: Using GParted
- Connect an Ubuntu live USB or CD to your computer and boot from it. Choose Try Ubuntu without installing when prompted.
- Open GParted from the applications menu or by typing gparted in a terminal.
- Select your hard drive from the drop-down menu at the top right corner.
- Click on Partition > Unmount to unmount any mounted partitions on your hard drive.
- Click on Device > Create Partition Table and choose GPT as the partition table type. Click Apply to confirm.
- Click on Partition > New and create a new partition with the following settings:
- Size: The size you want for your partition (you can use the entire disk or leave some space for other partitions).
- File system: The file system you want for your partition (ext4 is recommended for Ubuntu).
- Label: The name you want for your partition (optional).
- Align to: MiB
- Click Add to create the partition.
- Repeat steps 6 and 7 to create more partitions if you want.
- Click on Edit > Apply All Operations to apply the changes and format the partitions.
- Reboot your computer and install Ubuntu on your newly formatted partitions.
Tips to Prevent Unstable Hard Drive on Ubuntu
To prevent unstable hard drive on Ubuntu, here are some tips you can follow:
- Keep your hard drive firmware updated regularly.
- Use GPT as the partition table type for better compatibility with 4K sectors.
- Align your partitions with 4K sectors using MiB alignment in GParted or other tools.
- Check your hard drive SMART status periodically using Disks or smartctl and run self-tests if needed.
- Avoid exposing your hard drive to extreme temperatures, humidity, dust, shocks, or vibrations.
- Use a surge protector or an uninterruptible power supply (UPS) to protect your hard drive from power surges or other electrical issues.
- Use a good quality SATA cable and make sure it is securely connected to your hard drive and motherboard.
- Defragment and optimize your hard drive regularly using the built-in tool or other software.
- Scan your hard drive for errors and bad sectors using the built-in tool or other software.
- Backup your important data regularly to an external drive or a cloud service.
FAQs Related to Unstable Hard Drive on Ubuntu
Here are some frequently asked questions related to unstable hard drive on Ubuntu and their answers:
Question: How do I know if my hard drive is 4K or 512-byte?
Answer: You can use the hdparm command to check the sector size of your hard drive. Open a terminal and type sudo hdparm -I /dev/sda (replace /dev/sda with your actual device name). Look for a line that says “Logical/Physical Sector size”. If it says “512 bytes / 4096 bytes”, then your hard drive is 4K. If it says “512 bytes / 512 bytes”, then your hard drive is 512-byte.
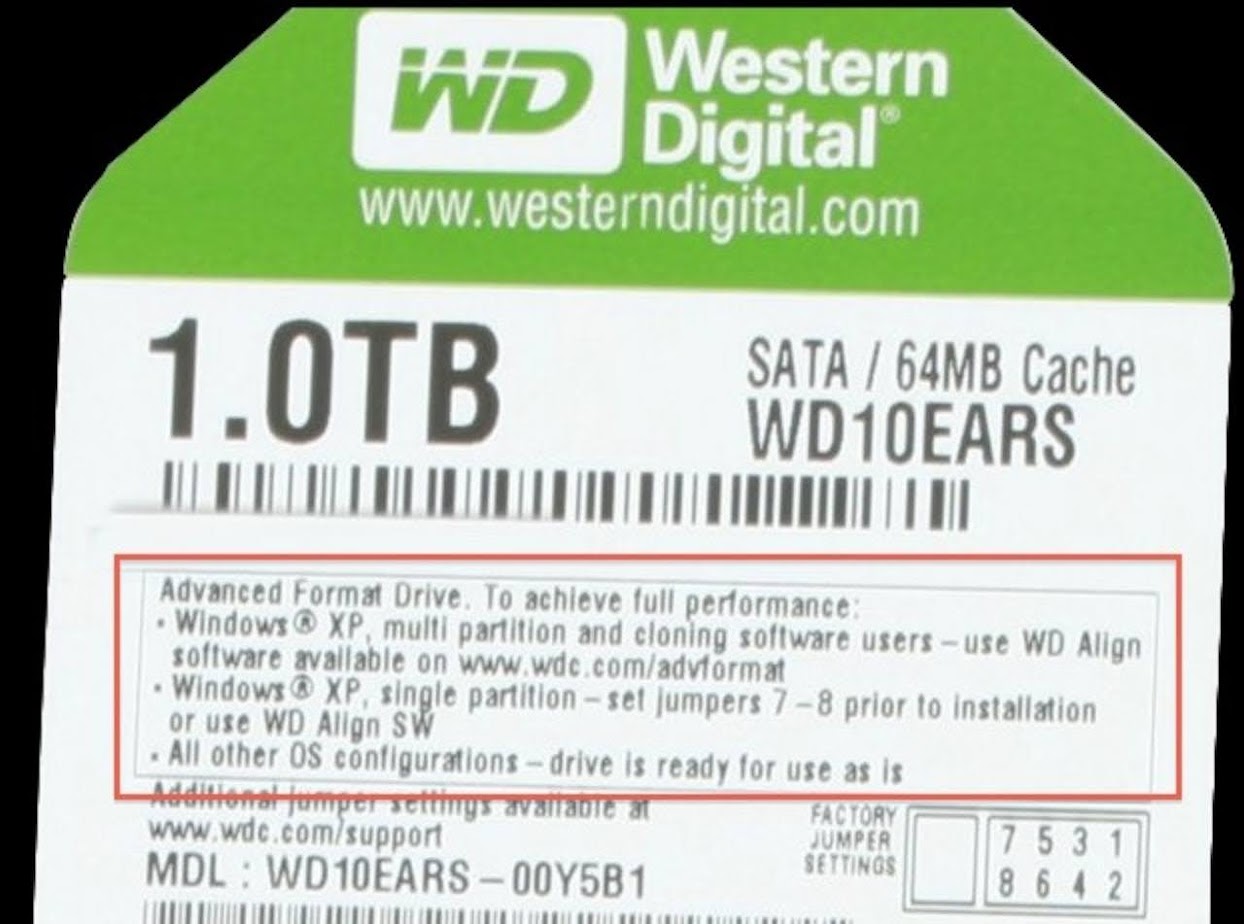
Questio: How do I change the jumper setting of my hard drive to enable or disable AF?
Answer: Some hard drives have a jumper setting that allows you to enable or disable the AF technology. You can find the jumper pins on the back of your hard drive, next to the power and data connectors. You need to use a small plastic piece called a jumper to connect or disconnect the pins according to the instructions on [the official website] or [the label on your hard drive]. Be careful not to damage the pins or the jumper. You may need to power off your computer and disconnect the hard drive before changing the jumper setting.
Question: How do I clone my hard drive to a new one without losing data or alignment?
Answer: If you want to replace your old hard drive with a new one, you can use a tool called Clonezilla to clone your entire hard drive, including the partitions, data, and alignment. Clonezilla is a free and open source software that can create an exact copy of your hard drive. You need to download [the Clonezilla live image] and create a bootable USB or CD from it. Then, you need to connect both your old and new hard drives to your computer and boot from the Clonezilla live USB or CD. Follow [the instructions on the website] or [the video tutorial] to clone your hard drive.
Summary
In this article, we have learned how to fix unstable hard drive on Ubuntu using various methods, such as checking the SMART status, updating the firmware, aligning the partitions, and formatting the drive. We have also provided some tips on how to prevent this problem from happening again and some FAQs related to this topic. We hope this article has helped you solve your hard drive issues and improve your Ubuntu experience.