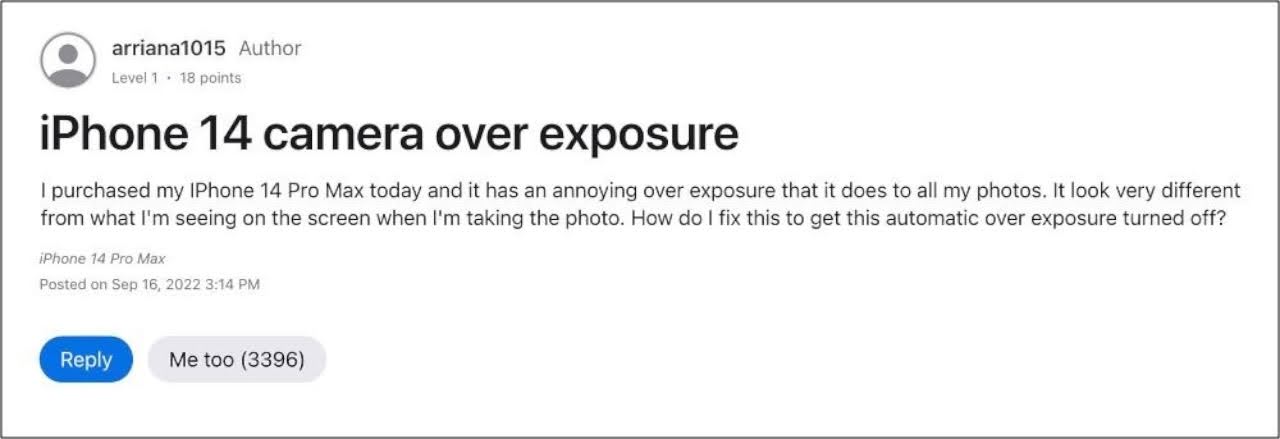
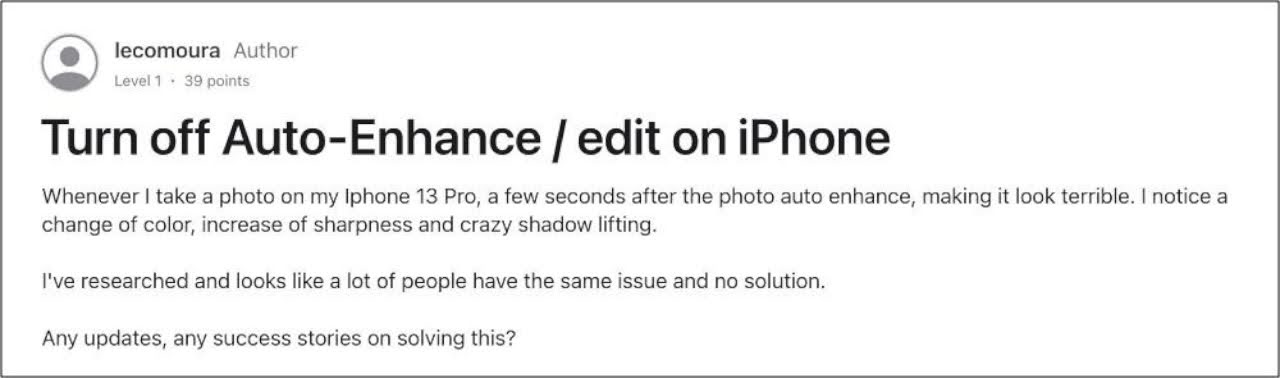
When it comes to smartphone photography, iPhones are renowned for capturing stunning images. However, there’s a significant drawback – the auto-enhance feature often leads to overexposed photos that don’t match what you originally saw in your viewfinder. Users often describe these photos as oversaturated, overly enhanced, excessively contrasted, excessively sharp, too dark, and grainy.
Is there a way to capture photos in a more natural JPEG or HEIC format without this excessive enhancement? Can you turn off auto-enhance and correct overexposure on your iPhone? In this guide, we’ll explore practical methods to achieve just that. Let’s dive in and take control of your iPhone photography.
Table of Contents
How to Disable Auto Enhance and Fix Overexposure on iPhone
Unfortunately, there is no direct way to turn off Auto Enhance on your iPhone, as it is integrated into the Bionic chip and automatically activates when you take a photo. This functionality is powered by DeepFusion, an image processing algorithm introduced by Apple starting with the iPhone 11 and present in all subsequent models.
While Apple touts the benefits of Auto Enhance, not all users are pleased with the results. Since turning off this feature isn’t possible, let’s explore alternative solutions to improve your photo quality.
Solution 1: Turn Off Auto HDR
Your initial step should be to disable the Auto HDR feature and see if it improves your photo results. Here’s how to do it:
- Go to your iPhone’s Settings.
- Scroll down and select “Camera.”
- Find and turn off “Smart HDR.”
- Additionally, you can toggle HDR on or off from the camera screen as needed.
- To disable HDR for video recording, navigate to “Settings,” “Camera,” and then “Record Video,” and turn off “HDR Video.”
Solution 2: Utilize Burst Mode
A clever workaround to combat excessive enhancement is to make use of Burst Mode. This entails capturing a series of at least two photos in quick succession and then selecting the one that suits your preferences. Photos taken in Burst Mode tend to be less enhanced compared to those taken in the regular mode, offering a more natural look. To activate Burst Mode, follow these steps:
- Open your camera app on the iPhone.
- Press and hold the shutter button (or volume down button) to capture a rapid series of photos.
- Release the button when you’ve taken a few shots.
- Navigate to your Photos app and select the Burst Mode album to review and choose the photo that best meets your expectations.
By using Burst Mode, you can have more control over the final image, reducing the risk of overexposure and excessive enhancement.
Solution 3: Leverage Live Photos
An additional solution to mitigate overexposure and excessive enhancement is to utilize Live Photos. This method involves capturing a Live Photo and then selecting a different frame during the editing process. The selected frame will resemble a standard photo, devoid of the issues like darkness and graininess. Here’s how to do it:
- Open your camera app on your iPhone and enable Live Photos by tapping the icon at the top of the screen (it looks like a set of concentric circles).
- Capture a Live Photo by taking a picture.
- Navigate to your Photos app and locate the Live Photo you’ve taken.
- Tap “Edit” in the upper-right corner.
- Below the image, you’ll see a timeline of frames from the Live Photo. Swipe through the frames to find one that looks less enhanced and closer to your desired result.
- Once you’ve found the frame you prefer, tap “Make Key Photo.”
By using Live Photos and selecting a different frame, you can achieve a more natural and appealing photo without the issues of darkness and graininess. This method provides a viable alternative to standard photo capture on your iPhone.
Conclusion
In conclusion, addressing overexposure and excessive enhancement on your iPhone can be challenging since turning off Auto Enhance is not an option. However, we’ve explored three effective workarounds to help you improve your photo quality:
- Turn Off Auto HDR: By disabling the Auto HDR feature in your camera settings, you can have more control over your photos’ enhancement.
- Utilize Burst Mode: Capturing a series of photos in Burst Mode and selecting the one that suits your preferences can lead to less-enhanced and more natural-looking images.
- Leverage Live Photos: Taking a Live Photo and selecting a different frame during editing can provide you with a standard, non-enhanced image, reducing issues like darkness and graininess.
While these workarounds can help, it’s worth noting that the official stance from Apple regarding this issue is that they are aware of it. However, they have not provided an estimated time for a fix to be rolled out. We will update this guide as soon as any official solution becomes available. In the meantime, these workarounds are your best options to improve your iPhone photography.