Learn how to use ncdu, a simple and user-friendly command-line tool, to check and manage disk space in Ubuntu.
If you are running out of disk space on your Ubuntu system, you might want to find out which files and directories are taking up the most space. However, using the default command-line tools like df and du can be confusing and tedious. Fortunately, there is a better alternative: ncdu. In this article, we will show you how to install and use ncdu to check and manage disk space in Ubuntu.
What Is ncdu?
Table of Contents
- What Is ncdu?
- Install ncdu on Ubuntu
- Use ncdu on Ubuntu
- Scan a Specific Directory With ncdu
- Scan a Remote System With ncdu
- Frequently Asked Questions (FAQs)
- Question: What is the difference between disk usage and apparent size?
- Question: How can I exclude some directories or files from the scan?
- Question: How can I save the scan results to a file?
ncdu stands for Ncurses Disk Usage. It is a command-line tool that uses a text-based user interface to display the disk usage of any directory. It is similar to the du command, but with some extra features and a more intuitive interface. You can use ncdu to:
- Scan any directory and see the disk usage of its subdirectories and files
- Sort the results by name or size
- Delete files and directories that you don’t need
- Show information about a file or directory, such as its path, type, and apparent size
- Toggle the visibility of hidden items
- Navigate to a specific subdirectory
- Scan the root filesystem or a remote system via SSH
Install ncdu on Ubuntu
To install ncdu on Ubuntu, you need to open the terminal and update your system’s package information:
sudo apt update

Then, install ncdu on your Ubuntu system:
sudo apt install ncdu

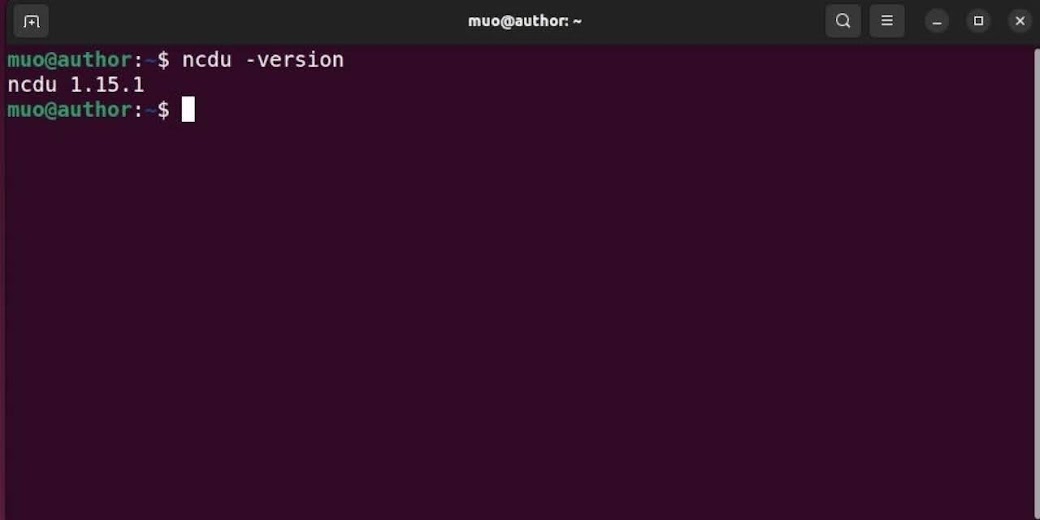
To check that ncdu is installed correctly, you can display its version:
ncdu -version
Use ncdu on Ubuntu
Using ncdu on Ubuntu is very easy. You just need to run the ncdu command without any options to scan the current directory:
ncdu

You will see a list of subdirectories and files, along with their disk usage, sorted by size in descending order. The larger items will be displayed on top. You can also see the total disk usage of the current directory at the bottom.
To select a subdirectory or file, you can use the up and down arrow keys. To navigate to the selected subdirectory, you can press the right arrow key. To go back to the parent directory, you can press the left arrow key.

To delete a file or directory, you can press the d key. You will be asked to confirm your action before deleting. To cancel the deletion, you can press the n key.
To show information about a file or directory, you can press the i key. You will see its name, path, type, disk usage, and apparent size.

To toggle the visibility of hidden items, you can press the a key. Hidden items are those that start with a dot (.) in their name.
To sort the results by name or size, you can press the n or s key, respectively.
To quit ncdu, you can press the q key.
Scan a Specific Directory With ncdu
If you want to scan a specific directory with ncdu, you can specify its path as a parameter. For example, to scan your home directory, you can use:
ncdu ~
To scan the root filesystem, you can use:
sudo ncdu /
Note that scanning the root filesystem may take some time, depending on the size of your disk.
You can also use the -x option to limit the scan to the same filesystem as the specified directory. This can be useful if you have multiple partitions or mount points on your system. For example, to scan the root filesystem without including other mount points, you can use:
sudo ncdu -x /

Scan a Remote System With ncdu
If you want to scan a remote system with ncdu, you can use SSH to connect to it and pipe the output to your local ncdu. For example, to scan the root filesystem of a remote system with the username user and the hostname system, you can use:
ssh -C user@system ncdu -o- / | ncdu -f-

The -C option enables compression for faster data transfer. The -o- option tells ncdu to output the scan results to the standard output. The -f- option tells ncdu to read the scan results from the standard input.
Frequently Asked Questions (FAQs)
Question: What is the difference between disk usage and apparent size?
Answer: Disk usage is the actual amount of disk space that a file or directory occupies on the disk. Apparent size is the amount of disk space that a file or directory would occupy if there were no compression, sparse blocks, or hard links. Apparent size is usually equal to or larger than disk usage.
Question: How can I exclude some directories or files from the scan?
Answer: You can use the -X option to specify a pattern of directories or files that you want to exclude from the scan. For example, to exclude all files with the .bak extension, you can use:
ncdu -X '*.bak'
You can also use the -x option to exclude all directories and files that are on a different filesystem than the specified directory.
Question: How can I save the scan results to a file?
Answer: You can use the -o option to specify a file name where you want to save the scan results. For example, to save the scan results of the current directory to a file named scan.txt, you can use:
ncdu -o scan.txt
You can also use the -f option to read the scan results from a file. For example, to display the scan results from the file scan.txt, you can use:
ncdu -f scan.txt