You want to build your own PC, but you’re not sure how to do it right. You’ve watched tutorials and read guides, but you still have some doubts. Don’t worry, we’re here to help.
In this blog, we’ll show you the 10 most common mistakes that beginners make when building PCs, and how to avoid them. By following our tips, you’ll be able to build your PC with confidence and enjoy the process.
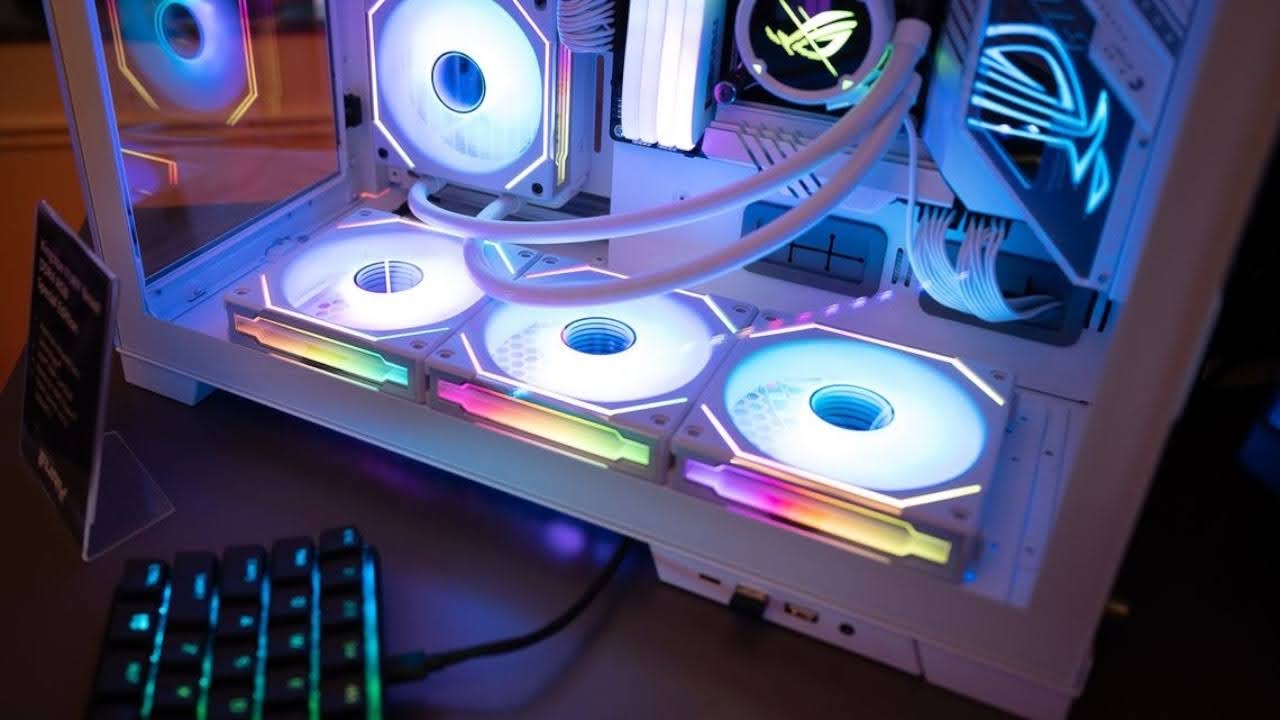
Table of Contents
- Check Dimensions/Compatibility Before Buying
- Remove the Plastic Under the CPU Heatsink
- Mount a CPU Heatsink/Cooler Properly
- Use the Right Amount of Thermal Paste
- Install the I/O Shield Before the Motherboard
- Be Careful with the USB Header
- Make Sure Your Fans Blow the Right Way
- Use the Right Slots for Your RAM
- Install Motherboard Standoffs
- Spend Enough on Your PSU
- Conclusion
Check Dimensions/Compatibility Before Buying
Don’t buy parts without checking if they fit together. You might end up with a liquid cooler that doesn’t fit in your case, a motherboard that’s too big, or a CPU that doesn’t match your socket. This will waste your time and money.
Use tools like PCPartPicker to check compatibility. It will tell you if your parts work together. But don’t rely on it completely. Always double-check everything before you buy. If you already bought the wrong part, return it and get the right one.
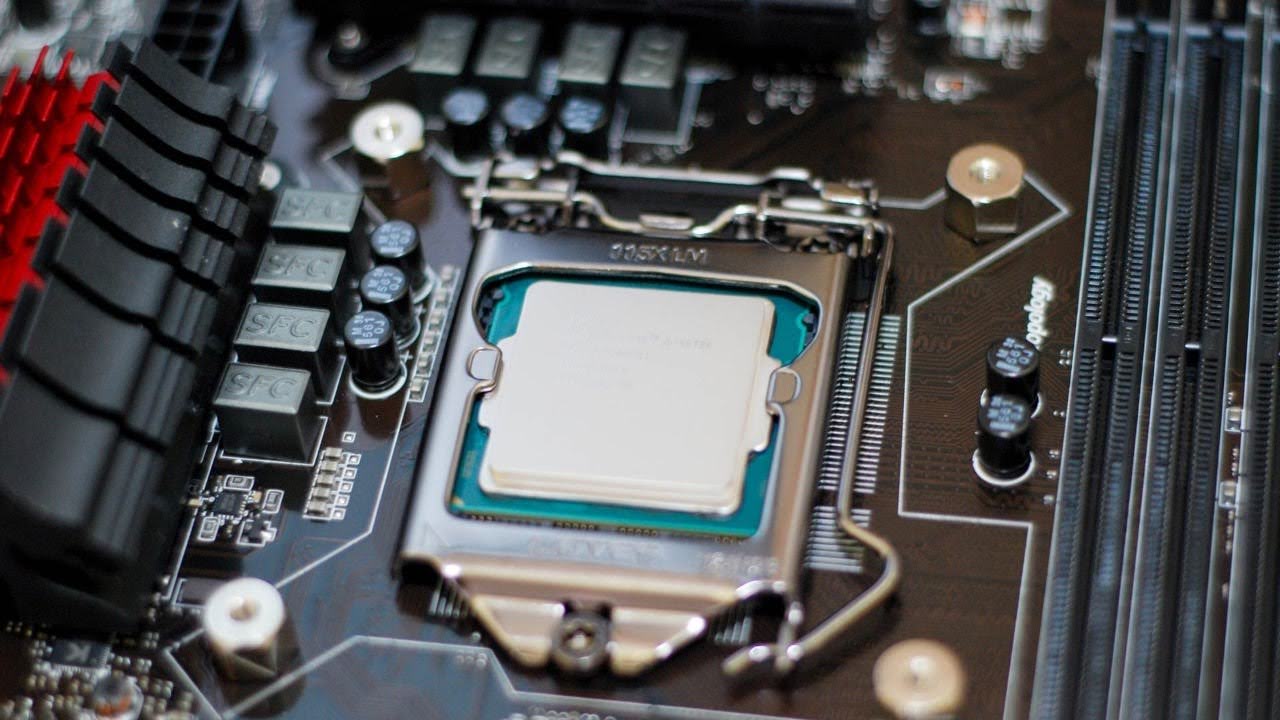
Remove the Plastic Under the CPU Heatsink
Some CPU coolers have a plastic film on the heatsink. This is to protect it from dust and scratches. But you need to take it off before you install it. If you don’t, the plastic film will block the heat from the CPU. Your CPU will overheat and damage your PC.
Look for the plastic film on the heatsink. It might be clear or colored. Some manufacturers make it easy to see and remove. Others don’t. Peel it off carefully and throw it away. Then you can install your CPU cooler safely.
Mount a CPU Heatsink/Cooler Properly
A CPU heatsink needs to be very tight on the processor. This helps the heat move from the CPU to the cooler.
Different coolers have different ways to install them. You need to follow the instructions that come with your cooler. Don’t miss any steps or screws.
If you need to screw the heatsink, do it in an X-shape. This makes sure the pressure is even on the CPU.
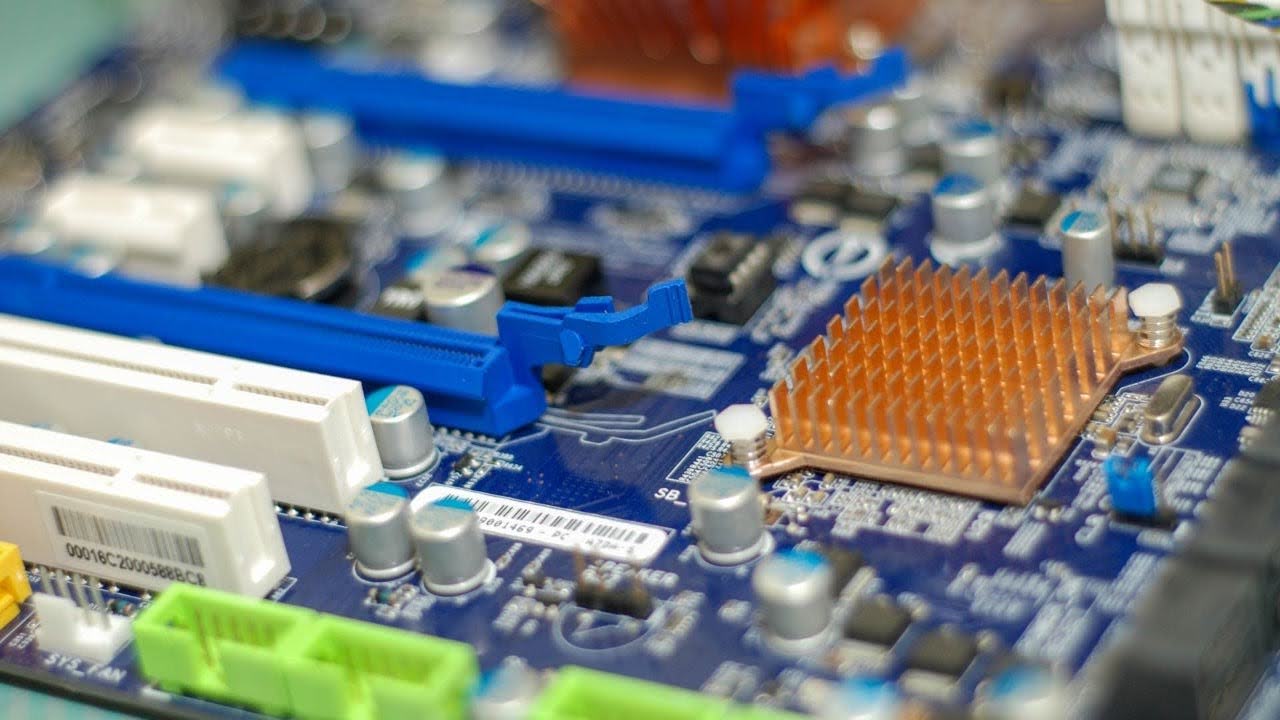
Use the Right Amount of Thermal Paste
Thermal paste helps the CPU and the cooler work together. But you need to use the right amount. Too much or too little can cause problems.
Don’t use too much thermal paste. It will spill over the edges and make a mess. It can also trap heat and damage your PC.
Don’t use too little thermal paste. It won’t cover the whole CPU and leave some parts hot. It can also create air bubbles and reduce cooling.
Use enough thermal paste to cover the CPU evenly. You can do this in two ways. Either put a pea-sized dot in the middle of the CPU, or make a pattern with the paste. You can use an X, three lines, or multiple dots.
Install the I/O Shield Before the Motherboard
The I/O shield is a metal plate that covers the back of your PC. It has holes for the ports on your motherboard. It makes your PC look better and protects it from dust.
Don’t forget to install the I/O shield. You need to do it before you put the motherboard in the case. If you don’t, you’ll have to take the motherboard out again. That’s a hassle.
To install the I/O shield, find the right spot in the case. It’s usually at the top left corner. Push the I/O shield in from the inside of the case. Make sure it snaps into place. Then you can install the motherboard.
Be Careful with the USB Header
The USB header is a small connector that lets you use the USB ports on your case. It connects to your motherboard. But it can break easily if you’re not careful.
Don’t force the USB header in. It can bend or snap the pins. That can ruin your USB ports or your motherboard. It can also hurt your fingers.
Connect the USB header gently. Make sure it matches the shape of the socket on your motherboard. If it doesn’t fit, don’t push it. Check the manual for your case and motherboard. It will tell you how to connect it correctly.
Make Sure Your Fans Blow the Right Way
PC fans can blow air in or out of your computer. It depends on how you install them. But you need to install them the right way. If you don’t, your PC can get too hot.
Look at your fans. They have arrows on the sides. The arrows show you which way the air goes. You want the air to go in from the front and out from the back. This makes a good airflow.
Install your fans so the arrows point the right way. The front fans should point in. The back fans should point out.
Use the Right Slots for Your RAM
RAM slots are not the same. You need to put your RAM sticks in the right slots. If you don’t, your PC will be slower.
Your PC has four RAM slots. You have two RAM sticks. You need to use dual-channel mode. This makes your RAM faster. But you can’t use dual-channel mode if you put your RAM sticks next to each other. You need to leave one slot empty between them.
Look at your motherboard’s manual. It will tell you which slots to use. Usually, it’s either 1 and 3, or 2 and 4. Count from left to right. Put your RAM sticks in those slots.

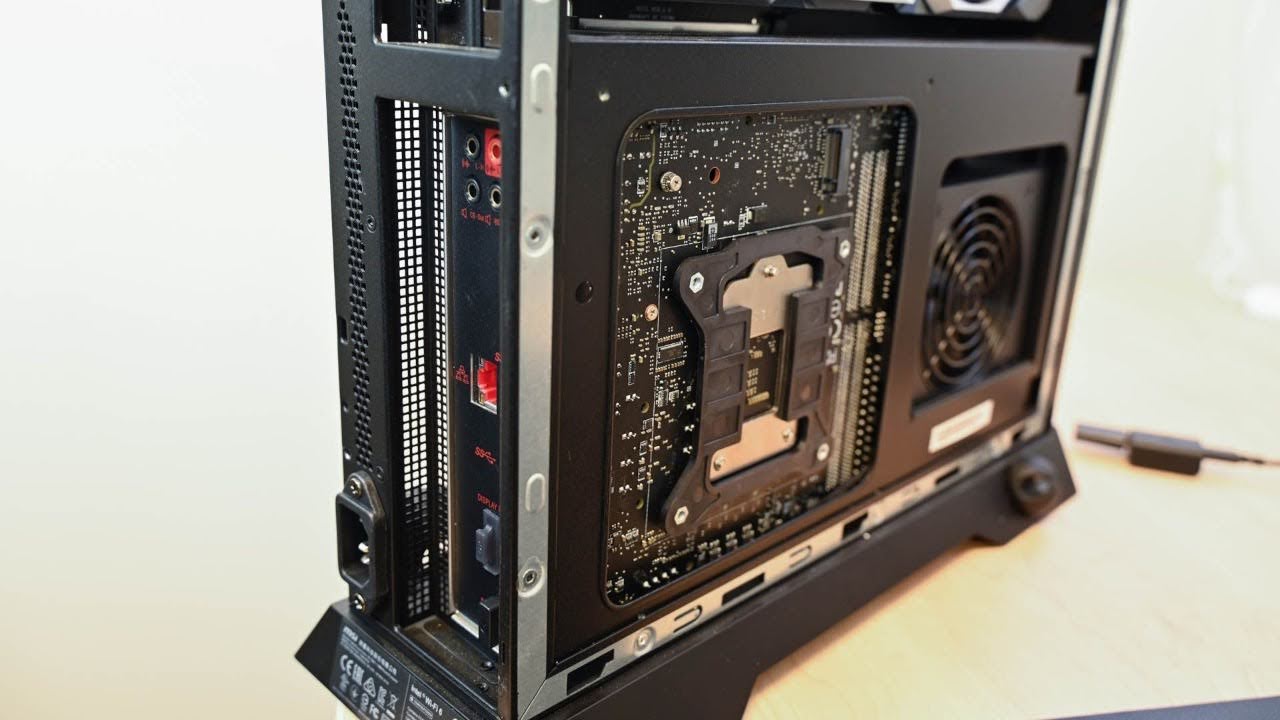
Install Motherboard Standoffs
Before the Motherboard Your PC case has holes for your motherboard. But you can’t just screw your motherboard into the holes. That can cause shorts and damage your PC. You need to use standoffs.
Standoffs are small metal pieces that raise your motherboard. They prevent it from touching the metal back of your case. You can find them in the bag of screws that comes with your motherboard. You need to put them in the holes before you put your motherboard in the case.
Look at your motherboard’s manual. It will tell you which holes to use. Put the standoffs in those holes. Then you can screw your motherboard on top of them.
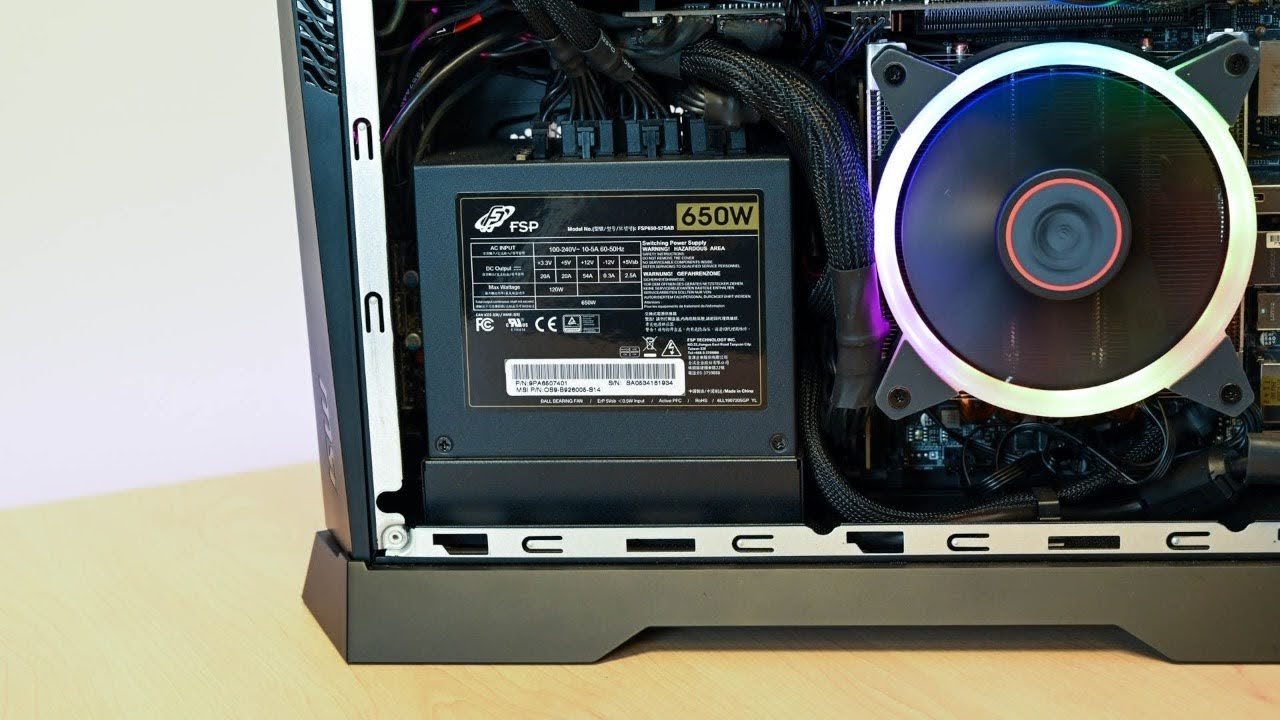
Spend Enough on Your PSU
Your PSU is the power supply for your PC. It gives power to all your parts. But you need to buy a good PSU. If you buy a cheap PSU, you can harm your PC. A bad PSU can’t give enough power to your parts. Your PC can die.
When you buy a PSU, check how much power your parts need. Add some extra power to be safe. For example, if your PC needs 700W, buy a PSU with at least 850W. Also, check the rating of the PSU. It tells you how efficient it is. A higher rating is better. Look for a PSU with at least 80+ Bronze. But 80+ Gold or higher is better.
Don’t save money on your PSU. It’s very important for your PC. Buy a good PSU that can power your parts well.
Conclusion
We hope you enjoyed this blog post and learned something new about PC building. Building your own PC can be a fun and rewarding experience, but it can also be frustrating and costly if you make mistakes. That’s why we wrote this guide to help you avoid the most common PC building mistakes that beginners make. By following our tips, you’ll be able to build your PC with confidence and enjoy the process.