This article describes how to add/update the Operating Systems list in Endpoint compliance configurations.
In some scenarios, the Operating System list in FortiNAC is not updated automatically or in some situations, Windows 11 and/or Windows 2019 Operating systems are not showing in the list.
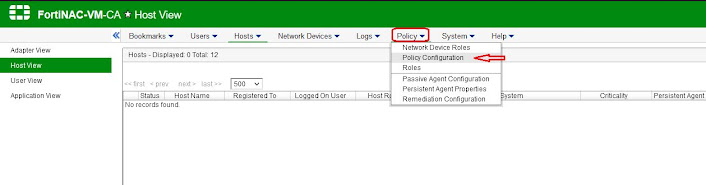
Step 1: Login to FortiNAC web console, select Policy configurations, under Policy tab.
Step 2: Select Scans, select Add or Modify existing Scan and select Windows tab.
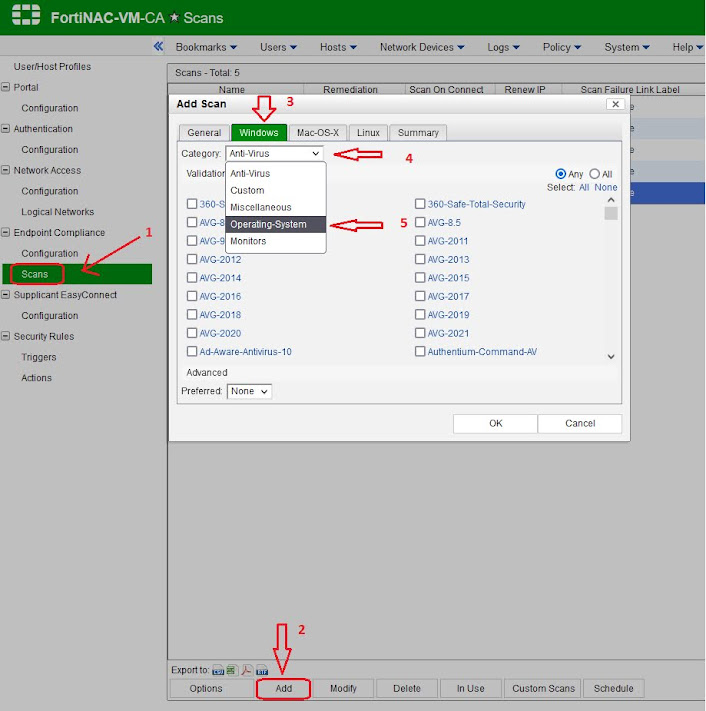
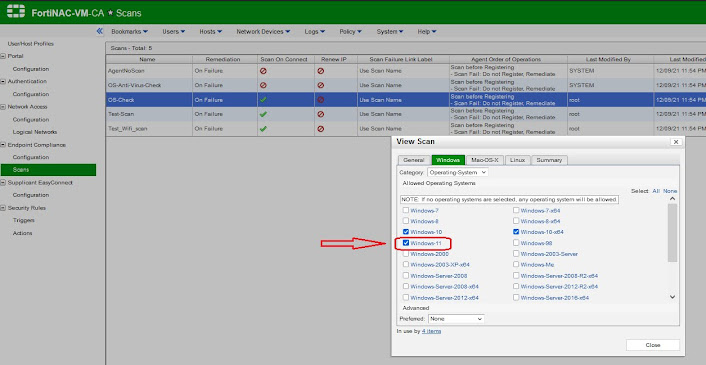
Step 3: In the list below, Operating Systems list will appear.
Step 4: In some scenarios, FortiNAC is in restricted environment, where internet is not allowed or Auto-Definition scheduled task was never run or could be disabled, so this list is not updated automatically and may not be showing the latest Operating Systems e.g. Windows 11, Windows 2019 and Windows 2022 etc..
Step 5: Something like this will appear, where Windows 11 is missing in the list.

So in order to update the OS list, Internet must be allowed on FortiNAC appliance.
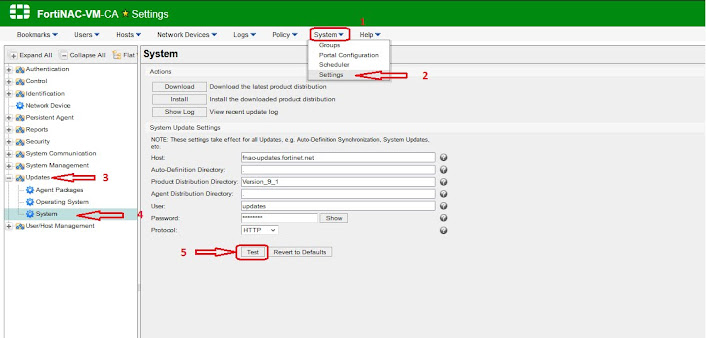
Step 6: It is possible to check it by selecting System -> Settings, select Updates, select System and on the right hand side, select Test.
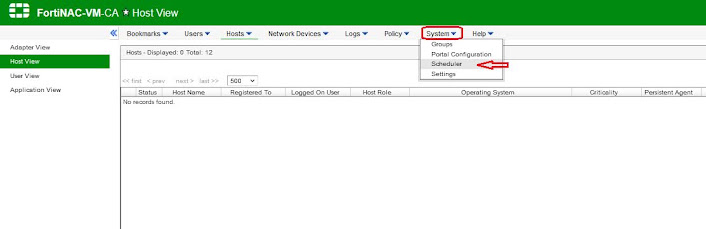
Step 7: Next, it is necessary to schedule the task to download latest definitions from Fortinet. In the FortiNAC Web Console, select System and then select Scheduler.
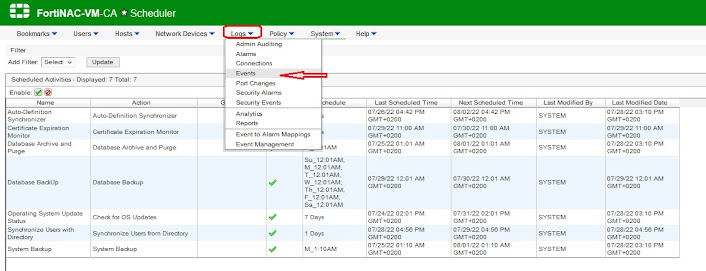
Step 8: First, ensure that Auto-Definition Synchronizer task is not disabled, if it is disabled, then ‘right click’ the task and select Enable.
Step 9: Now ‘right click’ Auto-Definition Synchronizer task and select Run Now.
Step 10: This will start the process to download latest Auto-Definitions from Fortinet.
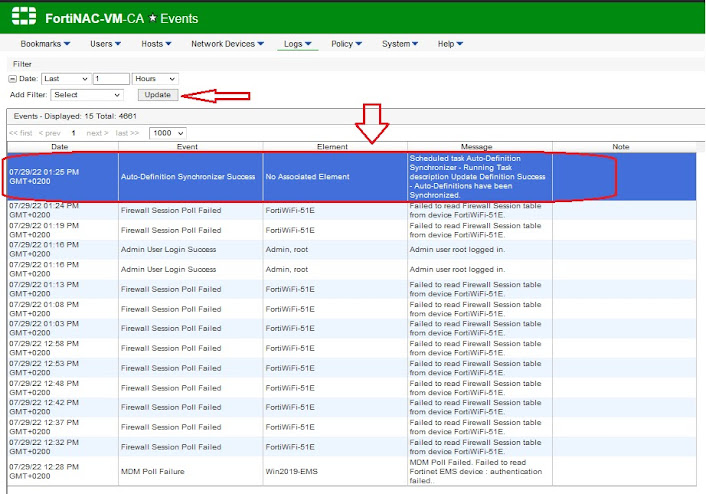
Step 11: To check the status of this task, select Logs and then select Events.
Step 12: Select Update and the tasks will be shown.
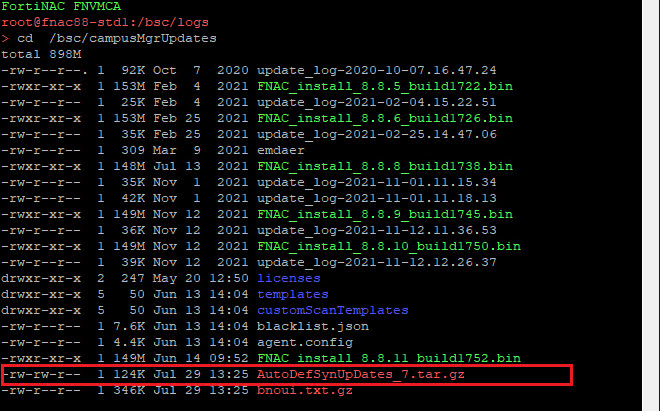
After the completion of task, it is possible to go to CLI of FortiNAC to check whether latest files are downloaded.
Step 13: Login to the CLI session of FortiNAC and go to this directory:
> cd /bsc/campusMgrUpdates
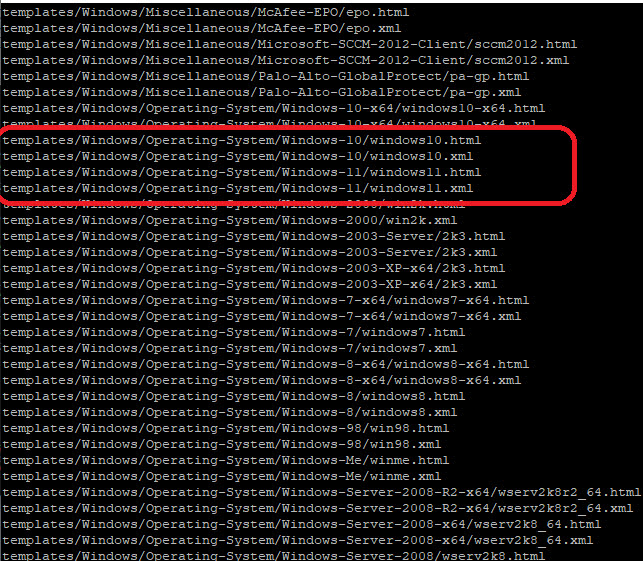
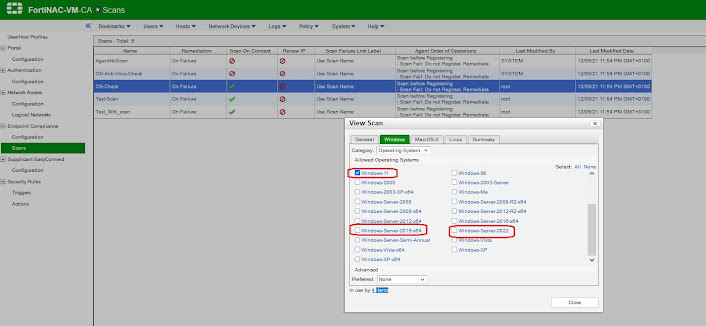
It i possible to see that Windows 11 is now showing in the list.